
Quality check before unit handover is the final, systematic verification of workmanship, safety, documentation, and functionality completed before keys change hands. At 805 Chelton Rd, London, ON N6M 0K9, Canada, our team uses a standardized, multi-step QA process to ensure every apartment is truly move-in-ready, minimizing callbacks and vacancy days.
By Mahal Concrete and Constructions • Last updated: 2026-06-02
Above-Fold Summary and Table of Contents
A tight unit handover depends on a clear checklist, accountable walkthroughs, and fast defect closure. Use a structured flow—scope sign-off, pre-handover QA, joint walkthrough, punch list closure, and documentation—to avoid rework. This section previews the complete process and links to each step.
Here’s the thing: most delays happen in the last 10% of work. This guide shows you how to control that last mile so the handover day is smooth, defensible, and fast.
- What is a pre-handover quality check?
- Why it matters for property managers
- How the QA process works (step-by-step)
- Methods, checklists, and sign-offs
- Best practices to avoid rework
- Tools and resources we use
- Case studies and local considerations
- Budget, scope, and timeline drivers
- Frequently Asked Questions
- Conclusion + Key takeaways
What Is a Quality Check Before Unit Handover?
A pre-handover quality check is a formal, multi-point inspection confirming that finishes, fixtures, systems, safety, and documentation meet the agreed scope and standards before tenant possession. It verifies function and durability, closes punch items quickly, and creates a defensible record for property managers and owners.
In plain terms, it’s your last line of defense. We validate workmanship against scope, building standards, and portfolio finish guides. We also confirm access devices work, manuals are logged, and photos are filed. For multi-unit turnovers, reproducibility is everything—same checks, same order, same documentation.
- Scope alignment: Compare the final unit to your approved scope and finishes schedule.
- Safety and compliance: Confirm GFCIs, smoke/CO devices, and egress paths are operational.
- Function tests: Run water, power, appliances, doors, and windows; look for leaks, noise, wobble, or heat.
- Defect triage: Record, prioritize, and batch fixes; aim to resolve within one coordinated visit.
- Handover file: Photos, sign-offs, warranties, and a dated checklist close the loop.
With 500+ completed projects and 50+ years of combined experience, our London-based crew has refined a repeatable approach that scales across buildings without sacrificing speed or finish quality.
Why the Handover Quality Check Matters
Handover quality checks prevent extended vacancies, tenant complaints, and warranty disputes. They establish a clear record, protect portfolio standards, and cut rework. For property managers, that means predictable timelines, fewer callbacks, and higher tenant satisfaction from day one.
Small misses snowball. A loose P-trap becomes a cabinet stain; an uncalibrated range trips a breaker; a sticky latch frustrates a new tenant. Catching these in one disciplined pass protects your reputation and reduces churn.
- Reduce vacancy days: Clean, verified units lease faster because move-in is frictionless.
- Protect standards: Standardized finishes stay consistent across your portfolio.
- Lower rework risk: One consolidated punch cycle beats many fragmented visits.
- Documentation strength: Dated photos and sign-offs make disputes rare and resolvable.
- Resident experience: A quiet first week sets the tone for the entire lease term.
As a WSIB-compliant, fully insured contractor working in occupied properties, we also factor in building quiet hours, housekeeping between tasks, and safe access sequencing so neighbors aren’t impacted during final checks.
How the Quality Check Before Unit Handover Works (Step-by-Step)
Use a five-stage flow: (1) scope confirmation, (2) pre-handover QC, (3) joint walkthrough, (4) punch closure, and (5) documentation release. Repeat the same route, use the same checklist, and batch fixes to close all items in a single coordinated return.
We follow a disciplined, time-boxed route through every room—clockwise, top-to-bottom—so no surface is skipped. Here’s the process we run for London-area turnovers.
- Scope confirmation (10 minutes): Pull the approved scope and finish schedule; highlight high-wear items.
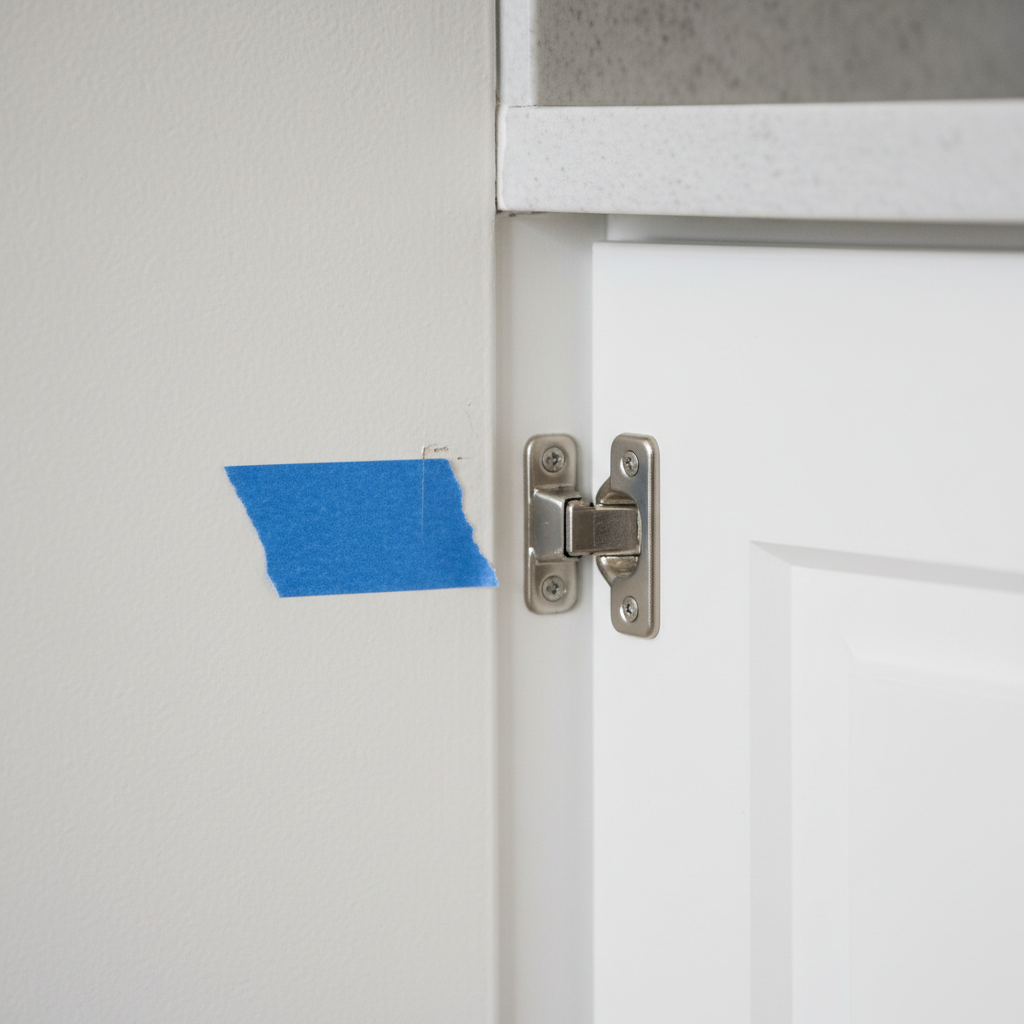
- Pre-handover QC (45–60 minutes): Solo inspector verifies surfaces, systems, and safety; tags issues with painter’s tape.
- Joint walkthrough (20–30 minutes): Property manager joins; align acceptance criteria; finalize punch list and priorities.
- Punch closure (same day or next window): Specialist returns with materials; closes all items in batches.
- Documentation release (10 minutes): Export photos, sign-offs, and a dated checklist to your files.
Tip: Keep the inspector independent from the crew that performed the work. A fresh set of eyes finds more and argues less.
Room-by-Room micro-checklist (10 zones)
- Entry: Door alignment, locks, peephole, thresholds, weatherstrip.
- Living: Paint edges, baseboards, outlets, window action, screens.
- Kitchen: Cabinets, hinges, soft-close, countertops, caulking, GFCI, appliances.
- Bath: Tile grout, slope, silicone, exhaust fan, GFCI, fixtures.
- Bedrooms: Closet tracks, door stops, trims, blinds.
- Laundry: Hose condition, drain pan, venting.
- Electrical: Breaker labeling, plate covers, smoke/CO devices.
- Plumbing: Traps, shutoffs, fill/flush, leaks, water temp.
- HVAC: Filter, thermostat, registers, noise, condensation.
- Final clean: Vacuum, dust, glass, sticky residue, debris removal.
Methods, Checklists, and Sign-Offs
Standardize the handover with a repeatable checklist, objective acceptance criteria, and signatures. Use photos for each room, defect tags for context, and a single-page sign-off summarizing pass/fail items, exceptions, and follow-up actions.
Consistency beats improvisation. For multi-unit portfolios, our acceptance criteria pair a numeric checklist with photo evidence, so two different buildings still read the same.
10-point acceptance criteria
- Paint uniformity: No lap marks; colors match the portfolio standard.
- Surface integrity: No chips, cracks, or dents beyond agreed tolerances.
- Tiling and grout: Even joints; sealed corners; proper slope where applicable.
- Flooring: No lippage, squeaks, or gaps; transitions flush.
- Cabinetry: Aligned doors; hardware tight; soft-close works.
- Plumbing: No leaks; stable temps; proper flow.
- Electrical: Plates intact; GFCIs trip/reset; devices labeled.
- Appliances: Function verified; manuals filed; filters clean.
- Safety: Smoke/CO devices test; egress clear; grab bars tight (if specified).
- Cleanliness: Construction dust removed; surfaces wiped; windows cleaned.
Documentation package
- Checklist PDF: Date, inspector name, unit ID, pass/fail per room.
- Photo log: 12–20 images, named by room and issue number.
- Sign-offs: Contractor and property manager signatures with timestamps.
- Warranties and manuals: Bundled digitally; access codes recorded.
- Exceptions note: Any approved deviations with dates and rationale.
Want a template baseline? Review a general checklist format like this pre-construction checklist overview and adapt it for apartment turnover acceptance specifics.
Best Practices to Avoid Rework and Delays
Batch issues, separate inspection from production, and close the punch list once. Keep a clean site, use painter’s tape liberally, and photograph everything. These small habits eliminate 80% of last-mile friction and make handover day calm and predictable.
In our experience across London and Southwest Ontario, five habits consistently pay off.
- Inspect clockwise, top-to-bottom: Gravity and human memory work with you, not against you.
- Use issue codes: P for paint, E for electrical, PL for plumbing, etc.—faster batching.
- Tape first, talk later: Mark all defects before debating priorities.
- Clean between trades: A spotless unit reveals true defects, not dust artifacts.
- Photograph context: Wide, medium, close; include a finger or tape for scale.
- One return visit: Bring all materials; close the list in a single push.
- Manager presence: A 20-minute joint walk locks alignment and prevents surprises.
Portfolio owners want consistency. That’s why we align every handover with the same portfolio finish guide and a standard photo set—so you can audit outcomes across buildings in minutes.
Tools and Resources for Reliable Handover
Use a digital checklist app, blue painter’s tape, a bright flashlight, GFCI tester, laser level, moisture meter, and a labeled tool tote. Then export a dated PDF with photos. Simple tools, used consistently, create bulletproof handovers.
We don’t overcomplicate the toolbox; we standardize it.
- Inspection kit: Flashlight, laser level, 6-in. square, door gauge, moisture meter.
- Electrical testers: GFCI/reset tester, non-contact voltage tester.
- Plumbing aids: Dye tabs, thermometer, bucket, towels.
- Fast marking: Blue tape and Sharpie for issue codes and arrows.
- Digital capture: Phone or tablet with cloud sync and date stamps.
- Templates: Room checklists, sign-off sheets, and photo naming conventions.
For audit discipline in complex processes, see how structured checklists improve pass rates in this process audit tips explainer. The same mindset applies to unit handovers—consistency wins.

Case Studies and Local Considerations
In London, ON multi-unit turnovers, standardized finish guides and a single punch-closure visit cut rework dramatically. The examples below show how batching issues and documenting with photos produces predictable handovers across different building ages and layouts.
Mini case: 12-unit refresh, occupied property
A London property manager needed fast, low-disruption turnovers. We phased work, ran independent QC, and closed each unit’s punch in one coordinated return. Result: fewer callbacks and faster lease readiness, with the same finish standard across all 12 units.
Mini case: Complex kitchen/bath scopes
For units with cabinet replacements, countertop installation, tile installation, and plumbing adjustments, we used trade-specific pre-checks (cabinet alignment, faucet supply leak test, GFCI verification) before the joint walkthrough. One batch closure kept neighbors undisturbed.
Local considerations for London
- Coordinate quiet hours and hallway access common to London apartment buildings; schedule punch closure when corridors are least busy.
- Seasonal timing matters in ON—plan final caulking cures and ventilation around humidity swings to avoid cosmetic defects.
- For multi-property portfolios in Southwest Ontario, keep a single finish guide so handovers read the same across addresses.
Want our team to run a structured handover on your next turnover? Explore our multi-unit renovation approach and reach out for a site assessment.
Budget, Scope, and Timeline Drivers (No Pricing)
Handover speed depends on scope clarity, trade availability, and batching. Clear finishes, one coordinated return, and a single sign-off prevent drift. While we don’t publish pricing, we do publish the process so schedules stay predictable.
Here’s what drives timelines and predictability—without getting into numbers.
- Scope precision: Finalized finishes and appliances reduce late changes.
- Trade sequencing: Painters and electricians go before final clean; punch visits come last.
- Material readiness: Touch-up paint and spare hardware on-hand avoid delays.
- Decision latency: Same-day approvals for minor substitutions keep the train moving.
- Documentation discipline: Photos and PDFs prevent relitigation after move-in.
If you need help formalizing scope and acceptance, browse a general documentation example like this contract guide overview to align stakeholders on who signs what, and when.
Process and Roles: Who Owns What?
The contractor executes work and pre-QC; the property manager validates scope, joins the walkthrough, and signs acceptance. Tenants receive a move-in-ready unit and clear contacts for issues. Defined roles prevent drift and protect timelines.
| Phase | Contractor | Property Manager | Outcome |
|---|---|---|---|
| Scope confirmation | Pulls approved scope; flags risks | Approves finish guide and scope | Shared baseline |
| Pre-handover QC | Runs solo inspection; tags defects | Preps questions; reviews standards | Draft punch list |
| Joint walkthrough | Demonstrates function; notes exceptions | Confirms acceptance criteria | Final punch list |
| Punch closure | Batches and fixes issues | Verifies completion | All items closed |
| Documentation | Submits photos and checklist | Signs acceptance; files docs | Defensible record |
Handover vs. Turnover: What’s the Difference?
Turnover is the broader unit refresh process from move-out to relisting; handover is the final acceptance step before possession. You need both: strong turnover execution and a rigorous handover check to lock quality, safety, and documentation.
| Aspect | Turnover | Handover |
|---|---|---|
| Scope | Repairs, upgrades, painting, flooring, cleaning | Final inspection and acceptance |
| Timing | From move-out to ready-to-show | Immediately before key release |
| Output | Move-in-ready work product | Signed documentation and keys |
| Owner value | Upgraded asset, tenant appeal | Defensible quality, fewer callbacks |
Soft CTA: Want a quick, no-disruption pre-handover audit? Our WSIB-compliant team can run a standardized check and deliver a photo-backed report. Start here: Mahal Concrete and Constructions.
Frequently Asked Questions
These quick answers cover scope, timing, documentation, and responsibilities for a quality check before unit handover. Use them to align owners, managers, and crews before the final walkthrough.
What does a pre-handover inspection include?
It covers surfaces and finishes, function tests for plumbing, electrical, and appliances, safety device checks, cleanliness, and documentation. We tag defects with painter’s tape, batch the punch list, close items in one return, and release a dated checklist with photos and sign-offs.
Who should attend the final walkthrough?
The contractor’s inspector and the property manager. The inspector demonstrates function and acceptance criteria; the manager confirms the scope standard and signs the acceptance. Keeping the group small prevents side debates and keeps the walkthrough under 30 minutes.
How do you prevent repeat visits for punch items?
We code defects by trade, bring all materials for a single return, and sequence fixes from clean to dusty tasks. Photos confirm completion. A standardized toolkit and pre-packed touch-up materials eliminate most surprises during closure.
Is this the same as a pre-delivery inspection (PDI)?
Similar idea, different context. A PDI is common for new builds; a pre-handover quality check applies to turnovers and renovations in existing apartments. Both aim to document condition, verify function, and close defects before occupancy.
What documents should I keep after handover?
Keep the checklist PDF, photo log, signed acceptance, and any warranty or manual PDFs. Maintain one folder per unit in your property management drive so audits and future turnovers are fast and consistent across your portfolio.
Conclusion and Key Takeaways
Treat the quality check before unit handover as a repeatable mini-project with clear roles, a standard checklist, and photo-backed documentation. That’s how you avoid rework, shorten vacancies, and protect portfolio standards across London and Southwest Ontario.
- Standardize your checklist: Same route, same evidence, same sign-offs.
- Separate inspection and production: Fresh eyes find more and move faster.
- Batch and close once: Bring all materials; finish in a single return.
- Document visibly: Photos and PDFs make acceptance clear and defensible.
- Think portfolio-wide: One finish guide across addresses keeps quality predictable.
Ready for a smoother handover? Book a structured assessment with our team in London. Visit Mahal Concrete and Constructions for next steps, our safety standards, and portfolio-friendly delivery model.
For data capture and compliance preferences on our website, review our privacy policy, cookies policy, and terms and conditions.