
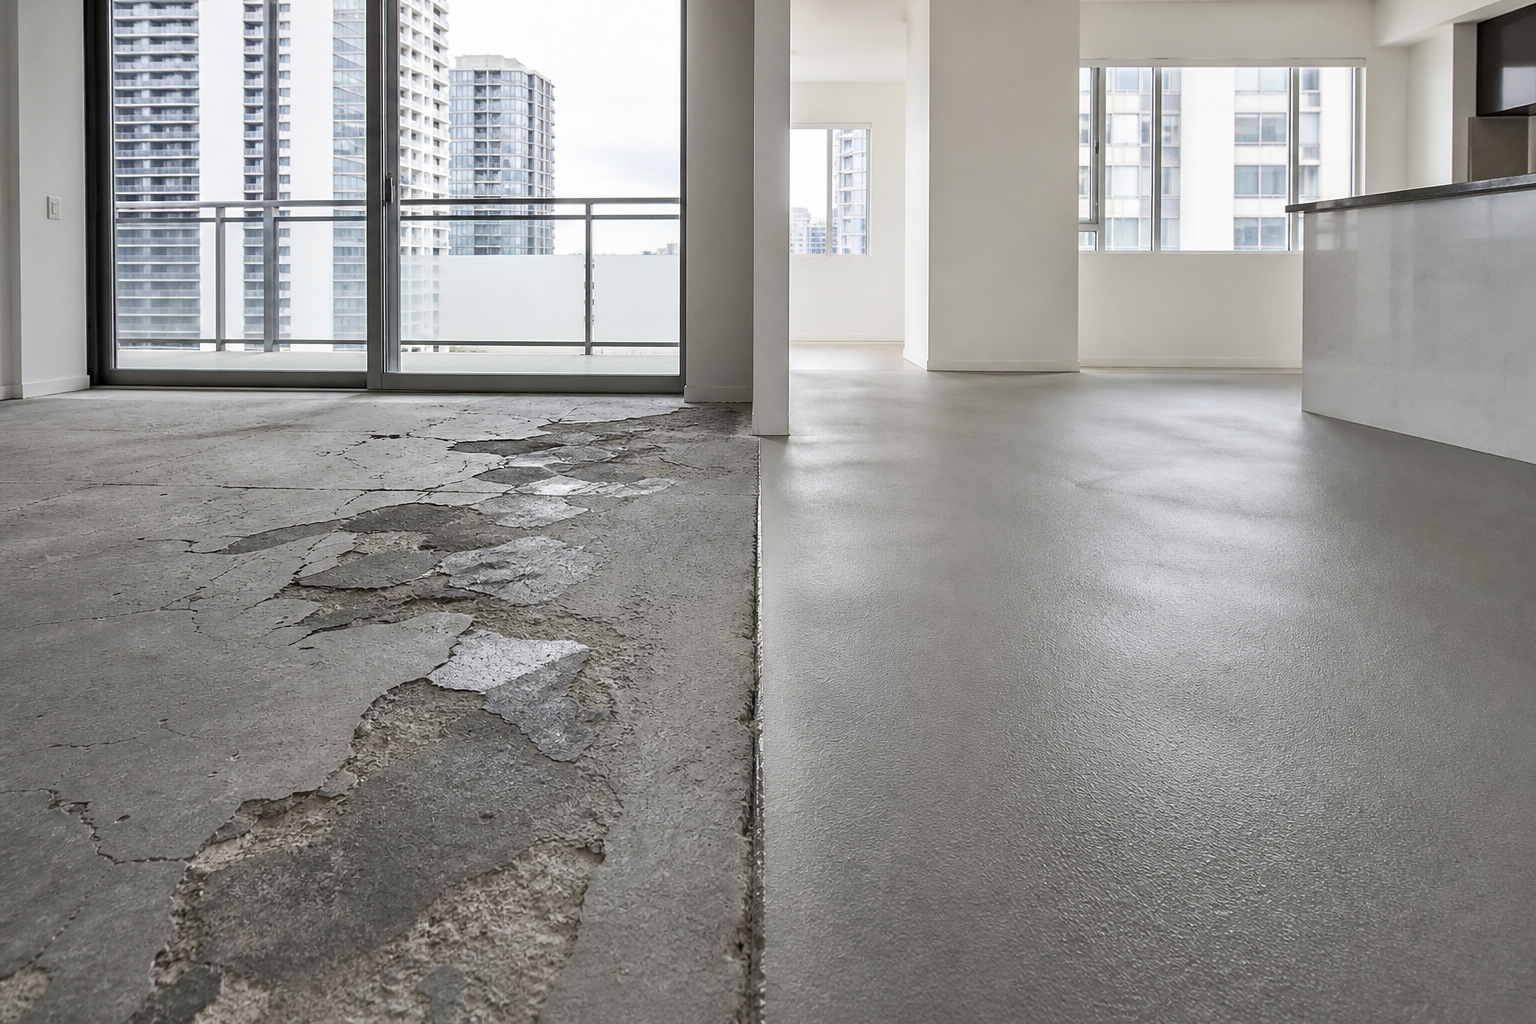

A Practical Guide to Floor Replacement vs Floor Repair Apartments
Choosing between repairing existing apartment flooring and replacing it entirely affects downtime, budgets, unit consistency, and long-term maintenance. This practical guide walks property managers and apartment owners through a structured way to evaluate floor conditions, align actions with portfolio goals, and execute work with minimal disruption—whether it involves quick patch repairs or a planned, building-wide changeout.
When to repair instead of replace
Repairs are typically appropriate when issues are localized, underlying subfloors remain sound, and the building’s finish standards can be met without visible mismatches. Consider repair if one or more of the following apply:
- Damage is contained to small areas, edges, or transitions (e.g., minor chips, scratches, or a few lifted planks/tiles).
- Subfloor is stable, flat, and dry with no signs of rot, mold, or delamination.
- You have matching product stock or can source a near-match that won’t be conspicuous once installed.
- The remaining life of the existing floor aligns with your turn schedule and near-term capital plans.
- Repairs can be completed within a short vacancy window or while a unit is occupied with limited disturbance.
In these scenarios, targeted fixes—board swaps, tile re-sets, threshold adjustments, spot re-grouting or refinishing—can restore function and appearance without the cost and downtime of a full replacement.
When to replace instead of repair
Replacement is more suitable when damage is widespread, aesthetics are inconsistent across units, or when a strategic refresh supports leasing and maintenance objectives. Consider full replacement if you encounter:
- Systemic failures like curling, cupping, hollow spots, or multiple delaminated areas across rooms.
- Moisture intrusion or subfloor deterioration that compromises structural integrity or long-term stability.
- Material obsolescence, discontinued SKUs, or severe color/fade variation that repairs can’t disguise.
- Frequent service calls for the same issues, indicating the floor is at end-of-life.
- Portfolio goals that prioritize standardized finishes for consistent presentation across many units.
- Renovation timing that aligns flooring changeout with other upgrades (kitchens, baths, paint) to avoid repeat disruptions.
In these cases, a coordinated replacement program can reset quality, unify finishes, and reduce repeated touch-ups over the next refresh cycle.
A simple decision framework you can reuse
Use this score-based approach to guide consistent decisions across units. Tally points and compare totals:
- Extent of damage (0–3): 0 = spot only; 3 = multiple rooms affected.
- Subfloor condition (0–3): 0 = sound/dry; 3 = soft, uneven, or wet.
- Match feasibility (0–2): 0 = exact match on hand; 2 = discontinued/no good match.
- Recurring issues (0–2): 0 = first incident; 2 = repeated calls in past 12–24 months.
- Upcoming turnover cycle (0–2): 0 = long horizon; 2 = near-term portfolio refresh planned.
- Occupancy constraints (0–2): 0 = easy in/out; 2 = disruptive if staged repairs continue.
Guideline: ≤4 points often supports repair; 5–7 is borderline—consider lifecycle and standardization; ≥8 typically supports replacement. Document scores with photos to keep decisions transparent across teams.
Assessing damage types and root causes
Not all surface problems have the same fix. Pair symptoms with likely causes before choosing repair or replacement:
- Scratches and abrasions: Common in high-traffic zones. If the wear layer is intact, refinishing or plank swaps can work.
- Gaps and movement: May indicate expansion/contraction or installation issues; check acclimation history and perimeter clearances.
- Creaking or bounce: Often subfloor fastening or deflection; spot re-screwing may help if structure is sound.
- Staining and swelling: Suggests moisture; confirm source (spills, plumbing, vapor). Persistent moisture calls for replacement and remediation, not just patching.
- Tile cracks and hollow sounds: Could be substrate movement, inadequate thinset coverage, or voids; localized re-set may succeed if the substrate is flat and stable.
Always confirm the condition of the subfloor and underlayment, particularly in kitchens, bathrooms, entries, and laundry areas where moisture exposure is most likely.
Material considerations for apartments
Choosing the right product profile reduces future maintenance and simplifies standardization:
- Resilient plank and tile (e.g., click or glue-down): Typically faster to install and replace in targeted zones; look for durable wear layers and moisture tolerance in wet-adjacent areas.
- Ceramic/porcelain tile: Strong in wet areas; demands flat, well-prepped substrates. Use coordinated grout colors that are easy to maintain.
- Laminates and engineered wood: Consider moisture performance, edge sealing, and manufacturer guidance for kitchens and entries.
- Carpet in bedrooms: Plan for frequent spot repairs and periodic replacement; specify standardized SKUs for consistent dye lots across units.
Whatever you select, keep a spare inventory of your chosen SKUs for future board or tile swaps. Standardized trims, transitions, and thresholds keep details consistent even when batches vary slightly.
Working in occupied units vs vacant turns
Floor work affects daily living. Decide timing based on disruption tolerance and access:
- Occupied units: Prefer repairs or segmented replacement by room, scheduled in short blocks. Protect paths, isolate dust/debris, and coordinate furniture moves.
- Vacant turns: Enable full replacement and substrate correction in a single pass. Align with paint, appliance swaps, and deep clean to avoid rework.
- Stacked scheduling: For multi-unit projects, use consistent sequences (demo, prep, install, punch) and predictable daily start/finish times.
Before work starts, communicate scope, areas affected, expected noise, and temporary access changes. Clear prep instructions (e.g., emptying closets or cabinets near flooring) help avoid delays.
Budgeting by lifecycle rather than line items
Instead of evaluating only today’s repair ticket, compare the total lifecycle impact across the next refresh window:
- Frequency of touch-ups: Repeated small repairs can exceed the one-time cost of replacement over a unit’s lease cycles.
- Make-ready efficiency: Unified materials simplify maintenance and reduce time sourcing matches.
- Damage resilience: In pet-friendly or high-turnover buildings, tougher finishes may reduce calls between turns.
- Portfolio uniformity: Standard SKUs streamline purchasing, storage, and vendor training, and minimize mismatch risk.
Track these factors per building to reveal where full replacements create savings and where small, targeted repairs are the sensible default.
Scope templates and quality control
Whether repairing or replacing, define scopes clearly and verify results with checklists.
Sample repair scope elements:
- Document room, exact square footage or count of boards/tiles, and transition locations.
- Verify moisture levels and subfloor soundness in the affected area.
- Specify product match by manufacturer, SKU, color, finish, and batch if available.
- Include surface protection, dust containment, and tenant access plans if occupied.
- Detail finishing steps: trims, thresholds, baseboards, caulking, and cleaning.
Sample replacement scope elements:
- Unit-wide takeoff by room with transitions, stair nosings, and wet-area thresholds.
- Substrate prep standards: flatness tolerances, patch/level areas, fasten squeaks.
- Moisture testing protocol and any underlayment, vapor barrier, or crack isolation membranes.
- Expansion gaps, acclimation periods, and manufacturer installation methods.
- Punch list criteria: lippage limits for tile, seam alignment, pattern consistency, and clean cut lines at casings.
Quality-control checklist highlights:
- Transitions sit flush, no trip edges, and doors clear flooring.
- Baseboards or shoe molding are secure with consistent caulk lines.
- No hollow sounds in floating floors beyond expected expansion zones.
- Tile grout lines are uniform; no pinholes or washouts.
- Surfaces are clean, labeled, and ready for walk-through.
Coordination that prevents rework
Missteps often come from unclear responsibilities. Align teams in advance:
- Appliances and fixtures: Confirm who disconnects/reconnects and the timing relative to flooring.
- Door and trim adjustments: Identify any planing required for proper clearances.
- Paint sequencing: If repainting, decide whether baseboards are removed or painted in place before flooring.
- Moisture sources: Address plumbing or envelope issues prior to installing new material.
- Final clean and turnover: Assign responsibility for debris removal and surface protection until move-in.
These small clarifications protect schedules and help avoid callbacks.
Risk mitigation and documentation
Flooring touches many other systems. Reduce risk with straightforward practices:
- Photo documentation: Capture before/after, substrate conditions, and moisture readings to support future decisions.
- Product records: Keep SKUs, batch numbers, and installation dates in unit files for consistent matching.
- Protection plan: Use floor protection if other trades follow to prevent fresh-surface damage.
- Resident notices: Provide clear timelines and point of contact for questions in occupied units.
Common apartment scenarios and practical responses
- Entryway water wear on resilient plank: Verify subfloor dry, replace affected planks, add or refresh transition and sealant at threshold.
- Kitchen tile with isolated hollow sounds: Re-set individual tiles after checking thinset coverage; confirm substrate flatness and correct if needed.
- Bedroom carpet with localized pet damage: Patch if you have matching remnant; otherwise consider full room replacement to maintain visual consistency.
- Living room laminate with widespread cupping: Investigate moisture/vapor; if systemic, replace and add appropriate underlayment and expansion details.
Quick checklist: repair or replace?
- Is the damage localized? If yes, lean repair.
- Is the subfloor sound and dry? If no, investigate and likely replace affected areas.
- Can you match the product and finish? If no, consider replacement for visual consistency.
- Are repeat issues likely in the next 12–24 months? If yes, replacement may be prudent.
- Will the timing align with other planned upgrades? If yes, bundle flooring into the same window.
FAQs
How do I tell if a subfloor problem requires replacement?
Check for soft spots, persistent creaks after re-fastening, moisture readings above manufacturer recommendations, or visible rot. If structural integrity is compromised or moisture is unresolved, repairing only the surface flooring usually does not last. Address the subfloor and source of moisture first, then install new finishes.
What if my flooring SKU is discontinued?
Attempt a discreet transition to a closely related product in natural breaks (doorways, closets). If that is not feasible or the mismatch will be obvious in open-plan areas, plan a room- or unit-wide replacement to preserve a consistent appearance.
Should I schedule flooring before or after painting?
Either sequence can work if responsibilities are clear. Many teams paint walls first, then install flooring, followed by baseboards and final touch-up. If baseboards remain in place, protect them during flooring and allow for final caulk and paint as part of punch.
What is the best way to manage flooring work in occupied apartments?
Limit the daily scope, protect circulation paths, communicate start/finish times, and provide prep instructions (moving small items, clearing closets). Segment by room to maintain access and reduce disruption.
How much spare material should I store for future repairs?
Keep a buffer appropriate to your turnover volume and common repair needs. Maintaining a modest stock of boards/tiles, matching trims, and grout or adhesive simplifies fast, in-place fixes without scrambling for discontinued items.