
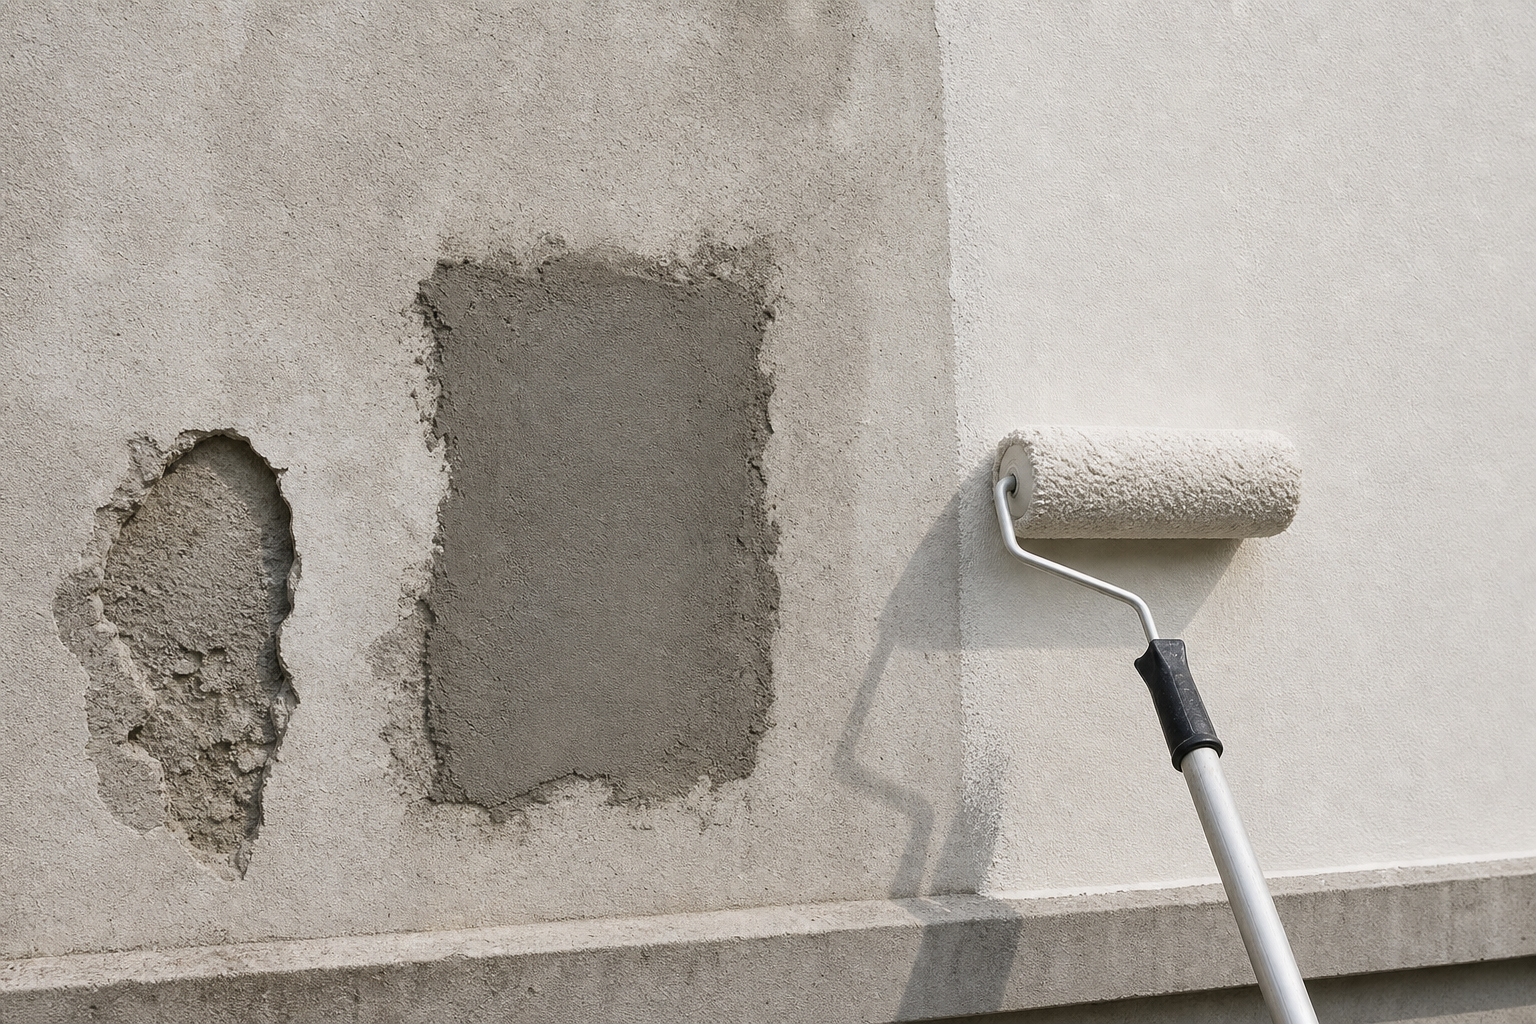

A Practical Guide to Painting Repairs and Surface Preparation Workflow
Great paint results depend far more on preparation than on the topcoat you choose. Whether you are turning over a unit, refreshing a corridor, or closing out a renovation, the right workflow keeps surfaces consistent, defects contained, and timelines predictable. This guide breaks down a practical, repeatable sequence for painting repairs and surface preparation you can adapt to apartments, common areas, and utility spaces.
Plan the scope and standards
Before any sanding or patching begins, lock in project parameters so crews work to the same outcome and the space returns to service on time.
- Define finish targets: sheen (e.g., matte/eggshell/semi-gloss), uniform colour across adjacent walls, and acceptable texture tolerance.
- List included areas: ceilings, walls, doors, trim, cabinets, railings, utility rooms, closets.
- Note exclusions: behind fixed appliances, inaccessible shafts, occupied storage rooms.
- Set cleanliness standards: dust control, masking boundaries, and daily tidy checkpoints.
- Confirm cure/open-to-traffic timing requirements to coordinate subsequent trades or tenant move-ins.
- Create a punch template with objective criteria (e.g., visible lap marks from 2 m away, pinholes >1 mm, sheen inconsistency under raking light).
Diagnose substrates and defects
Accurate diagnosis prevents rework. Each substrate and defect combination drives a different repair and primer choice.
- Substrates: gypsum drywall, plaster, concrete/masonry, wood (soft/hard), metals (ferrous/non-ferrous), previously coated surfaces.
- Defects: nail pops, dents, settlement cracks, tape failures, delamination, water staining, efflorescence, tannin bleed, corrosion, glossy/blocked coatings, peeling/adhesion failures, texture mismatch.
- Moisture check: identify active leaks, condensation, or damp substrates; repair sources and allow adequate dry time before coating.
- Contamination: smoke film, grease, silicone residue, cleaning product residues, or dust can sabotage adhesion and sheen. Plan cleaning accordingly.
Sequence of operations
A clear sequence minimizes disruption and avoids damaging completed work. Use this as a baseline and adjust to site constraints.
- Protection: isolate work zones, lay drop sheets, mask edges and fixtures, remove switch plates and door hardware where feasible.
- Clean: dry dust removal, then targeted washing/degreasing where needed. Rinse residues.
- Mechanical prep: scraping loose paint, deglossing scuff-sanded areas, feathering edges, rust removal, and profiling glossy or dense surfaces.
- Repairs: patching, joint treatment, crack stabilization, wood filling, and corrosion stabilization.
- Spot-priming: seal repairs and high-risk areas (stains, bare substrates) to prevent telegraphing through finish coats.
- Full-priming (as needed): unify porosity, sheen, and colour base across large areas or after extensive repair.
- Finish coats: apply in controlled passes with correct film build, cutting, and rolling sequence.
- Detailing: caulking gaps after priming (if specified), back-rolling touch-ups, and clean line re-masking where necessary.
- Final clean and cure: remove masking, dust surfaces, ventilate, and protect until coatings have cured per product guidance.
Surface preparation checklist by material
Match the method to the substrate to improve adhesion and finish uniformity.
- Drywall and plaster
- Cut out failed tape; re-tape with compound and proper bedding.
- Feather sand edges to blend with surrounding plane.
- Apply skim coat where texture mismatches or sheen mapping are likely.
- Dust off thoroughly before priming.
- Concrete and masonry
- Remove efflorescence with a stiff brush; address moisture sources.
- Fill bugholes or small voids with patching compound compatible with the coating.
- Lightly profile very smooth areas to enhance mechanical key.
- Wood (doors, trim, casings, cabinets)
- Degloss existing coatings via scuff sanding or liquid deglosser.
- Fill nail holes and dings; sand flush with surrounding millwork.
- Seal knots or tannin-heavy species with a stain-blocking primer.
- Metals
- Remove rust to sound substrate; spot prime with appropriate metal primer.
- Degrease thoroughly; avoid leaving detergent film.
- Lightly abrade glossy or factory-coated surfaces to promote adhesion.
- Previously painted glossy surfaces
- Clean thoroughly, then scuff sand to break the sheen.
- Wipe with a tack cloth; spot prime as needed to ensure uniform porosity.
Repairs workflow: common defects
Use consistent steps for predictable outcomes, adjusting product selection to your standard specification.
- Nail pops and small dents (drywall)
- Reset fastener into a stud or framing where possible.
- Apply setting-type compound; let set; add finish coat compound.
- Sand flush; spot prime to prevent flashing.
- Hairline to minor settlement cracks (drywall/plaster)
- V-groove or widen slightly to accept compound; reinforce with tape if movement is suspected.
- Apply compound, feather wide, sand, and spot prime.
- Peeling or delaminated paint
- Scrape to a firm edge; feather transitions.
- Investigate moisture or contamination causes; correct before coating.
- Prime bare and marginal areas with a bonding or stain-blocking primer.
- Water stains and discolouration
- Confirm the leak is resolved and the substrate is dry.
- Seal with a stain-blocking primer; avoid over-sanding stained fibres.
- Corrosion on ferrous metals
- Mechanically remove loose rust; feather surrounding coating.
- Prime with a corrosion-inhibitive metal primer; maintain coverage on edges and fasteners.
- Tannin bleed on wood
- Spot prime knots and end-grain with a reliable stain sealer.
- Allow full dry before sanding lightly and applying finish coats.
Priming and sealing decisions
Primers do more than help paint stick. They equalize porosity, block stains, and create a consistent base that reduces flashing and touch-up visibility.
- Spot prime if repairs are isolated and existing coating is sound and uniformly deglossed.
- Full prime when there are extensive patches, mixed substrates, drastic colour changes, or previous sheen mismatches.
- Choose stain blockers for water marks, smoke, knots, and tannin-prone wood.
- Use bonding primers on glossy, dense, or previously poorly adhering surfaces.
- Metal primers should match the metal type and environment; treat edges and fasteners meticulously.
Painting application workflow
Consistent application technique is as important as surface prep. Keep film build and lap timing under control to avoid picture framing and visible overlaps.
- Verify conditions: substrate dry, dust-free; temperature and ventilation within product guidance.
- Cut and roll sequence: maintain a wet edge; finish one wall at a time from top to bottom.
- Film thickness: follow coverage rates; avoid over-working partially set areas.
- Sheen control: use the same batch for adjacent areas when possible; box paint to ensure uniformity.
- Second coat timing: respect recoat windows; premature recoating can cause adhesion or sheen issues.
- Edges and details: back-brush or back-roll edges to blend with rolled fields.
Quality control and documentation
Objective checks reduce punch-list churn and protect schedules. Build QC into each shift, not just at handover.
- Surface uniformity: under raking light, check for sanding swirls, pinholes, ridges, and texture transitions.
- Adhesion spot-checks: lightly cross-hatch tape test in inconspicuous areas after primer and first coat on challenging substrates.
- Sheen and colour: view from multiple angles; verify no flashing or picture framing.
- Coverage: confirm corners, behind radiators, and above door heads received full film build.
- Cleanliness: confirm no overspray, drips on flooring, or paint on hardware and gaskets.
- Documentation: log substrate issues discovered, products used, and cure times to support future maintenance.
Maintenance and touch-up plan
A simple plan extends finish life and makes future turnovers faster.
- Keep a labelled touch-up kit per unit or floor: exact paint, small rollers, brushes, filler, sandpaper, and primer.
- Note paint codes, sheen, and batch numbers for reordering and colour matching.
- Schedule periodic inspections for high-traffic areas: lobbies, halls, laundry rooms, stairwells.
- Touch-up method: feather edges, maintain the original sheen, and spot-prime patches before micro-rolling.
- Moisture vigilance: address condensation and minor leaks promptly to prevent widespread repainting.
Tools and materials basics
Prepared teams move faster and leave cleaner results. Stock these essentials for a streamlined workflow:
- Protection: breathable drop sheets, plastic sheeting, painter’s tape, masking dispensers.
- Cleaning: microfiber dusters, degreasers, buckets, non-shedding cloths, tack cloths.
- Prep: scrapers, sanding sponges, pole sanders, dust extraction-compatible sanders, deglossers.
- Repairs: joint compound (setting and ready-mix), tapes (paper and fibreglass where appropriate), wood fillers, masonry patch, caulks.
- Primers: stain-blocking, bonding, metal primers matched to ferrous/non-ferrous substrates.
- Application: quality brushes, rollers and covers suited to surface profile, extension poles, trays or screens.
- Quality: raking light source, inspection mirrors, wet film gauge for specialty coatings.
Risk controls and good practices
Simple controls keep occupants safe and reduce rework.
- Ventilation: promote airflow during and after painting; avoid trapping humidity that slows cure.
- Dust: use containment and vacuum extraction where practical; clean between prep and paint stages.
- Odours: plan work sequencing to limit exposure in occupied spaces.
- Unknown coatings: if you suspect hazardous legacy coatings or residues, consult qualified professionals before disturbing surfaces.
- Compatibility: avoid mixing product systems without adhesion testing on small, discreet areas first.
FAQs
How do I prevent flashing where I patched drywall?
Feather repairs wider than the defect, sand smooth, remove all dust, then spot-prime with a primer that equalizes porosity. If patches are numerous or large, apply a full prime coat to unify the surface. Maintain consistent roller nap and film build during finish coats to avoid sheen mapping.
When should I choose a bonding primer over a stain blocker?
Use a bonding primer when the existing surface is glossy, dense, or has marginal adhesion risk. Choose a stain blocker to seal discolourations like water marks, smoke, tannins, or knots. In some cases you may need both: bond for adhesion first, then spot seal stains if they telegraph.
What’s the best way to touch up without seeing a patch?
First address the cause (dent, scuff, moisture). Spot-prime the repair, then use the same product, sheen, and batch if possible. Lightly feather the touch-up beyond the repair and back-roll to match the original texture. Larger or glossy areas often blend better with a full panel or edge-to-edge repaint.
How can I keep a project on schedule during prep-heavy work?
Front-load scope confirmation, standardize repair methods, and stage materials. Run daily QC checkpoints to catch issues before coating. Where feasible, divide areas into zones so priming and first coats proceed while repairs continue in the next zone.
Why does moisture cause recurring paint failures?
Moisture undermines adhesion, promotes efflorescence on masonry, and can carry stains through finish coats. Address the source (leaks, condensation, damp substrates) and allow proper drying before priming and painting. Use appropriate stain blockers to prevent telegraphing once the substrate is dry.