
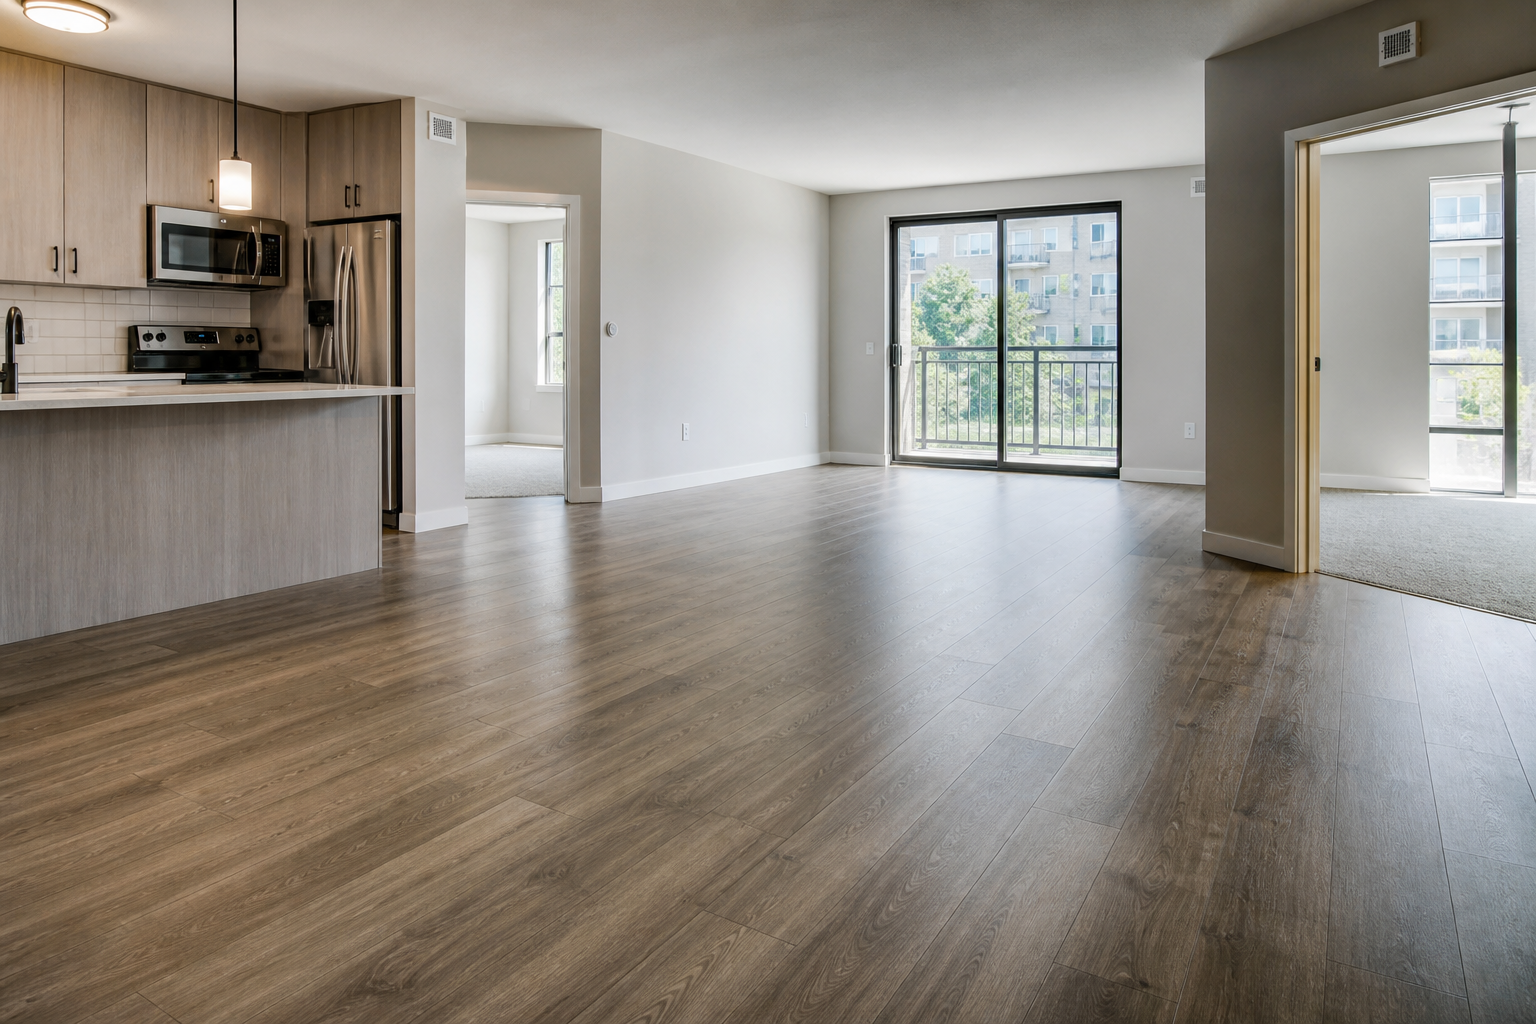

How to choose flooring for rental units: a durability, maintenance, and turnover-ready checklist
Choosing the right flooring for a rental isn’t about chasing trends—it’s about balancing durability, maintenance, turnover speed, consistency across units, and total cost over time. This guide gives you a practical framework to standardize choices, simplify decisions, and keep suites move-in ready with fewer surprises between tenancies.
Set your flooring goals before comparing products
Before looking at samples, write down the outcomes you need from every floor in your portfolio. These priorities guide material selection and help you avoid mismatched, hard-to-maintain finishes.
- Durability and wear: Can it handle rolling suitcases, furniture moves, and pet traffic?
- Moisture resistance: How will it perform in kitchens, entries, and bathrooms?
- Cleanability: Will common stains, scuffs, and odours lift without special tools?
- Acoustics: Does it reduce sound transfer between units or floors?
- Turnover speed: Can it be repaired or replaced quickly between tenants?
- Consistency: Can you standardize SKUs across properties for easy replacements?
- Lifecycle cost: What will you spend over 5–10 years, including maintenance and replacements?
- Safety and comfort: Is the surface slip-resistant and comfortable underfoot?
- Aesthetics that rent: Is the look neutral and widely appealing?
Compare common rental flooring options
Each material has trade-offs. Use these summaries to shortlist what fits your priorities and unit types.
-
Luxury vinyl plank (LVP) and tile (LVT)
- Pros: Highly scratch- and water-resistant; realistic wood/stone visuals; easy to clean; suitable for most rooms, including kitchens and entries.
- Cons: Lower-end products can dent and show subfloor imperfections; poor-quality click systems may separate if installed over uneven substrates.
- Best use: Whole-unit continuity, kitchens, entries, living areas, bedrooms.
-
Laminates
- Pros: Budget-friendly with good wear layers; attractive wood looks.
- Cons: Vulnerable to moisture; edge swelling from spills; noisy without underlay.
- Best use: Upper-level living areas and bedrooms (avoid wet zones).
-
Porcelain/ceramic tile
- Pros: Excellent water resistance and longevity; ideal for wet areas.
- Cons: Hard underfoot; grout maintenance; slower, more skilled installation.
- Best use: Bathrooms, laundry rooms, select kitchen areas, entry landings.
-
Sheet vinyl
- Pros: Seam-minimizing water resistance; easy to clean; economical.
- Cons: Can tear with heavy moves; patching may be visible; substrate prep is critical.
- Best use: Small kitchens and bathrooms with tight budgets.
-
Engineered wood
- Pros: Real wood veneer for elevated look; more stable than solid wood.
- Cons: Costly; susceptible to scratches and moisture damage; refinishing limits vary.
- Best use: Select premium units where aesthetics justify upkeep.
-
Carpet
- Pros: Warmer feel; reduces noise; inexpensive to replace in bedrooms.
- Cons: Stain and odour retention; wear patterns; frequent cleaning or replacement.
- Best use: Secondary bedrooms or stairs where sound control is critical and replacement cycles are planned.
-
Polished or sealed concrete
- Pros: Durable; easy to clean; modern aesthetic in ground-level or loft-style spaces.
- Cons: Hard and loud underfoot; may feel cold; prep and finishing quality are essential.
- Best use: Basements or slab-on-grade spaces when design and durability align.
Room-by-room choices that simplify turnovers
Standardize by room type to streamline procurement and make repairs predictable. A consistent program helps teams stock spares and train on installation details that reduce callbacks.
- Living rooms and hallways: LVP or LVT in a mid-tone wood look minimizes visible dirt and scuffs while appealing to most renters. Choose a textured, matte finish to hide wear.
- Kitchens and entries: Prioritize water resistance and wipe-clean surfaces. LVP/LVT or porcelain tile are reliable. If using tile, opt for larger formats to reduce grout lines.
- Bedrooms: LVP/LVT for consistency or carpet for acoustic comfort. If mixing, transition strips at doors maintain a clean look and contain future replacements to one room.
- Bathrooms and laundry: Porcelain/ceramic tile or sheet vinyl. Select slip-conscious textures and mould-resistant grout or a single-piece sheet layout to limit seams.
- Basements: Moisture-tolerant surfaces like LVP/LVT, tile, or sealed concrete. Avoid moisture-sensitive laminates and wood products.
Specify the details that determine performance
Once you choose a category, define specs that protect you from product substitutions that don’t hold up.
- Wear layer and finish: For vinyls, specify a robust wear layer with a matte, textured finish to reduce visible scratches and slipperiness.
- Core and joint design: For click products, require a rigid core and tight lock to resist gapping over minor subfloor variation.
- Underlay: Use a sound-attenuating underlay where needed; confirm compatibility with the flooring’s warranty requirements.
- Slip and stain resistance: Prioritize textures and coatings that handle tracked-in grit, pet activity, and common kitchen spills.
- Colour and pattern: Mid-tones and subtle patterns disguise dust and minor damage; avoid extremes that show every mark.
Subfloor prep and installation choices that reduce callbacks
Great products fail on poor prep. Standardize substrate requirements and installation practices to reduce issues and accelerate turnovers.
- Surface flatness: Establish tolerances for flatness and require patching or levelling where needed. Vinyl and laminates telegraph imperfections.
- Moisture testing: Check concrete substrates before installing moisture-sensitive materials. Choose vapour barriers where appropriate.
- Transitions and thresholds: Use durable, colour-matched trims and cap metal at entries to manage wear and simplify future swaps.
- Baseboards and caulking: Pre-finish baseboards and apply neat caulking at wet-area perimeters to limit water ingress.
- Skid and scratch protection: Add felt pads to fixtures and require movers’ blankets during turnovers to protect new floors.
Plan maintenance and turnovers from day one
Flooring programs work best when cleaning and repair steps are clear and repeatable. Build a simple playbook your team and vendors can follow.
- Standard cleaners: Specify neutral, manufacturer-approved products and a clear process for stains, scuffs, and grout refresh.
- Spot repairs: Keep spare planks/tiles per unit or per floor stack for fast replacements without colour mismatch.
- Protective policies: Encourage doormats, furniture pads, and prompt spill cleanup in tenant materials.
- Inspection checklist: At move-out, check for lifted seams, loose transitions, cracked tiles, and moisture damage; document with photos.
- Turnover sequencing: Complete painting before installing new floors where possible; if not, use floor protection to avoid rework.
Budget with lifecycle cost, not just purchase price
Initial price tells only part of the story. Factor in installation time, expected lifespan in your environment, and the cost of disruptions.
- Replacement cycles: A budget option that needs frequent replacement can cost more than a mid-tier product that lasts significantly longer.
- Labour and speed: Products that install faster can reduce vacancy days. Balance material cost with installation efficiency.
- Repairability: Floors that allow plank-by-plank or tile-by-tile swaps keep more of your investment in place over time.
- Consumables and tools: Underlayments, adhesives, levellers, and trims add to real cost; include them in comparisons.
Address sound, comfort, and safety proactively
Tenant experience drives renewals and reviews. A few specifications can markedly improve daily comfort and reduce complaints.
- Acoustic underlayment: Where sound transfer matters, specify underlay with measurable attenuation compatible with your flooring type.
- Slip resistance: Choose textures for wet zones and entries; select larger-format tiles with appropriate finishes to balance safety and cleanability.
- Thermal comfort: In colder spaces, consider area rug allowances or underlayment choices that improve warmth underfoot.
Standardize SKUs and keep a replacement library
Standardization reduces decision fatigue and keeps units consistent across buildings and turnovers.
- Create a master schedule: One or two approved SKUs per room type (e.g., LVP for commons/bedrooms, tile for baths).
- Document trim and transition colours: Keep notes and samples with SKU numbers and lot information.
- Stock spares: Keep attic stock labelled by property or floor to avoid shade variation on future repairs.
- Train teams: Share install notes, typical problem areas, and cleaning guidance to cut repeat issues.
Plan for pets, heavy traffic, and special conditions
Some properties see more spills, scratches, and odours. Choose materials and finishes that match your most demanding use cases.
- Pets: Prioritize scratch-resistant surfaces with textured finishes and easy-to-clean coatings.
- High-turnover units: Favour floors that can be quickly repaired in sections to contain costs and time.
- Wet entries and balconies: Use water-tolerant materials and proper thresholds; seal perimeters to protect adjoining rooms.
- Allergies and air quality: Hard surfaces simplify dust control compared to broadloom.
Common mistakes to avoid
- Mixing too many finishes within a small unit, which dates quickly and complicates repairs.
- Choosing light, glossy floors that highlight every scuff and require constant polishing.
- Skipping subfloor levelling, leading to gapping, clicking, or premature wear.
- Using moisture-sensitive products in kitchens, entries, or below-grade spaces.
- Underestimating trim, transitions, and baseboard replacements during a floor swap.
A quick decision checklist you can reuse
When selecting or reordering floors for your next turnover, run through this short list:
- Room type and risks (moisture, traffic, acoustics): [ ]
- Material category (LVP/LVT, tile, sheet vinyl, laminate, carpet, engineered, concrete): [ ]
- Standardized SKU and colour (mid-tone, matte, textured): [ ]
- Underlay and trims specified: [ ]
- Subfloor condition and moisture checked: [ ]
- Spare stock ordered and labelled: [ ]
- Cleaning and maintenance notes updated: [ ]
- Install sequencing planned with other trades: [ ]
FAQ
What is the most durable flooring for rentals overall?
There isn’t a one-size-fits-all winner, but LVP/LVT and porcelain tile consistently perform well in rentals. LVP/LVT offers whole-unit continuity, quick installation, and water resistance. Tile excels in bathrooms and laundry areas due to its moisture tolerance and long service life.
Should I use the same flooring throughout the entire unit?
Using one material across most of the unit simplifies sourcing, makes spaces feel larger, and speeds repairs. A common pattern is LVP/LVT everywhere except tile in bathrooms (and sometimes kitchens or entries). If you introduce carpet, limit it to bedrooms to contain future replacements.
How do I choose a colour that hides wear but still looks modern?
Pick mid-tone neutrals with subtle variation and a matte, textured finish. Extremely light or dark tones show every mark. Avoid high-gloss surfaces; they highlight scuffs and require more upkeep to look good.
What underlayment should I use to reduce noise?
Select an underlay designed for your flooring category and installation method. For floating floors like LVP or laminate, use an acoustic underlay approved by the flooring manufacturer. This helps with both sound absorption and comfort underfoot.
How much spare flooring should I keep on hand?
Keep labelled attic stock for each approved SKU, enough to handle typical spot repairs—often a small percentage of each unit’s area. Store boxes flat and track lot numbers to reduce shade variation when replacing planks or tiles later.