The final handover checklist for turnovers is a structured, room-by-room quality review that verifies scope completion, safety, cleanliness, and documentation before keys change hands. For multi-unit properties in London, ON, it ensures every apartment is truly move-in ready and reduces vacancy. At Mahal Concrete and Constructions, we use this checklist to close projects predictably and consistently.
By Mahal Concrete and Constructions | Last updated: 2026-06-16
Quick Summary
Use a final handover checklist to confirm scope completion, finish quality, cleaning, safety, utilities, access, and documentation. Capture photos, record punch items, and get sign-offs. This prevents rework, protects schedules, and keeps units move-in ready so leasing can start immediately.
Here’s what you’ll get in this complete guide—and how to apply it on your next turnover with confidence.
- Clear definition of a final handover and what it covers
- Step-by-step turnover closure process and sign-offs
- Room-by-room checklists that fit standardized finishes
- Best practices for occupied buildings and multi-property portfolios
- Buying guide: tools, forms, and turnover resources
- Comparison tables (DIY vs contractor-led; cleaning-only vs full turnover)
- Local insights for London, ON operations and seasonality
What Is a Final Handover Checklist?
A final handover checklist is the last quality gate in a unit turnover. It verifies completed scope, finish standards, cleanliness, safety, utilities, access, photos, and documentation. When the checklist passes, keys are exchanged and leasing can begin without delay.
Think of the checklist as your “no-surprises” tool. It catches small issues before they become move-in complaints. For multi-unit portfolios, it also standardizes quality so each apartment presents the same, reliable finish.
What the checklist validates
- Scope completion: All items from the agreed scope are done (e.g., paint touch-ups, tile installation, cabinet replacement).
- Finish quality: Surfaces, edges, alignments, caulking, and hardware meet standards.
- Cleanliness: Construction debris cleared; floors, fixtures, and appliances wiped and sanitized.
- Safety: No trip hazards, exposed fasteners, or unsecured covers in occupied corridors.
- Utilities: Water runs clear and drains properly; breakers labeled; lighting functional.
- Access: Keys, fobs, codes, and lock changes verified and documented.
- Documentation: Photos, sign-offs, and warranty details filed.
Our team applies the same rigor across bathrooms, kitchens, flooring, painting, and repairs—so your apartments look and perform like a single, unified product line.
Why It Matters for Multi-Unit Turnovers
Final handover discipline shortens vacancy, avoids callbacks, and keeps leasing teams confident. In multi-unit buildings, standardized finishes and predictable closeout steps protect schedules across dozens of apartments at once.
Missed items compound quickly across a building. One loose hinge or slow drain, multiplied by 20 units, means repeat trips and lost leasing days. A consistent checklist keeps everyone focused on outcomes: safe, clean, and move-in ready apartments.
Real pain points this solves
- Long vacancies: Units sit while small defects stack up; a checklist compresses closure.
- Inconsistent quality: Different crews yield different finishes; a common standard levels results.
- Tenant disruption: Rework after move-in frustrates residents and property managers.
- Coordination drift: Documentation gaps cause disputes; photos and sign-offs align teams.
With 500+ projects and over 50 years of combined team experience, we’ve learned that tight closeout controls are the fastest path to predictable turnovers in apartment environments.
The Final Handover Checklist for Turnovers: Room-by-Room
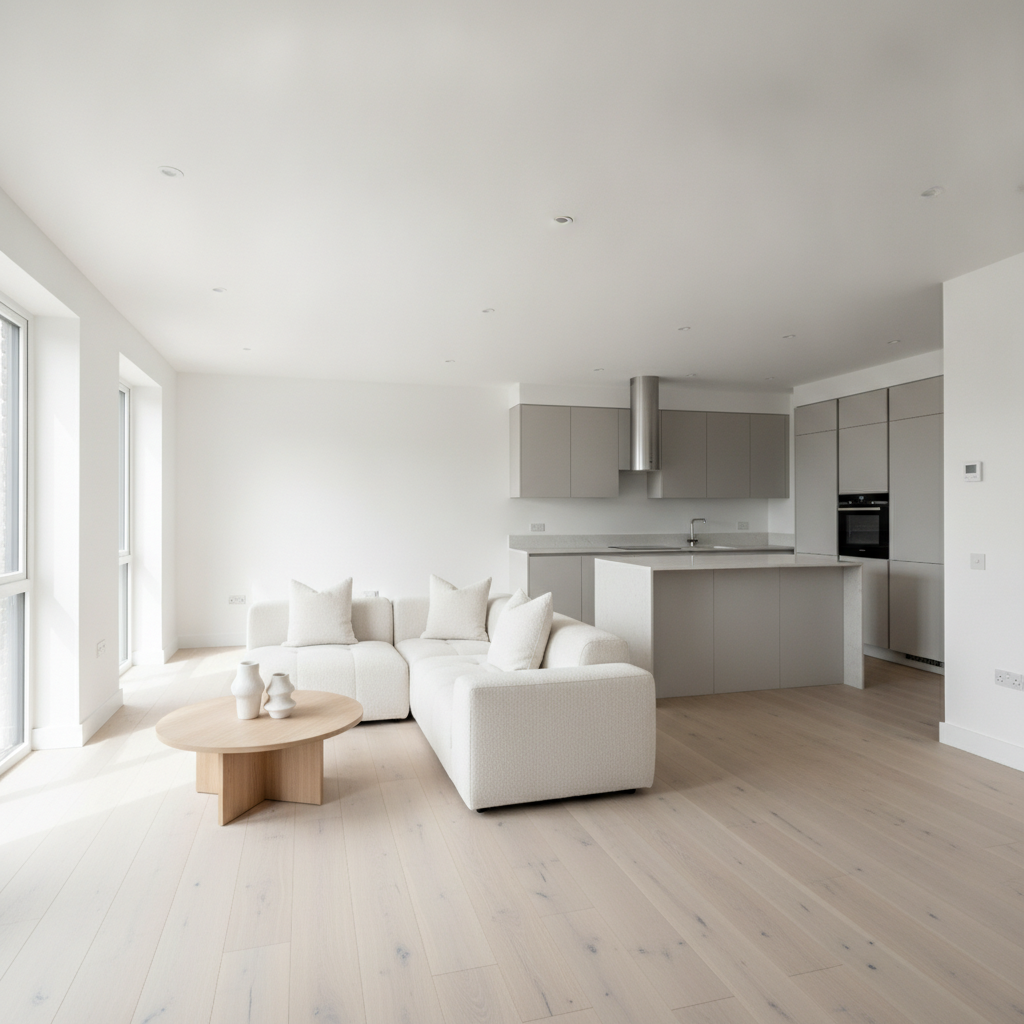
Work room-by-room in a consistent order: entry, living, kitchen, bedrooms, bathrooms, laundry, balcony, mechanicals, and common corridor. At each stop, confirm finishes, function, safety, cleaning, photos, and signatures. Close punch items same day whenever possible.
Use this adaptable checklist to fit your building’s finishes and your portfolio’s standards.
Entry and living areas
- Walls and ceilings: consistent texture, uniform sheen, no roller marks or missed edges.
- Floors: planks aligned; thresholds secure; no lippage on tiles; baseboards caulked and painted.
- Doors and hardware: latches engage; stops installed; peepholes clear; weatherstripping intact.
- Electrical: all fixtures operate; cover plates straight; GFCIs tested where required.
- Windows: locks engage; screens secure; tracks cleaned; glass streak-free.
Kitchen
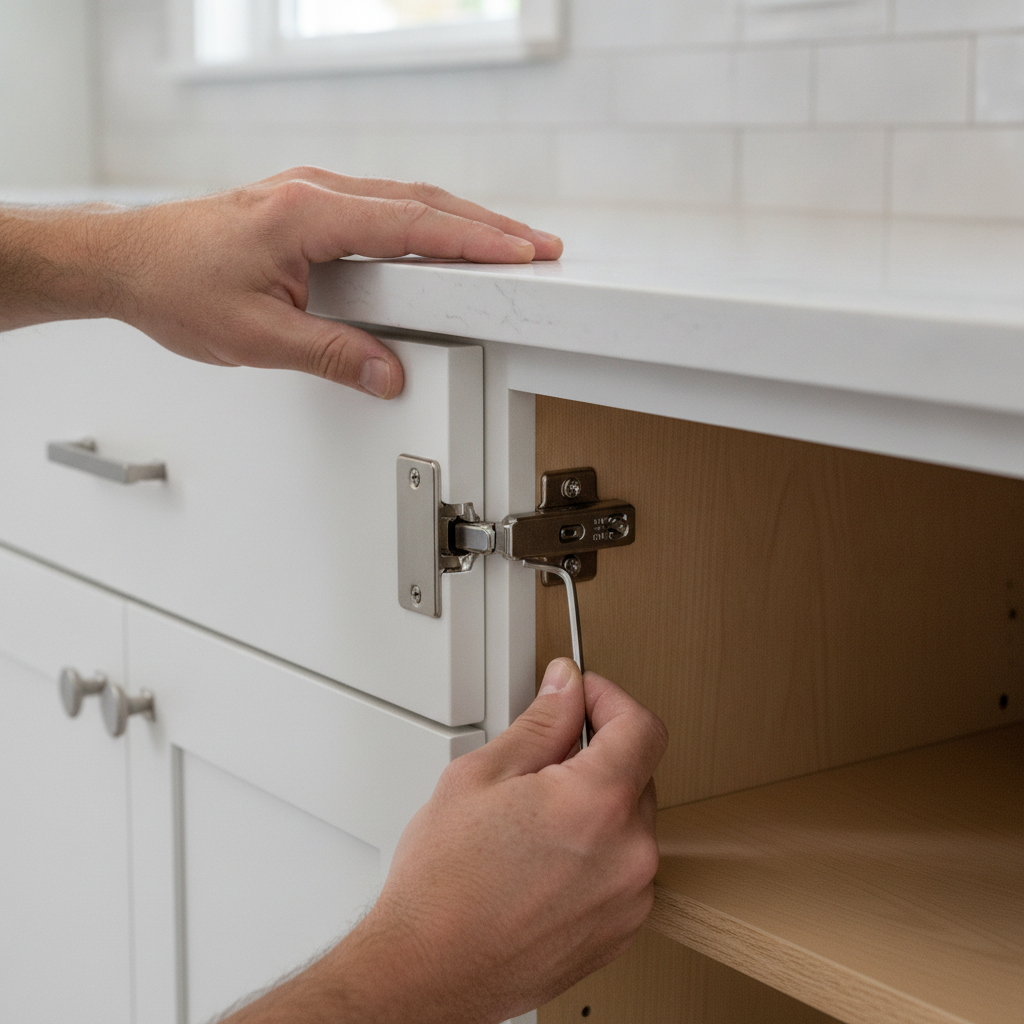
- Cabinets: level and plumb; soft-close working; edges aligned; fillers and scribe moldings tight.
- Countertops: seams flush; caulking continuous; cutouts smooth; backsplashes grouted.
- Appliances: installed per manufacturer; anti-tip bracket on ranges; manuals on-site.
- Plumbing: hot/cold correct; drains leak-free; shutoffs labeled; dishwasher air gap (where applicable).
- Electrical: dedicated circuits as spec; receptacle spacing per code; lighting bright and even.
Bedrooms and storage
- Closets: tracks glide; shelving secure; rods level; doors aligned.
- Outlets and switches: balanced spacing; tamper-resistant where required; plates aligned.
- Paint: touch-ups feathered; corners sharp; no over-spray on hardware.
Bathrooms
- Tiling: consistent grout joints; correct slope to drains; sealed corners; no hollow-sounding tiles.
- Fixtures: toilets secure; supply lines tight; faucets smooth; vents quiet and effective.
- Waterproofing: caulk continuity around tub and shower; clean bead; no gaps or pinholes.
Laundry, balcony, and mechanicals
- Laundry: dryer vent connected; washer hoses tight; pan installed where required.
- Balcony/patio: railings secure; surface clean; door sweeps intact; weep holes clear.
- Mechanicals: filters replaced; thermostats function; breakers labeled; smoke/CO alarms tested.
Standardized finishes are a quiet superpower. When every countertop, hinge, and tile is specified once and repeated, you speed up both installation and inspection—and tenants see a cohesive, high-value product.
How the Final Handover Works (Step-by-Step)
Plan the closeout like a mini-project: confirm scope, pre-walk the unit, inspect room-by-room, capture photos, fix punch items, retest, and sign off. Store documents centrally. Then release keys to leasing with confidence.
- Confirm scope: Align on what “done” means. Cross-check against your turnover scope template.
- Pre-walk: Supervisor does an internal sweep before joint inspection.
- Joint inspection: Property manager plus contractor verify each room, initialing sections.
- Punch and fix: Record defects; address them immediately where feasible.
- Retest critical systems: Water, electrical, doors/locks, smoke/CO alarms.
- Clean and reset: Final wipe-down, filter changes, paint touch-ups, vacuum/mop.
- Photos and files: Date-stamped images, warranty notes, product SKUs.
- Sign-offs and keys: Manager and contractor sign; keys/fobs documented and transferred.
As we outline in our full unit turnover guide, the fastest turnovers are the most organized. A reliable process is your best schedule protection.
Local considerations for London
- Plan turnovers around winter conditions; snow and moisture increase floor protection needs and extend drying times for some coatings.
- End-of-month moves can spike demand; pre-book inspections and cleaners to avoid sign-off bottlenecks.
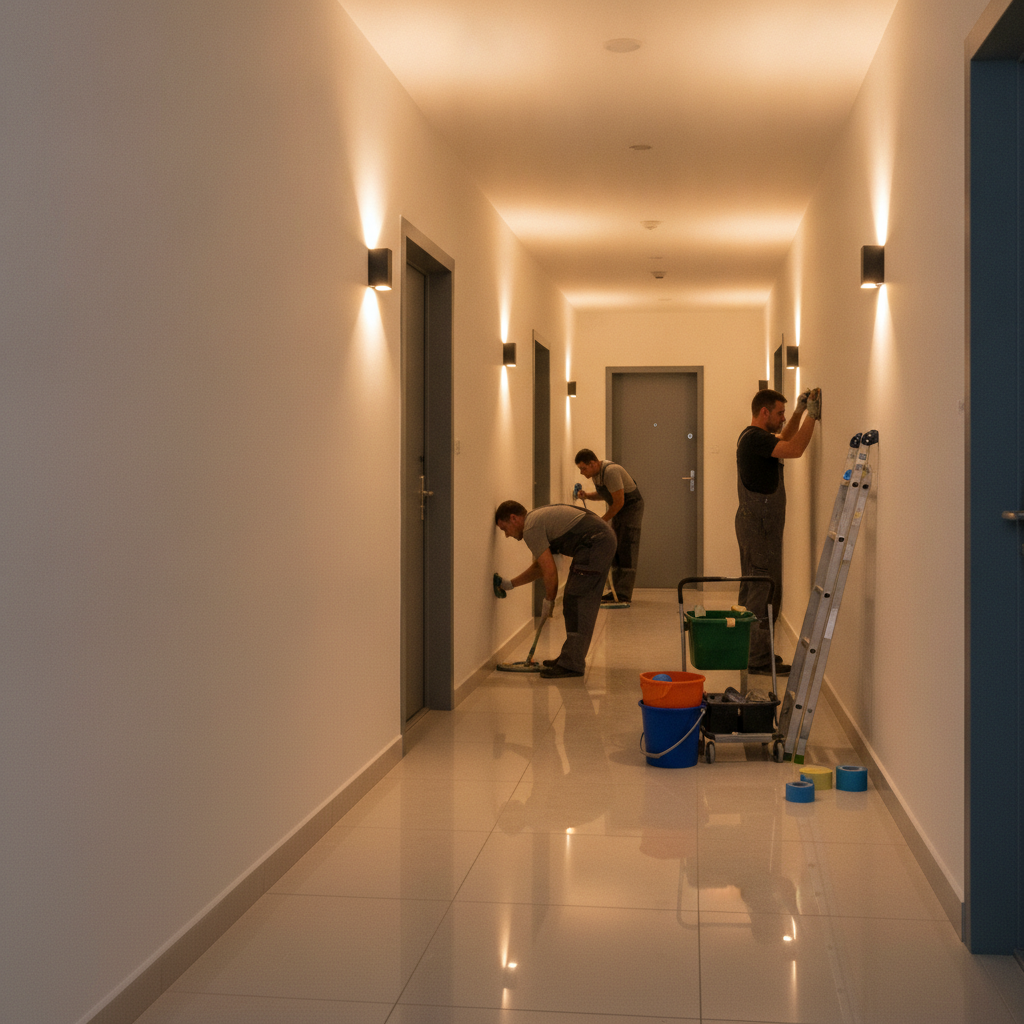
- For occupied buildings, stagger noisy work and corridor access to respect quiet hours and reduce tenant complaints.
Why This Matters in London, ON
In London, ON, a disciplined final handover helps portfolios keep vacancy days low while maintaining consistent finishes across buildings. Standardized checks and WSIB-compliant practices protect residents, staff, and schedules in busy, occupied properties.
Our WSIB-compliant, fully insured team is structured for occupied environments. That means cleaner worksites, tenant-friendly scheduling, and tight quality gates before leasing receives keys. Those practices are detailed further in our post on insured contractors for multi-unit projects.
Best Practices for Apartment Turnovers
Lock in standards early, sequence trades smartly, and measure what matters. Use consistent finishes, protect common areas, close punch items fast, and document with photos. This minimizes rework and keeps leasing confident.
Standards and finishes
- Adopt a fixed palette for paint sheens, trim profiles, and hardware SKUs.
- Specify durable, high-traffic materials in kitchens and baths to reduce service calls.
- Track product SKUs so replacements match across units and time.
Scheduling and coordination
- Sequence wet trades (tiling, painting) before installs to avoid damage and rework.
- Protect finished floors and doors during late-stage work and cleaning.
- Batch inspections at building level when turning multiple units together.
Documentation discipline
- Standard photo angles in every room (north, south, east, west, ceiling detail, and floor).
- Punch-list log with timestamps, responsible party, and closure notes.
- Central folder for sign-offs, model numbers, and warranties.
Simple, repeatable systems make turnovers resilient. When a superintendent or vendor changes, your standards and documentation keep results consistent.
Tools, Forms, and Buying Guide for Turnovers
Equip your team with inspection lists, basic meters, hand tools, floor protection, and cleaning kits. Standardize forms for punch items, sign-offs, and photo logs. The right kit speeds inspections and helps crews close out units in one pass.
Core inspection kit
- Outlet tester, non-contact voltage tester, flashlight/headlamp
- Level, laser measure, stud finder
- Moisture meter for bathrooms and kitchens
- Hand tools: multi-bit screwdriver, adjustable wrench, Allen keys
- Consumables: painter’s tape, caulk, spare fasteners, felt pads
Forms and templates
- Room-by-room inspection checklist with comment fields
- Punch-list tracker with timestamps and closure signatures
- Photo log template with standard angles
- Key/fob transfer form with serials and recipient signature
- Warranty and model number register
Industry primers such as this full home renovation guide and this pre-construction checklist offer broad context on sequencing, protection, and quality controls.
Comparison: DIY Sign-Off vs Contractor-Led QA
Contractor-led QA streamlines fixes and documentation, while DIY sign-offs can miss technical issues and extend schedules. For multi-unit portfolios, a trained, insured crew closes faster with fewer call-backs.
| Aspect | DIY Sign-Off | Contractor-Led QA (Mahal) |
|---|---|---|
| Speed to Close | Varies by staff skill; punch items linger | Same-day fixes common; predictable release |
| Technical Coverage | May miss code/fit issues | Trained eyes catch alignment, slope, and sealant gaps |
| Documentation | Inconsistent photos and logs | Standard photo sets, punch logs, and signatures |
| Risk & Compliance | Limited accountability | WSIB-compliant, fully insured closeout |
| Portfolio Consistency | Unit-to-unit variation | Standardized finishes validated each time |
Need a reliable partner? Review our guidance on choosing a contractor for apartment turnovers to align vendor selection with your standards.
Scope Comparison: Cleaning-Only vs Full Turnover vs Remodel
Match your checklist depth to your scope. Cleaning-only validates hygiene and safety; full turnover adds repairs and finish checks; remodel includes systems testing and detailed fit/finish verification across kitchens and baths.
| Scope Type | What the Handover Confirms | Typical Use Case |
|---|---|---|
| Cleaning-Only | Sanitation, debris removal, basic function tests | Quick flips between low-wear tenancies |
| Full Turnover | Repairs, paint, flooring/tiling, hardware, utilities, photos | Standard move-out refresh with minor upgrades |
| Kitchen/Bath Remodel | Cabinet/counter fit, tile slope and grout, plumbing/electrical verifications | Value-adding upgrades to increase tenant appeal |
For scope planning context (without pricing), see our note on non-price turnover cost drivers and this general condo renovation preparation guide.
Case Studies and Examples from London, ON
Portfolio results in London, ON show the power of standardization: repeatable finishes, fewer callbacks, and faster lease-ups. With 500+ projects delivered, our closeout process scales from single units to building-level batches.
Example 1: Bathroom re-tiling in an occupied building
- Challenge: Replace failing grout in several stacked bathrooms without disturbing residents.
- Approach: Phased work by floor; protection for corridors; photo logs; joint handover checks.
- Outcome: Consistent grout lines and sealed corners; zero rework post-handover.
Example 2: Full-unit painting and flooring refresh
- Challenge: Tight schedule between move-out and showing dates.
- Approach: Standardized sheens and trim; plank alignment verification; batch inspections.
- Outcome: Uniform finish quality; leasing confident to list immediately.
Example 3: Kitchen cabinet replacement and countertop installation
- Challenge: Legacy cabinets off-plumb created alignment issues at corners.
- Approach: Shim and level; confirm reveals; install scribe moldings; verify soft-close hardware.
- Outcome: Clean alignment and durable operation verified during final handover.
For legal basement work in nearby markets, see our notes on planning requirements in Woodstock legal basement renovations as a regional example of code-conscious delivery.
Frequently Asked Questions
Property managers ask about timelines, documentation, occupied-building protocols, and what’s included. Here are concise answers that help teams prepare for a smooth, on-time handover.
What should a final handover checklist include?
It should confirm scope completion, finish quality, cleanliness, safety, utilities, access, photos, and signatures. Use room-by-room sections for kitchens, baths, living areas, bedrooms, laundry, balconies, and mechanicals. Include punch logs and a key/fob transfer form.
Who signs the handover?
Typically, the contractor’s site lead and the property manager or building representative sign. Signatures confirm that punch items are closed, photos are stored, and access devices (keys, fobs, codes) have been transferred and documented.
How do you handle turnovers in occupied buildings?
Plan phased schedules, protect corridors, and coordinate quiet hours. Communicate timelines to residents, control dust and debris, and perform joint inspections. WSIB-compliant safety practices and clean worksites reduce complaints and rework.
Can I adapt this checklist for large portfolios?
Yes. Standardize finishes, photo angles, and forms across properties. Batch inspections, maintain a central document repository, and track SKUs for repeatable replacements. These steps keep results consistent across many units.
Key Takeaways and Next Steps
Document, standardize, and inspect with discipline. A robust final handover checklist accelerates lease-up, reduces callbacks, and raises tenant satisfaction across your portfolio.
- Use one consistent, room-by-room checklist across your buildings.
- Capture standard photo angles and keep a central repository.
- Batch inspections to save time when multiple units turn together.
- Lean on WSIB-compliant, insured teams for predictable closure.
- Align your scope early with this scope of work template.
Ready to standardize your closeout? Explore our full unit turnover checklist or contact our team to plan your next batch of move-in-ready apartments.
Looking for a predictable, low-disruption turnover partner in London, ON? We specialize in multi-unit environments with standardized finishes, tenant-friendly scheduling, and rigorous handovers.
For broader renovation context without pricing, see these industry overviews: renovation best practices and condo preparation guidance.