Floor replacement vs floor repair for rentals is the decision process landlords use to choose between spot-fixing damage and installing new flooring across part or all of a unit. The right call maximizes safety and tenant appeal while minimizing downtime. In London, ON, we guide property managers toward durable, standardized finishes that turn units faster.
By Mahal Concrete and Constructions • Last updated: 2026-06-02
Quick Summary
Repair rental floors when damage is localized, subfloors are sound, and materials match well. Replace floors when water, odors, trip hazards, or widespread wear exist—or when standardizing finishes accelerates future turns. In multi-unit buildings, consistent, durable surfaces shorten vacancy windows and reduce rework during the next turnover.
Here’s the gist you can act on today. Repair preserves good floors with minor issues; replacement resets performance, safety, and look. For multi-unit portfolios, standardized materials and repeatable specs are your friend. They compress make-ready timelines and keep resident satisfaction high across buildings.
- Repair first when scratches, a few loose tiles, or a single seam need attention.
- Replace now when water damage, pet odors, delamination, or soft spots appear.
- Standardize to one or two SKUs across units to simplify logistics and touch-ups.
- Document with photos and a scope so repeat units run faster every time.
Quick Comparison Table
Use this table to choose repair or replacement fast. Match your scenario to the damage pattern, unit status, and timeline. If safety, moisture, or odors are present—or finishes mismatch—full replacement with a standardized spec is usually the safer, faster path for next-tenant readiness.
| Factor | Repair | Replace |
|---|---|---|
| Damage scope | Localized (under ~10% area) | Widespread, recurring, or across rooms |
| Subfloor condition | Solid, dry, flat | Soft, cupped, moist, uneven |
| Moisture/odors | No active moisture or odors | Past leaks, pet odors, or mold risk |
| Safety risks | No trip hazards | Edges lift, tiles pop, carpet ripples |
| Tenant status | Occupied unit with minor issues | Vacant turn or major issues |
| Finish match | Perfect SKU/color match available | Discontinued or obvious mismatch |
| Future turns | One-off fix | Standardize to accelerate next turn |
In our experience across 500+ projects, this matrix prevents rework. If two or more “Replace” flags apply, move straight to standardized flooring and log the spec in your turnover playbook.
Our Top Pick for Most Rentals
For most rental units, the best long-term move is replacing worn surfaces with a standardized, durable luxury vinyl plank (LVP) over a level, repaired subfloor. LVP balances durability, moisture resistance, and attractive finishes—ideal for high-traffic apartments and repeatable, portfolio-wide turns.
Here’s why LVP replacement is our default recommendation for heavy-use rentals. It tolerates moisture better than many laminates, installs efficiently, and looks consistent across varied lighting. In occupied buildings, our tenant-friendly scheduling reduces disruption while ensuring predictable, repeatable outcomes at scale.
- What we do: Subfloor inspection and repair, surface prep, and LVP install with standardized transitions.
- Why it works: Moisture tolerance and scratch resistance reduce call-backs during the lease.
- Portfolio benefit: One SKU streamlines maintenance, touch-ups, and future patch work.
- Where to start: See our apartment turnover guide for sequencing flooring with paint and cleaning.
- Need a partner? Explore our multi-unit services to standardize specs.
For hardwood refinishing or tile-centric properties, we calibrate the spec to fit existing architecture. For example, a pre-war building may warrant tile regrout in wet zones plus LVP in living areas for a balanced maintenance profile.
Entry #2–10: Best-Use Scenarios
These nine real-world scenarios show when repair beats replacement—and when a full reset pays back in speed, safety, and tenant appeal. Use them to standardize decisions across buildings and reduce downtime during make-ready windows in London and across Southwest Ontario.
#2. Spot repair for isolated plank, tile, or seam failure
When one tile pops or a single LVP seam lifts, repair keeps good floors in service. We replace the damaged piece, reset adhesive, and roll seams. This is ideal when you have exact-match stock on hand and a dry, sound subfloor underneath.
- Signals: One-off chip, seam lift, or scratched plank in otherwise solid field.
- What we do: Remove and replace the piece, heat-weld or re-adhere, and blend finish.
- Why it matters: Prevents trips and stops progressive failure from migrating.
- Portfolio note: Keep a labeled box of spare planks/tiles for each SKU.
#3. Re-stretch and patch carpet in bedrooms only
Carpet ripples create trip hazards and make units look tired. If the pad and backing are good, re-stretching and spot patching bedrooms extends useful life. We re-tack along walls, trim excess, and seam corners to remove waves and improve safety in hours, not days.
- Signals: Ripples in walk paths, loose transitions at doors.
- What we do: Re-stretch to tight tolerance, replace thresholds, and spot patch.
- Why it matters: Trip-risk reduction and cleaner appearance help leasing photos.
- Next turn: Plan hard surface in living/dining on the next vacancy.
#4. Refinish hardwood where thickness allows
Solid hardwood with enough wear layer can be screened and coated or fully refinished to remove scratches and revive luster. This preserves character while modernizing tone. If planks are thin, cupped, or water-stained, consider a targeted board replacement or a full LVP transition outside heritage units.
- Signals: Surface scratches, dull finish, no deep moisture staining.
- What we do: Screen-and-recoat or sand, stain, and finish to spec.
- Reference: For a general overview of refinishing steps, see this hardwood refinishing primer.
- Portfolio note: Log stain and sheen for future touch-ups.
#5. Tile regrout and selective re-tile in wet zones
In baths and kitchens, grout erosion, stains, and pinholes invite moisture intrusion. Regrouting with a matching product and selectively re-tiling cracked pieces restores integrity without full demo. Where movement cracks telegraph, we evaluate the substrate for decoupling membranes before replacement.
- Signals: Grout crumbling, isolated cracked tiles, discolored joints.
- What we do: Remove failed grout, regrout, re-caulk, replace broken tiles.
- Reference: This practical tile repair guide outlines common chip fixes and prep.
- Next step: If the pan or underlayment is compromised, move to full replacement.
#6. Subfloor repair before any new finish goes down
Soft spots, squeaks, or slope changes mean the subfloor needs attention. We open, dry if needed, sister joists, add blocking, or re-sheath with proper fasteners. Skipping this step dooms even premium floors. Our turnover teams check flatness and moisture before greenlighting installation.
- Signals: Spongy feel, nails backing out, noticeable dips.
- What we do: Structural and surface corrections to meet flatness tolerances.
- Why it matters: Eliminates callbacks, telegraphing, and premature failure.
- Link: Our remodel sequencing tips explain why prep saves time later.
#7. Moisture and odor remediation after leaks or pets
Lingering odors or past leak lines under LVP, laminate, or carpet call for replacement plus deodorization and drying. We pull finishes, treat substrates, and verify dryness before reinstall. This breaks the cycle of odor reactivation during humidity swings and avoids long-term resident complaints.
- Signals: Pet urine crystallization, musty smell, visible leak stains.
- What we do: Remove affected materials, dry and treat, then reinstall new surfaces.
- Why it matters: Prevents complaints and protects indoor air quality.
- Standardize: Keep dehumidification targets in your turnover checklist.
#8. Full LVP replacement in living areas; tile-only in wet rooms
Many portfolios adopt a hybrid: resilient LVP everywhere except showers and tub surrounds. This keeps installs efficient, limits grout maintenance, and delivers a consistent look. We align transitions, thresholds, and baseboards so every unit photographs the same for listings.
- Signals: Mix-matched legacy floors, recurring grout upkeep, uneven thresholds.
- What we do: Demo, prep, LVP field with tile at wet zones, new trims and caulk.
- Portfolio note: Store one LVP SKU and one tile SKU per property.
- Link: Skim this high-level installation overview for common substrate steps.
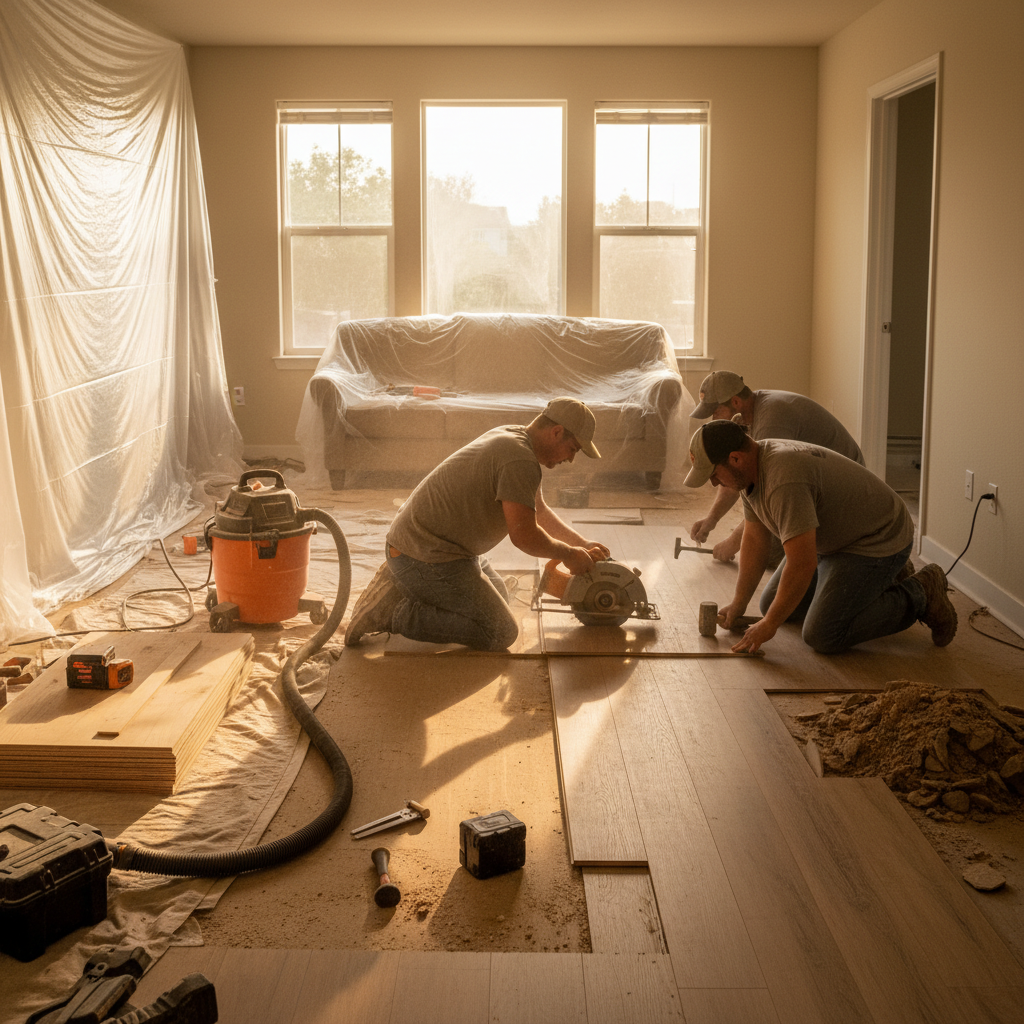
#9. Turnover-ready floor + paint package
Coordinating floors with full-unit painting saves days. We protect schedules by sequencing paint, then floors, then final clean. The result: neutral tones, crisp lines, and consistent photos that boost application volume. Our standardized finishes reduce surprises at final walk.
- Signals: Units due for both paint and new floors during vacancy.
- What we do: Paint and Repairs plus Flooring and Tiling in one structured flow.
- Why it matters: One crew lead, one scope, predictable handover.
- Internal guide: See our remodeling choices article on scoping replacements.
#10. Emergency stabilization after floods or major leaks
When water events strike, stabilize first. We extract, dry, and make safe before deciding on repair vs. replace. Fast action protects framing and reduces secondary damage. Once moisture is controlled and substrates are verified, we specify like-for-like repair or a clean-slate replacement.
- Signals: Standing water, delaminated seams, swollen baseboards.
- What we do: Remove saturated materials, dry, sanitize, and secure areas.
- Why it matters: Speed reduces material loss and downtime.
- Handover: Document readings and photos for your unit files.
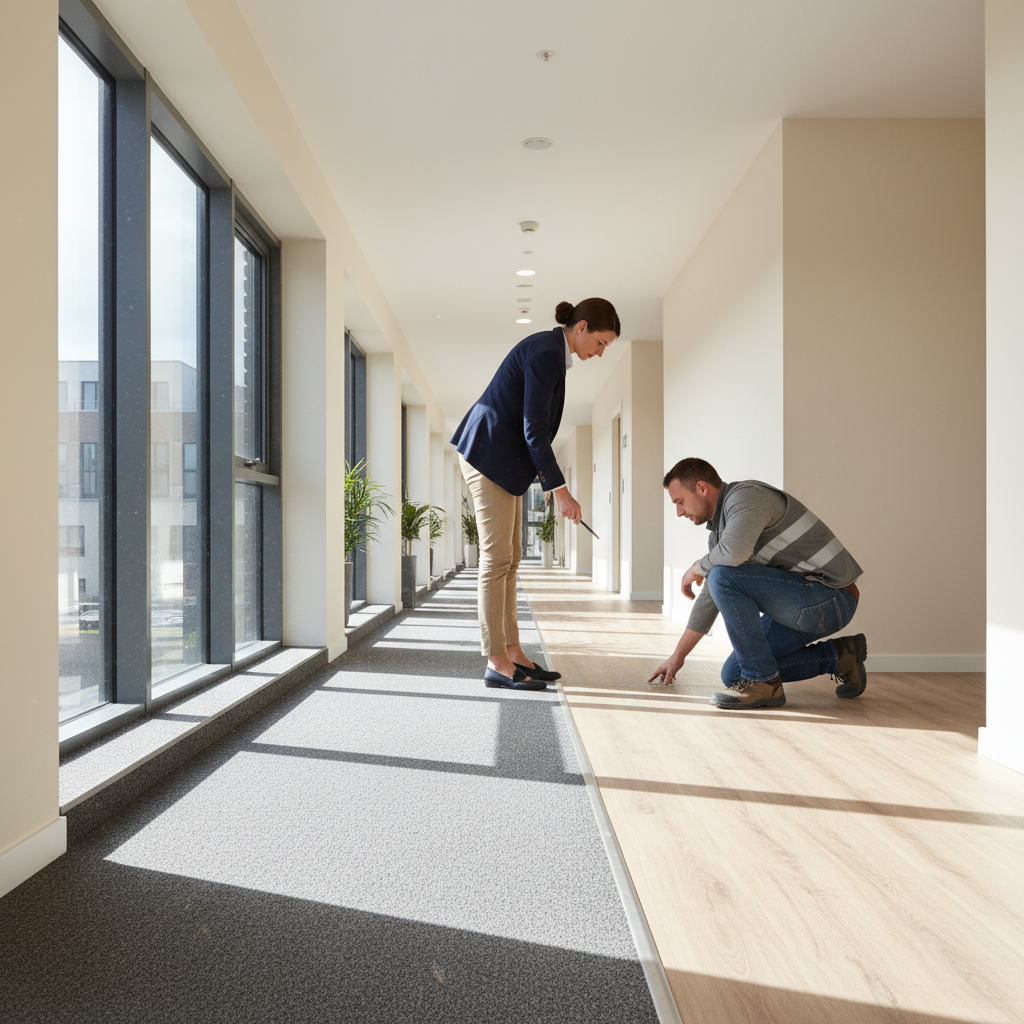
How to Choose Repair vs. Replacement for Rentals
Decide repair vs. replacement by scoring damage scope, moisture, safety, match availability, and turnover timing. In London, ON rentals, two or more red flags—moisture, odors, trip risks, or discontinued finishes—tip the decision to replacement with a standardized LVP or tile spec.
Use this repeatable decision path. It keeps teams aligned across properties and avoids backtracking mid-turn.
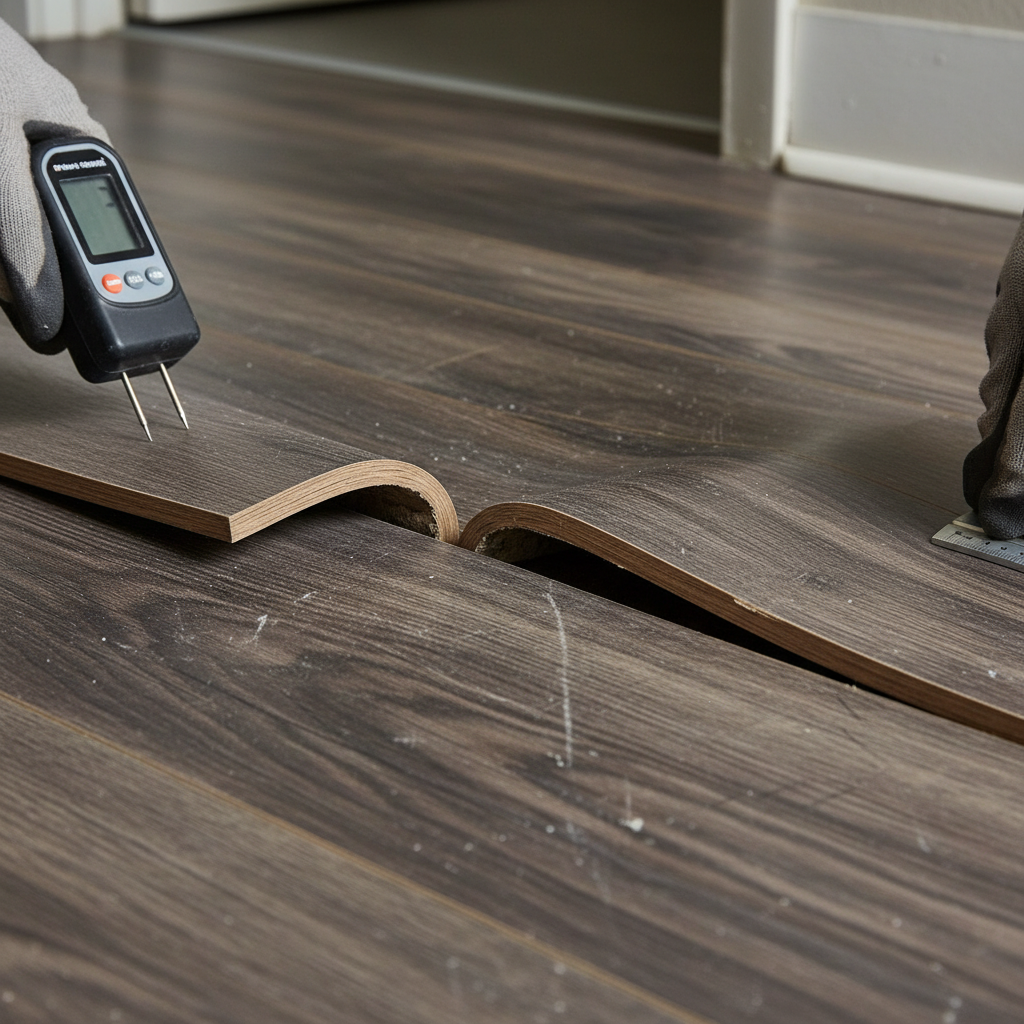
- Inspect: Check 100% of floors and transitions; note waterlines, soft spots, and ripples.
- Measure moisture: Probe subfloors at suspect areas and record readings.
- Assess safety: Flag trip points, loose edges, or missing thresholds.
- Confirm matches: Verify SKU availability for patches; avoid visible mismatches.
- Standardize: If multiple units need work, pick one spec and roll it out.
- Sequence: Paint first, floors second, clean third; then final walk.
We’ve found that a short, shared checklist helps maintenance techs, supers, and vendors stay synced. To see how missed steps slow turns, review our turnover pitfalls breakdown.
Buying Guide for Property Managers
Choose rental flooring for durability, easy cleaning, and consistent reordering. Prioritize LVP with tough wear layers for living spaces and tile for wet zones. Log SKUs, trims, and transitions in your turnover playbook to speed future repairs and replacements across the portfolio.
This checklist keeps your specs tight and repeatable across buildings and seasons.
- Durability first: Favor materials proven in high-traffic rentals and easy to sanitize.
- Moisture strategy: Pair resilient finishes with verified dry substrates.
- Slip resistance: Prefer finishes with better traction in entries and baths.
- Color discipline: Neutral, light-to-mid tones photograph well and hide minor scuffs.
- Trim kit: Standardize thresholds, reducers, and baseboards with every spec.
- Spare stock: Store 3–5% extra for each unit to cover patches later.
- Documentation: SKU, lot, and batch numbers plus photo references.
Mid-article CTA: If you manage rentals in Southwest Ontario, our structured Full Unit Turnover workflow coordinates Flooring and Tiling with Paint and Repairs for predictable handovers.
Local considerations for London
- Spring thaws and shoulder-season humidity can reactivate old odors—verify dryness before reinstalling finishes.
- Winter entryways track grit; specify durable, easy-clean surfaces at doors and halls to cut maintenance.
- Coordinate multi-unit scheduling to minimize disruption in occupied buildings while finishes cure properly.
Frequently Asked Questions
Landlords often ask about timing, tenant safety during work, and which materials stand up best in rentals. Repairs suit small, well-matched fixes; replacement fits moisture, odors, and trip hazards. With standardized specs and tight sequencing, most vacant units can be turned promptly and consistently.
How do I tell if a floor needs full replacement?
Look for multiple red flags: soft spots, widespread lifting, persistent odors after cleaning, or moisture readings above dry baselines. If exact-match patches aren’t available or would be obvious, standardize and replace to reset performance and appearance for the next tenant.
Can I repair floors in an occupied rental without major disruption?
Yes—localized repairs, re-stretching carpet, and threshold fixes can be scheduled in short windows. Communicate drying/curing time and isolate work areas. For moisture or odor issues, plan a vacancy window for safe, thorough remediation and reinstall.
What materials hold up best in high-traffic apartments?
We favor luxury vinyl plank for most living areas thanks to its moisture tolerance and easy upkeep, and ceramic or porcelain tile in wet rooms. Standardizing SKUs across units simplifies maintenance, touch-ups, and future repairs.
How should I sequence floors with painting during a turnover?
Paint first, floors second, then final clean. This avoids splatter on new finishes and ensures transitions and baseboards seat cleanly. Finally, complete a quality check and document SKUs for your turnover records.
Methodology
Our guidance reflects 500+ multi-unit projects across Southwest Ontario. We assess subfloors, moisture, safety risks, and finish availability, then sequence work to reduce vacancy periods. Standardized materials and documented specs make repairs faster and replacements more predictable across portfolios.
We combine site assessments with a structured, end-to-end process: scope finalization, proposal and timeline, scheduled execution with minimal disruption, and rigorous quality checks prior to handover. The same playbook applies from single-unit turns to building-wide refreshes.
For added context on common install steps and refinishing approaches, we sometimes reference public overviews like this installation summary and a high-level refinishing overview. For chip and grout fixes, see a general tile repair explainer.
Conclusion and Key Takeaways
Choose repair when issues are isolated and matches are perfect; choose replacement when moisture, odors, or safety risks exist—or when standardization speeds future turns. In rentals, consistent, durable finishes reduce vacancy periods and create move-in-ready units with fewer maintenance calls.
- Repair: Minor, localized, matched, and dry.
- Replace: Moisture, odors, widespread wear, or trip hazards.
- Standardize: One resilient spec across units accelerates every future turn.
- Sequence: Paint → Floors → Clean → Quality check → Handover.
- Document: Keep SKUs, trims, and photos in your turnover playbook.
Ready to standardize flooring across your rentals? Book a portfolio review with our London-based team. We’ll align Flooring and Tiling with Full Unit Turnover to deliver predictable handovers and consistent finishes.