Apartment repair and upgrade priorities are the ordered steps property managers use to fix safety and habitability issues before adding value-boosting improvements. In London, ON, our team at 805 Chelton Rd helps portfolios sequence emergencies, code fixes, and make-ready upgrades so vacancies shorten, risk drops, and units become move-in ready faster.
By Mahal Concrete and Constructions • Last updated: 2026-06-19
Quick Summary
Prioritize life-safety and water intrusion first, restore building systems next, then refresh finishes, and finally invest in kitchens and bathrooms. Standardize materials across units, use a make-ready checklist, and batch work by trade to cut vacancy days. Document with photos, sign off with QA, and hand over move-in ready.
This complete guide is built for multi-unit operators. You’ll get a clear order of operations, checklists, examples from London, ON, and tools we actually use in full unit turnovers.
- What to fix first versus what to upgrade
- How to build a building-wide priority plan
- Standard specs for flooring, tiling, paint, and fixtures
- Turnover timelines and batch scheduling
- Troubleshooting bottlenecks in occupied properties
Table of contents
- What are apartment repair and upgrade priorities?
- Why prioritization matters
- How to build a priority plan
- Types of repairs and upgrades
- Best practices for faster turnovers
- Tools and resources
- Troubleshooting common bottlenecks
- Prerequisites before you start
- Case studies and examples (London, ON)
- FAQ
- Conclusion and next steps
What are apartment repair and upgrade priorities?
Apartment repair and upgrade priorities are a ranked playbook for restoring safety and habitability before adding value upgrades. The sequence typically runs: emergencies, life-safety/code, water intrusion, mechanical/electrical/plumbing, interior finishes, then kitchens and bathrooms—so units re-list sooner and risk stays low.
In our experience with multi-unit buildings, teams get momentum when they use a clear, repeatable order. That order tells trades where to start, which rooms to open first, and when to close with final paint and clean.
How we categorize priorities
- Emergency stabilization: Leaks, active hazards, broken glass, unsecured entries. Address within hours to prevent secondary damage.
- Life-safety/code: Smoke/CO alarms, GFCIs, railing integrity, trip hazards. These protect residents and limit liability.
- Water intrusion: Roof and plumbing leaks, failed caulk, missing grout. Water drives most hidden damage and mold risk.
- MEP restores: Electrical circuits, plumbing fixtures, exhaust fans, heat sources. Stable systems reduce callbacks.
- Interior finishes: Drywall, paint, flooring, tiling, caulk. These set the make-ready baseline tenants see.
- Value-add upgrades: Kitchen cabinets, countertops, vanities, bath surrounds, lighting packages.
| Issue | Risk | Fix Now? | Example Action | Typical Timeline |
|---|---|---|---|---|
| Active leak | Structural + mold | Immediate | Shutoff + cap + dry | 2–24 hours |
| Missing GFCI | Shock/fire | High | Replace outlet | Same day |
| Damaged subfloor | Injury + delays | High | Patch/level | 1–2 days |
| Old cabinets | Low (cosmetic) | Planned | Replace doors/boxes | 2–4 days |
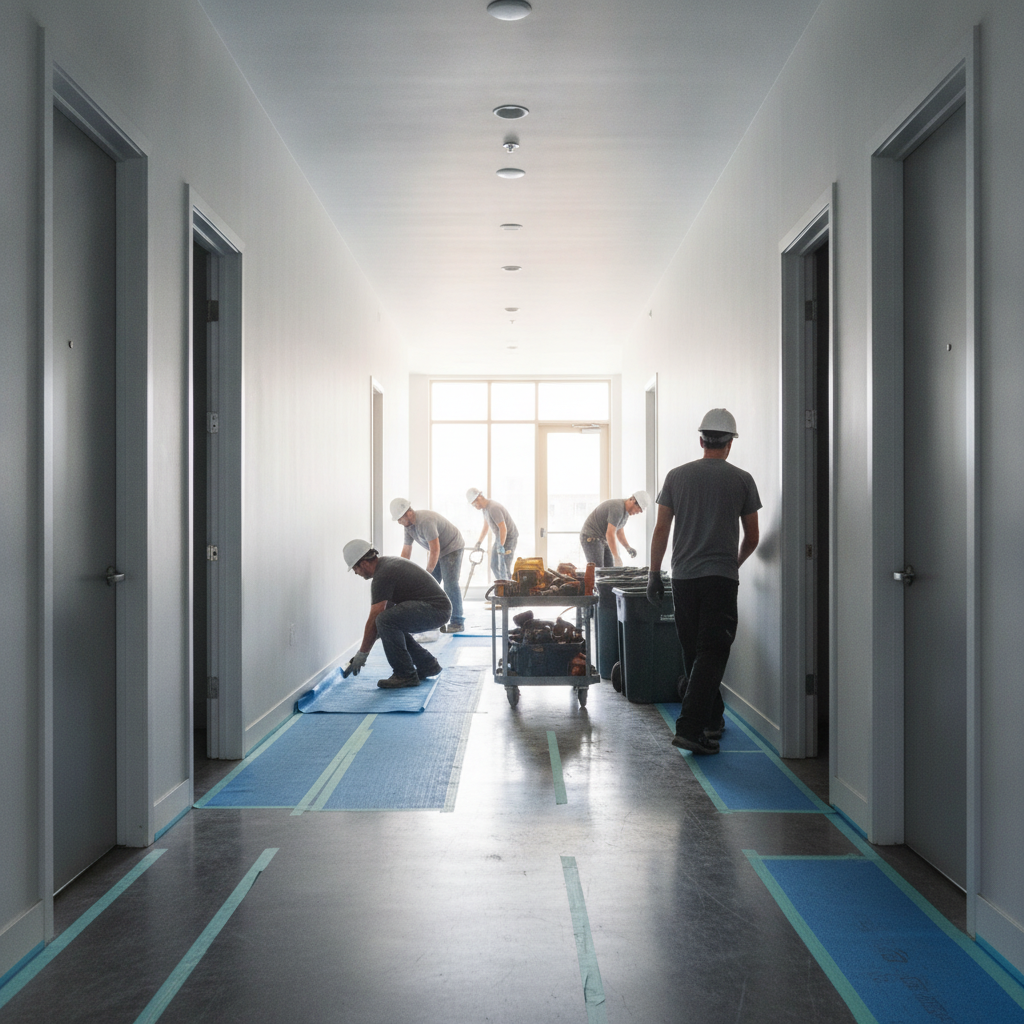
When we lead a full unit turnover, we stage crews so tier-one hazards are cleared within the first 24 hours. Finishes and upgrades follow in defined waves to avoid rework and protect schedules.
Why prioritization matters
Prioritization compresses vacancy days, lowers risk, and makes execution predictable across dozens of units. Clear tiers prevent rework, batch work by trade, and standardize finishes—so portfolios lift rent readiness faster and maintenance teams reduce callbacks.
Here’s the thing: without a tiered plan, schedules slip. Crews step on each other’s tasks, and simple drywall repairs snowball when a hidden leak is found late.
- Fewer vacancy days: In our projects, structured sequencing typically trims make-ready time by one to two weeks per unit.
- Lower unplanned damage: Addressing water first can prevent multiple downstream repairs (flooring, baseboards, paint).
- Consistent finishes: A defined spec (paint, LVP, tile, hardware) makes units match across a building for easier turnovers.
- Portfolio clarity: Score each unit on a 1–5 condition scale to route work orders in the right order.
- Better safety posture: Life-safety fixes and WSIB-compliant practices reduce incidents in occupied buildings.
When leadership sees predictable timelines, leasing can confidently pre-market. That alignment is what turns repair tasks into NOI results.
How to build a priority plan (step-by-step)
Build your plan in seven steps: assess every unit, map hazards first, define standard specs, batch work by trade, sequence rooms, lock daily milestones, and close with QA and documentation. Use one playbook for all buildings to scale results.
- Run a site assessment: Walk every room, ceiling to floor. Photograph evidence. Flag water, electrical, and safety issues.
- Score units 1–5: 1 = make-ready clean; 5 = heavy restoration. This routes crews and sets expectations.
- Define standards: Choose flooring, tile, paint color, fixtures, and cabinet SKUs for the whole property.
- Map the sequence: Emergency → life-safety → MEP → drywall → flooring → paint → cabinets/counters → final clean.
- Batch by trade: Electricians across stacked units, then plumbers, then finish crews. Minimize mobilizations.
- Lock milestones: Daily targets per unit reduce schedule drift (e.g., subfloor remedied by Day 2, paint by Day 4).
- QA + handover: Punch every room. Document with photos. Issue a final handover checklist and keys.
For a complete turnover sequence, see our full unit turnover guide. It outlines the punch-by-punch flow we follow before releasing a unit to leasing.
Local considerations for London
- Cold-season moisture: Winter humidity swings in London can expose weak caulk and grout lines. Prioritize re-sealing tubs and backsplashes during turnovers.
- Tenant communication: In multi-tenant buildings, stagger noisy work mid-day to reduce complaints and after-hours callbacks.
- Material availability: Regional supply fluctuations mean stocking standard LVP, primers, and common valves to avoid delays.
Types of repairs and upgrades (from emergency to value-add)
Use tiers. Stabilize emergencies, fix life-safety, eliminate water intrusion, restore MEP, then finish interiors and invest in kitchens and baths. This order cuts rework and keeps units rentable even if final upgrades shift to phase two.
Tier 0: Emergency stabilization
- Shut off leaking supply lines, cap, set drying equipment.
- Secure doors/windows; board damaged glass; address trip hazards.
- Call for emergency stabilization if multiple units are affected.
Tier 1: Life-safety and code
- Replace missing smoke/CO alarms, test GFCIs/AFCIs.
- Verify stair and balcony integrity; confirm handrail heights.
- Bathroom exhausts and kitchen hoods must vent correctly to reduce moisture and fire risk.
Tier 2: Water intrusion
- Re-grout and re-caulk wet areas; reset pans as needed.
- Repair supply/drain leaks; replace shutoff valves.
- Tile and surround repairs stop daily splash from turning into subfloor damage.
Tier 3: Mechanical/Electrical/Plumbing (MEP)
- Repair circuits, switches, and receptacles.
- Plumbing adjustments at sinks, tubs, and toilets; ensure proper slope and trap function.
- Restore exhaust fans and dryer vents to improve air quality.
Tier 4: Interior finishes
- Wall repairs and patchwork; skim where needed for paint-ready flatness.
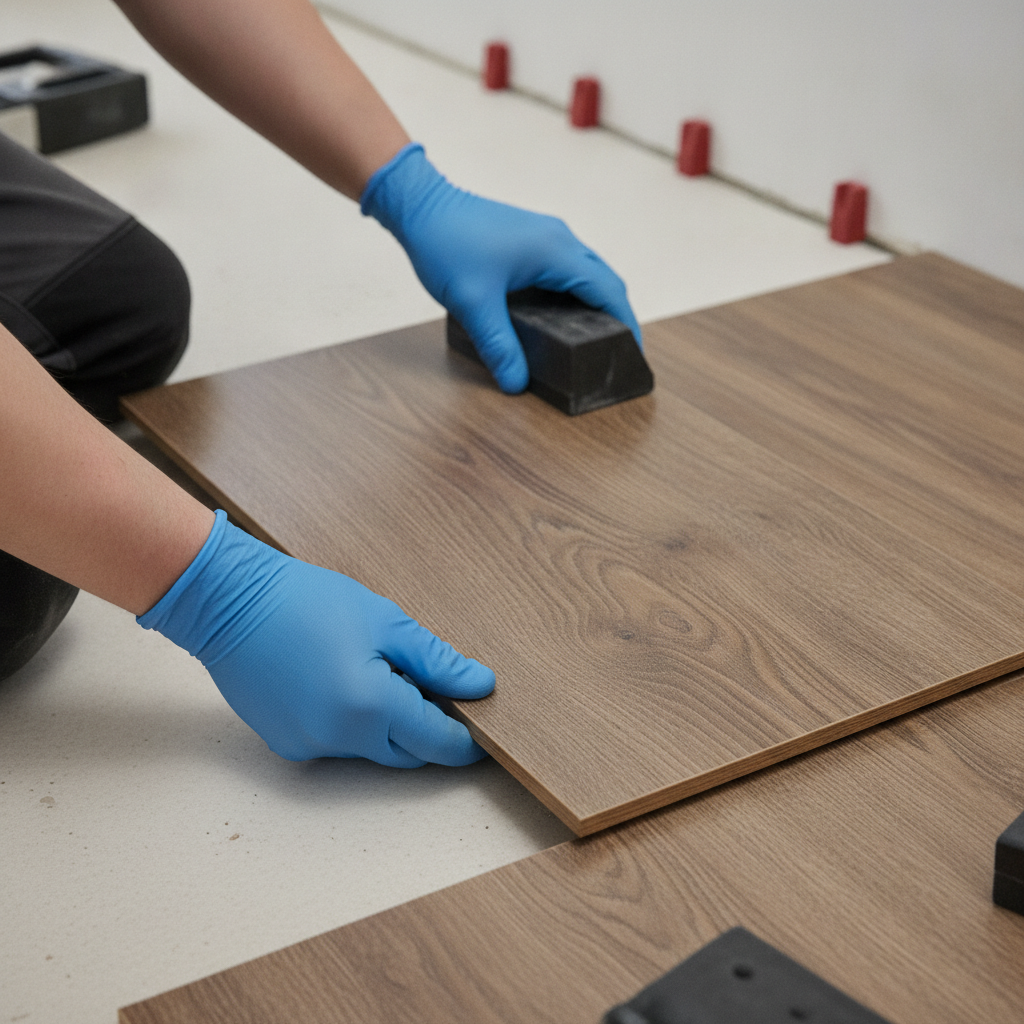
- Floor replacement or repairs with durable LVP; protect from moisture at kitchens/baths.
- Tile installation in showers and backsplashes for longevity and cleanability.
Tier 5: Kitchens and bathrooms (value-add)
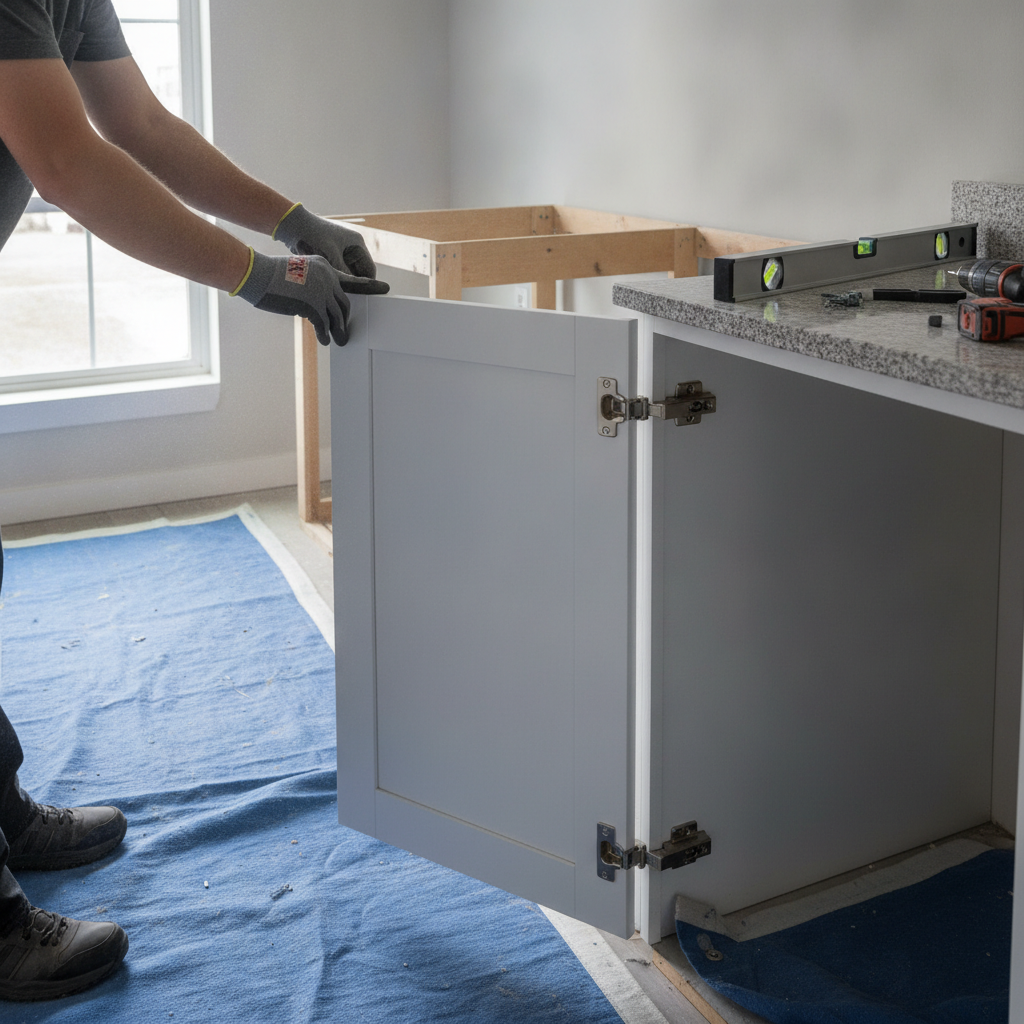
- Cabinet replacement or door/drawer front refresh with modern hardware.
- Countertop installation with easy-clean, impact-resistant materials.
- Fixture upgrades: high-use faucets, shower trim, and efficient toilets.
To maximize durability, we standardize SKUs for paint sheen, flooring wear layers, cabinet profiles, and grout types across buildings. That makes reorders easy and repairs fast.
Best practices for faster turnovers
Standardize finishes, batch work by trade, and protect schedules with daily milestones. Address water first, then systems, then paint and flooring. Close with a rigorous QA checklist so leasing gets a move-in ready unit without callbacks.
- Standard specs win: A single gray paint, white trim, and matte black or brushed nickel hardware read modern and are easy to source.
- Choose resilient flooring: LVP with a solid wear layer performs in high-traffic units and tolerates minor moisture.
- Tile where it counts: Showers and kitchen backsplashes. Large-format tile speeds install and reduces grout lines.
- Protect the sequence: Install cabinets and counters after paint to avoid cuts and touch-ups.
- Batch noisy work: Schedule demolition and sanding during mid-day windows to limit disturbances.
- Repair before paint: See our wall repair primer for smoother finishes.
- Occupied-unit etiquette: Seal rooms, run air scrubbers, and post daily notices. Clean paths reduce complaints.
When teams follow one checklist across properties, quality variance drops. That reduces touch-ups by a meaningful margin and keeps painters and flooring crews flowing floor-to-floor.
Tools and resources for property managers
Use standardized checklists, photo logs, and spec sheets. Equip teams with moisture meters, GFCI testers, and vacuum sanders. Keep a replenishment list for paint, LVP, caulk, and valves so multi-unit turnovers don’t stall for materials.
- Make-ready checklist: One list per room: safety, surfaces, fixtures, clean.
- Unit scoring sheet: Condition 1–5 to route crews.
- Photo documentation: Before/after angles, leak sources, meter readings.
- Spec library: Paint color codes, flooring SKUs, tile/grout specs, cabinet profiles.
- Moisture meter + IR thermometer: Verify dryness before closing walls or laying floors.
- GFCI/AFCI tester: Confirm life-safety compliance in kitchens and bathrooms.
- Reference basics: A practical plumbing primer, like this bathroom plumbing guide, helps non-technical staff communicate with trades.
- Portfolio visibility: Share our renovation planning checklist with leasing to align timelines.
If you manage several buildings, stage a mobile cart per floor: drop cloths, plastic, painter’s tape, primer, patch, LVP offcuts, caulk, valves, and common fasteners. Keeping carts stocked reduces starts and stops that add days.
Troubleshooting common bottlenecks
Most delays trace to unexpected water damage, material shortages, and trade overlaps. Confirm dryness, pre-buy standard SKUs, and lock a daily sequence by trade. For occupied units, over-communicate and isolate dust to prevent rework and complaints.
Hidden moisture after demo
- Run fans and dehumidifiers until moisture readings stabilize.
- Only close walls when readings are consistent over two checks.
- Use tile backer and sealants rated for wet zones.
Material availability
- Stock two months of standard LVP, trim paint, primer, and common valves.
- Approve alternates during planning—don’t improvise mid-project.
Trade stacking
- Slot electricians, then plumbers, then drywall/paint, then flooring, then cabinet/counter teams.
- Use color-coded door tags to mark status per room.
Occupied-unit coordination
- Provide 48-hour notices for noisy or invasive work.
- Protect paths and ventilate to avoid lingering odors.
- Document daily progress to reduce callbacks.
For true emergencies, reference our field-tested emergency repair checklist to stabilize and sequence next steps quickly.
Prerequisites before you start any upgrade
Confirm insurance and WSIB compliance, post tenant notices, map shutoffs, and verify electrical protection. Pre-stage dumpsters, access, and materials. This preparation prevents mid-project stops that add days to every turnover.
- Compliance first: Ensure fully insured status and WSIB-compliant practices are current.
- Tenant communications: Notices, work windows, emergency contacts.
- Site logistics: Staging areas, path protection, elevator reservations.
- Shutoffs and meters: Label and test before opening walls.
- Lead/asbestos review: If applicable to property age, plan for safe handling.
- Material pre-buy: Standard paint, LVP, tile, trim, valves, and fasteners to avoid stalls.
- Final handover plan: QA checklist, key control, photo package.
Preparation is quiet work that saves days later. We keep a binder per building—standards, maps, notices, and checklists—so any foreman can step in and run the same playbook.
Case studies and real-world examples (London, ON)
In London, ON multi-unit buildings, we’ve seen the fix-first, upgrade-smarter model reduce downtime, limit rework, and lift curb appeal. The wins come from water-first repairs, standard finishes, and disciplined QA before handover to leasing.
Example 1: Water-first saves finishes
A 12-unit stack had recurring bath leaks. We capped lines, set drying, then re-tiled surrounds with waterproofing, followed by LVP in kitchens. By tackling water first, we avoided replacing baseboards twice and cut callbacks meaningfully.
Example 2: Standard specs speed work
Across a six-building portfolio, we set one paint, one LVP, and a consistent cabinet style. Reorders became simple. Crews moved floor-to-floor without guesswork. Turnovers tightened as material decisions disappeared.
Example 3: Occupied-unit etiquette
With seniors in place, our team scheduled noisy tasks mid-day and ran air scrubbers. We sealed rooms during sanding and left hallways spotless by 5 p.m. Complaints dropped and staff gained trust for future upgrades.
Example 4: Kitchen refresh, smarter
In a building with fair cabinets but worn doors, we replaced fronts and hardware, added a simple backsplash, and installed efficient faucets. The space looked new without moving plumbing—faster to deliver and easier to maintain.
Mid-project check-in (optional but powerful)
Pause at 50% complete to confirm dryness, electrical protection, and surface readiness. Adjust schedules while there’s still time to recover days. This small ritual prevents late discoveries that force rework.
- Verify no active moisture behind new drywall.
- Check every GFCI and smoke/CO device is installed and labeled.
- Confirm subfloors are flat before flooring crews mobilize.
- Walk with leasing to pre-approve finishes and cleanliness standards.
Need a portfolio-ready turnover plan?
We build fix-first, upgrade-smarter playbooks for multi-unit owners. If you manage buildings in London or Southwest Ontario, our standardized finishes and WSIB-compliant crews help you reduce vacancy days and hand over clean, consistent units.
Let’s align on standards, sequencing, and QA. Explore our contractor selection tips, then schedule a site walk.
Frequently asked questions
Property managers often ask about order of work, occupied-unit etiquette, timelines, and defining standards. Here are concise answers you can use to guide maintenance and leasing teams during make-ready cycles.
What should I fix before any upgrades?
Stabilize emergencies, resolve life-safety and code items, stop water intrusion, and restore MEP systems. Only then move to drywall, paint, flooring, and finally kitchens and baths. This sequence avoids rework and shortens vacancy time.
How do I manage upgrades in occupied units?
Communicate early and often, schedule noisy work mid-day, isolate dust, and keep common areas spotless. Use door notices, air scrubbers, and clear daily windows. Tenants cooperate more when impact is predictable and paths are clean.
Which finishes hold up best in high-traffic rentals?
Luxury vinyl plank with a durable wear layer, semi-gloss trim paint, washable wall paint, and ceramic or porcelain tile in wet zones. Standardize SKUs across your buildings so replacements are fast and consistent.
How do I decide between cabinet replacement and a refresh?
If cabinet boxes are sound, replace doors and hardware for a fresh look. If boxes are water-damaged, out of square, or failing at joints, replace fully. Either way, choose a profile you can repeat across the portfolio.
Conclusion and next steps
Fix first, upgrade smarter. Clear tiers—emergencies, safety, water, systems, finishes, kitchens/baths—turn chaos into predictable turnover results. Standardize finishes and stage materials to reduce days vacant across your portfolio.
- Key takeaways: Water-first repairs, standard SKUs, batch work by trade, and disciplined QA reduce rework.
- Action steps: Score units, map a 7-step sequence, stock materials, and book a mid-project check.
- Learn more: Dive into our apartment kitchen guide and bathroom upgrades for occupied buildings.
Ready to align apartment repair and upgrade priorities across your properties? Book a discovery session in London. We’ll walk units, finalize standards, and hand you a schedule-driven plan built for multi-unit scale.
For practical context on layout and surface choices, see this renovation overview from a regional publisher: full home renovation guide. For leasing readiness perspective, this rental properties guide outlines presentation best practices.