
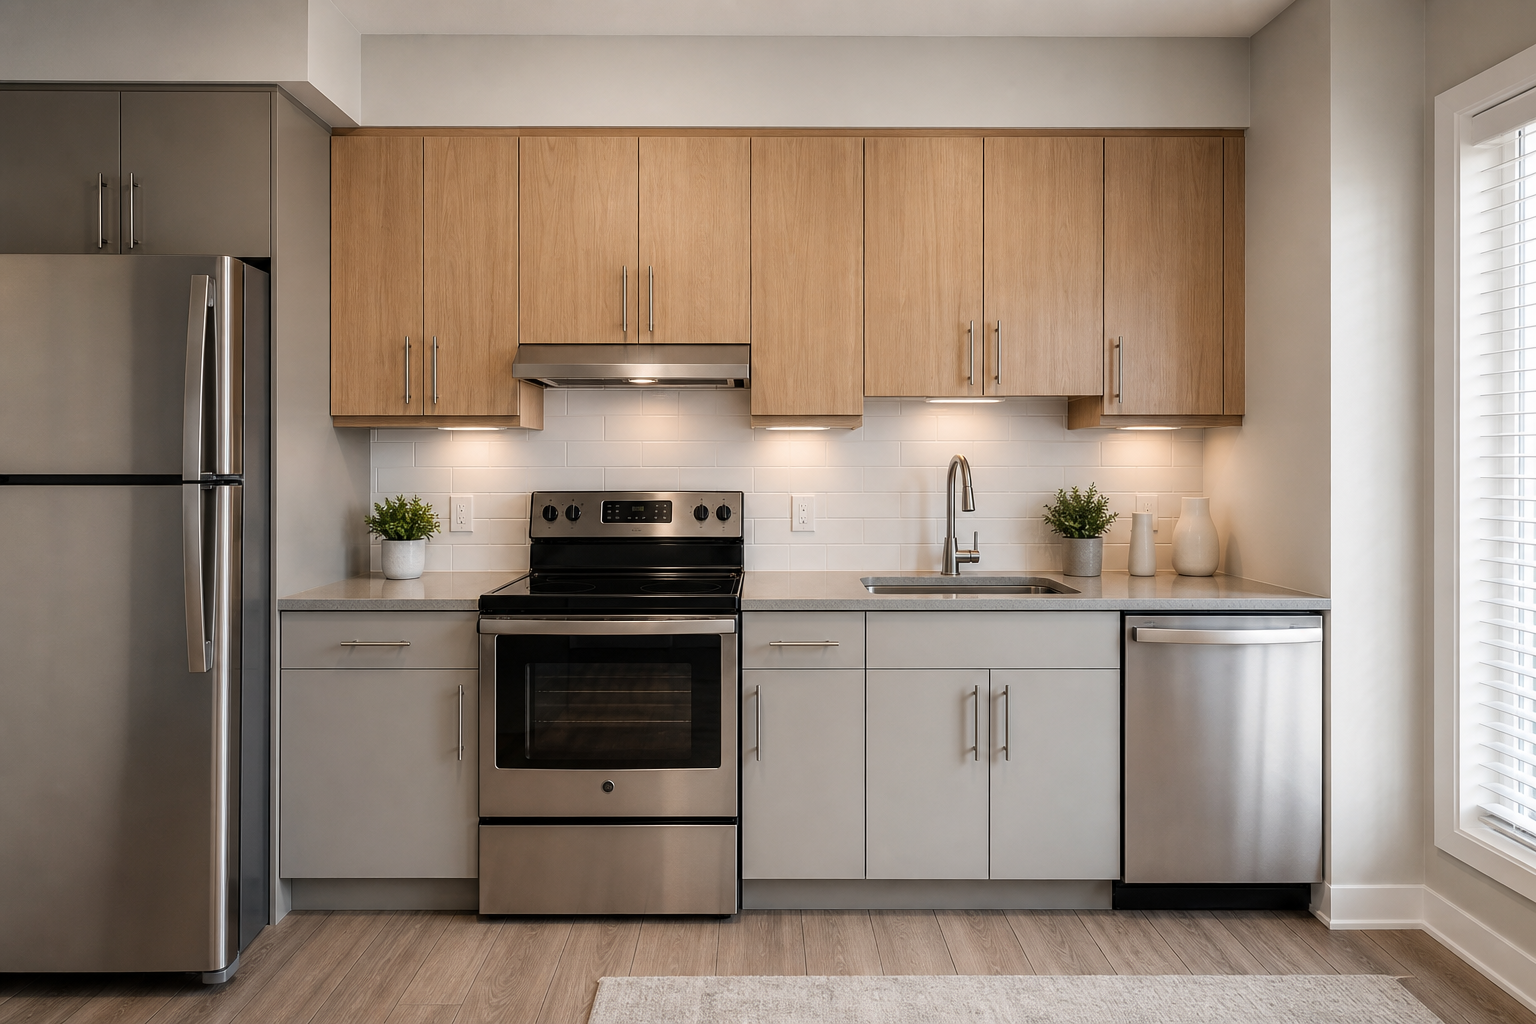

Kitchen cabinet replacement for apartment units: spec, scope, and rollout checklist
When you’re responsible for multiple suites, kitchen cabinet replacement for apartment units is less about one beautiful kitchen and more about repeatable decisions, predictable timelines, and clean handovers. This practical checklist helps property managers and apartment owners standardize specifications, streamline procurement, reduce disruptions, and keep unit turns moving smoothly—whether you’re tackling a pilot floor or phasing through an entire building.
Decide the scope: full replacement vs. targeted upgrades
Your first decision sets the tone for budget, schedule, and tenant coordination. Clarify whether the project is a full cabinet replacement or a selective upgrade.
- Full cabinet replacement: Remove and replace all boxes, doors, drawers, and trim. This approach yields uniform results across units and simplifies future maintenance and touch-ups.
- Partial replacement: Replace only damaged boxes, or just doors and drawer fronts to refresh style. This can reduce material and labour, but may introduce finish mismatches between old and new components.
- Refacing vs. replacing: Refacing retains boxes and applies new veneer plus doors/drawers. It can work when boxes are structurally sound and layout is acceptable, but won’t address failing substrates, poor layouts, or water damage.
Document scope rules you can apply repeatedly. For example, “Replace any cabinet with soft swelling, delamination, or mould staining; reface only where substrate is solid and square; standardize all visible surfaces to one finish family.” These rules keep decisions objective across many units.
Choose materials and finishes that survive high-traffic use
Durability and cleanability matter in apartments. Select a material stack that balances longevity, appearance, and availability.
- Cabinet boxes: Consider moisture-resistant substrates in wet zones (sink base, dishwasher adjacent). Edge-banding integrity and sealed cut edges help prevent swelling.
- Doors and drawer fronts: Thermofoil and laminate options provide uniform finishes and are easy to wipe down; painted MDF enables colour control but requires careful handling; hardwood veneer offers a warmer look with clear grain variation expectations.
- Hardware: Soft-close hinges and full-extension slides reduce tenant damage from slamming and make storage more functional. Choose hardware families that are stocked and easy to reorder.
- Finishes: Neutral, mid-tone colours hide wear better than extreme lights or darks. Satin or matte sheens limit fingerprint visibility.
- Moisture and heat protection: Specify sink base liners, finished end panels next to ranges, and protective scribes against walls to reduce future service calls.
Create a one-page “finish and hardware schedule” you can attach to every work order. Standardization simplifies procurement, training, punch work, and replacements in the years ahead.
Measure once, repeat reliably: layout standards and verification
Inconsistent measurements are a top cause of delays. Establish a measurement protocol that travels with every unit.
- Reference datum: Use a consistent wall corner or centreline as your zero point to avoid cumulative errors.
- Critical dimensions: Measure room length/width, ceiling height, floor flatness at cabinet runs, plumbing centrelines, appliance rough openings, and window/door clearances.
- Obstruction mapping: Record vent stacks, radiators, baseboard heaters, and electrical panels that affect cabinet depths, fillers, or clearances.
- Tolerance policy: Note acceptable out-of-square and out-of-plumb tolerances that the installation team will shim or scribe to manage.
- Template pack: Use repeatable layouts (for example, 24″ dishwasher bay + 36″ sink base + 12″ filler) with filler allowances that absorb building variances.
Close the loop with a pre-order verification step: a second person validates critical dimensions before cabinets are released to production or pulled from stock. Catching one sink-centreline error upstream can save multiple days onsite.
Installation sequencing and labour planning
Sequencing reduces rework and keeps adjacent trades coordinated. Apply the same order each time:
- Pre-demo protections: Protect floors, adjacent rooms, and corridors. Photograph existing conditions to document pre-existing damage.
- Demolition: Remove cabinets, trim, and fasteners. Cap plumbing, safe-off electrical, and clear debris daily to keep corridors open.
- Surface prep: Patch walls, address framing irregularities, correct plumbing and electrical rough-ins, and confirm appliance power/water clearances.
- Cabinet set: Start with corner or datum cabinet, level and plumb bases, then hang uppers. Maintain a running laser line and record shim points for QC.
- Countertops and scribing: After base cabinets are fixed, template counters if required. Scribe panels and fillers to tight walls for a finished look.
- Hardware and adjustments: Install pulls/knobs with a jig to keep alignment uniform. Adjust hinges and slides to consistent reveals.
- Final hookups: Coordinate sink, faucet, dishwasher connections, and range hood terminations after countertop install and sealants cure.
- Clean and protect: Vacuum interiors, remove stickers, and leave protective films where appropriate until handover.
Right-size crews to match the unit release plan. For example, a two-person team can often manage one standard kitchen start-to-finish on a predictable cadence; larger releases might benefit from specialized crews (demo/prep, set/hang, finish) moving in sequence.
Compliance and safety considerations
Cabinet projects touch multiple trades. Keep safety central and coordinate responsibilities clearly.
- Trade interface: Clarify who is responsible for capping plumbing, safe-off electrical, and appliance hookups. Avoid gray areas that delay inspections or re-occupancy.
- Dust and noise control: Use containment at unit entries, negative air where appropriate, and schedule the noisiest tasks to minimize disruption.
- Lifting and handling: Use team lifts or carts for tall pantry units and stone tops. Pre-plan vertical transport in buildings with elevators.
- Fastener selection: Match fasteners to substrates (concrete, steel studs, wood framing). Improper anchors can compromise safety and cause callbacks.
Assign a single point of contact who verifies safety measures at the start of each shift and signs off before areas are returned to service.
Budgeting and cost controls without surprises
Even without publishing prices, you can reduce variance by locking decisions early and preventing scope creep.
- Standard kits: Build unit-priced kits for typical layouts (for example, one-bed, two-bed) with fixed hardware families and finish schedules.
- Allowance buckets: Pre-assign allowances for unforeseen substrate repairs, plumbing offsets, and appliance adjustments to avoid change-order churn.
- Approval gates: Require sign-off at key points: finish schedule, verified measurements, and final shop/kit list before orders are placed.
- Variance tracking: Track labour hours and material overages by unit type to improve future estimates.
Close projects with a simple cost summary by unit and by building stack to sharpen the next phase’s projections.
Procurement and logistics that keep crews working
Cabinet jobs stall when one component is missing. Build a logistics plan sized to your rollout.
- Lead times: Stock programs move faster than made-to-order. If you choose semi-custom, lock finish and hardware SKUs that remain available through the full program.
- Staging: Pre-assemble kits per unit and label by floor/stack. Keep a small buffer inventory for damage or last-minute unit swaps.
- Delivery windows: Schedule deliveries to match installation starts, not demolition; this keeps corridors clear and reduces in-suite handling.
- Damage control: Inspect deliveries upon arrival, photograph any damage, and initiate replacements immediately to protect timelines.
For multi-building portfolios, standardizing SKUs across properties keeps reorders simple and supports consistent branding of finishes.
Quality control and handover essentials
Consistent QC protects tenant satisfaction and reduces callbacks.
- Cabinet alignment: Verify face-frame/door reveals and confirm plumb/level across runs; record any compensating shims for future reference.
- Hardware function: Confirm soft-close action, drawer glide smoothness, and latch alignment. Replace any outliers before sign-off.
- Surface protection: Check for scratches, chips, or adhesive residue; repair or replace affected parts before move-in.
- Sealants and splash zones: Inspect sink cutouts, silicone beads, and backsplash transitions for watertightness.
- Appliance clearances: Verify doors and drawers open fully without clipping handles or adjacent appliances.
Finish with a standardized handover: a short cleaning checklist, warranty or care notes from the manufacturer, and a dated photo set placed in the unit’s digital file.
Minimize tenant disruption during occupied works
Occupied renovations require clear communication and tidy worksites. Even in vacant turns, these practices improve outcomes.
- Notice periods and access windows: Share a simple daily schedule so residents know when noise, dust, or water shutoffs may occur.
- Pathway protection: Protect hallways and elevators; maintain daily cleanup to keep common areas safe and presentable.
- Phase work: In occupied suites, coordinate temporary counters or sinks where feasible and limit the cabinet “down time.”
- Issue triage: Assign a contact to respond quickly to concerns; rapid communication reduces escalation.
Document and post a one-page tenant information sheet in the suite before work begins. Consistent messaging builds trust.
Sustainability and longevity choices that pay back
Thoughtful specifications reduce waste and extend service life in rental environments.
- Modular components: Choose door and drawer sizes that are easy to reorder. Keep a few spares from each batch for future swaps.
- Durable interiors: Moisture-resistant shelves and lined sink bases handle spills and leaks better over time.
- Repair-friendly hardware: Standardized hinges and slides make future maintenance fast and predictable.
- Finish discipline: Limit colour and hardware variations across properties to reduce small-lot waste and simplify make-goods between tenancies.
When paired with a short care guide for residents—simple cleaning advice and “no harsh abrasives” reminders—cabinet finishes look better for longer.
Sample checklists and templates you can copy
Use these quick-start lists as-is or adapt them to your building:
Pre-construction checklist
- Confirm scope: full replace, reface, or selective
- Finalize finish/hardware schedule and SKUs
- Complete measured drawings and second-person verification
- Approve kit list and order release
- Book delivery windows and elevator times (if applicable)
- Issue tenant notices and circulate site rules
Daily site checklist
- Protect pathways and adjacent surfaces
- Confirm utilities safe-off before demo
- Log wall/plumbing/electrical variances
- Set cabinets to laser line; record shim points
- QC hinges/slides; align reveals; clean interiors
- Daily debris removal and corridor cleanup
Handover checklist
- All doors/drawers open/close smoothly
- No rubbing or clipped swing paths
- All surfaces clean; labels removed; protection as specified
- Sinks, faucets, and appliances connected and leak-checked
- Care sheet placed in unit; photos saved to file
FAQs
How do I decide between refacing and full replacement for rental units?
Assess substrate health first. If boxes show swelling, delamination, mould staining, or significant racking, full replacement is usually the better long-term choice. If boxes are square and solid, and the layout works, refacing with new doors/drawers can refresh appearances quickly. In mixed conditions across a building, apply objective criteria so every unit is treated consistently.
What’s a realistic sequence to keep turns on schedule?
Use a fixed order for every unit: protect, demo, rough-in corrections, cabinet set/hang, countertop template and install, hardware adjustments, final hookups, clean, QC, handover. Avoid overlapping trades in the same small kitchen where possible, and release cabinets only after a second measurement verification to prevent rework.
Are stock cabinets good enough for apartments?
Stock lines can be effective for multi-unit projects because they’re repeatable and often readily available. Focus on moisture resistance at wet zones, robust edge banding, standardized hinges/slides, and finishes that hide wear. If you need special sizes or features, semi-custom may be justified—but lock SKUs for the entire program to avoid mid-project substitutions.
How can I minimize tenant complaints during an occupied retrofit?
Share a simple schedule up front, protect pathways daily, keep noise and dust contained, and assign one contact to handle questions quickly. Where possible, compress the cabinet “down time” window so basic kitchen function returns promptly.
What maintenance guidance should I provide residents after install?
Offer a one-page care sheet: wipe spills promptly, use non-abrasive cleaners, avoid hanging on doors, and report leaks immediately—especially under the sink base. Clear, simple guidance extends finish life and reduces service tickets.