Full unit turnover is the documented process of restoring a vacated apartment to a move-in-ready standard. A full unit turnover checklist for apartment owners defines scope, sequence, and quality checks so timelines hold and vacancies shrink. From our base in London, ON at 805 Chelton Rd, we deliver this end-to-end for multi-unit properties.
By Amaruppdesh Singh • with Mahal Concrete and Constructions • Last updated: 2026-06-02
Overview and Table of Contents
This complete guide explains what a turnover checklist is, why it matters, and exactly how to run it. You’ll get a step-by-step workflow, a comprehensive checklist, approach comparisons, a buying guide for finishes, tools and templates, case examples, and FAQs—designed for busy apartment owners and property managers.
Use this outline to jump to any section:
- What is a full unit turnover checklist?
- Why it matters (London, ON context)
- Step-by-step workflow
- Approaches: DIY vs Trade-Managed vs GC
- Complete checklist (owners)
- Buying guide: finishes that speed leasing
- Tools, templates, and resources
- Case studies and examples
- Best practices and mistakes
- FAQs
- Related articles (cluster)
- Conclusion and next steps
What Is a Full Unit Turnover Checklist?
A full unit turnover checklist is a written, repeatable list covering inspections, repairs, cleaning, finishes, and final quality control to restore a vacated apartment to standard. It removes ambiguity, keeps crews sequenced, and supports documentation so leasing teams can market faster.
In practice, the checklist is your blueprint. It defines scope items (e.g., wall repairs, full-unit painting, kitchen and bath upgrades, flooring and tiling), assigns trade ownership, and sets acceptance criteria. For portfolios with repeat layouts, one checklist enables consistent quality across dozens of doors—even when crews rotate.
We’ve delivered this system across 500+ projects with a WSIB-compliant, fully insured team. Our process stages work in logical blocks—assessment, proposal and timeline, scheduled execution, and rigorous quality checks—so owners see predictable delivery and fewer callbacks. That predictability is the difference between a unit sitting for weeks and one leasing after the first showing.
Why a Turnover Checklist Matters for Apartment Owners
A turnover checklist compresses vacancy by turning chaos into sequence. In London and the ON metro, standardized finishes and documented QC shorten lease-up time, simplify maintenance, and cut preventable rework. Owners gain consistent outcomes, even across multi-property portfolios.
Why it matters to you:
- Reduced vacancy days: Every day empty is lost rent. Clear steps eliminate idle time between trades.
- Consistent finishes: Standard SKUs make touch-ups faster and warranties easier to manage.
- Lower risk: Documented photo records and signed checklists protect you in future disputes.
- Portfolio scale: One playbook lets you run parallel turnovers without quality drift.
- Tenant appeal: Fresh paint, updated lighting, and clean lines improve photos and showings.
You don’t need 20 different paints or three flooring systems fighting each other. We’ve seen owners cut their SKU count to a core of 5–8 items (one interior color, two flooring options, one cabinet style, one counter surface, and a single hardware collection) and watch defects and inventory headaches drop. That type of standardization is a quiet superpower in multi-unit construction.
Local considerations for London
- Cold-weather turnovers: Plan paint around humidity and cure windows; allow 24–48 hours before install on new flooring adhesives.
- Seasonal demand: Student cycles spike late summer. Pre-buy materials and lock schedules 4–6 weeks out.
- Occupied property etiquette: Stage noisy work midday, protect hallways, and keep daily cleanups to limit complaints.
For a deeper look at our operations standards, see our company overview and meet our team lead. Our focus is multi-unit apartment renovations with minimal disruption.
How Full Unit Turnover Works (Step-by-Step)
Follow a fixed order: assessment, scope and materials, site protection, make-safe and rough repairs, wall prep and paint, kitchen and bath upgrades, flooring, finish electrical, deep clean, QC, and handover. This 10–12 step sequence prevents overlap and rework.
Here is the operational sequence we use on apartment renovations across Southwest Ontario. Times vary by unit size, elevator access, and inspection windows, but the order should stay intact.
- Pre-move-out assessment (1 day): Photograph all rooms, log damages, check code items (GFCIs within 6 feet of sinks, smoke/CO alarms), and identify end-of-life finishes.
- Scope and timeline (0.5–1 day): Convert findings into a dated plan with standardized materials and clear acceptance criteria.
- Site protection (0.5 day): Shield elevators and corridors; add dust control; protect door hardware and thresholds.
- Make-safe + rough repairs (0.5–1 day): Fix leaks, cap exposed wires, secure railings, address trip hazards, and tackle any structural items first.
- Wall repairs and patching (1 day): Skim problem areas, sand and prime; verify substrate is ready for finish paint.
- Full-unit painting (1–2 days): Ceilings, walls, trims. Keep a color and sheen standard on a finish cut-sheet.
- Kitchen updates (1–2 days): Cabinet replacement or adjustments, countertop installation, appliance tests, backsplash touch-ups.
- Bathroom refresh (1 day): Fixture upgrades, re-tiling or re-grout, caulk seams, test exhaust fan.
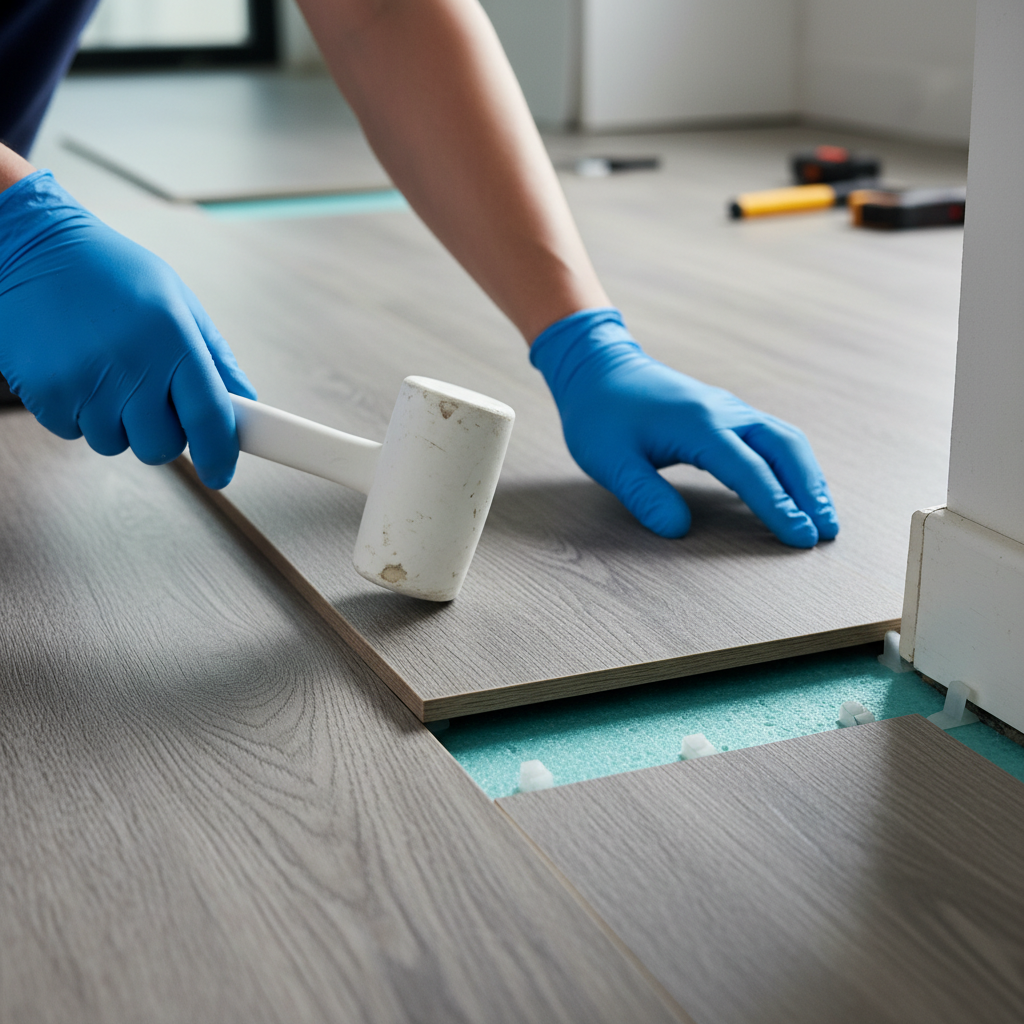
- Flooring and tiling (1–2 days): Tile in wet zones; LVP in living areas; align transitions and expansion gaps.
- Finish electrical + hardware (0.5 day): Swap lighting to LED, test GFCIs, adjust closet tracks, install doorstops.
- Deep clean (0.5–1 day): Appliances, vents, blinds, windows, caulk lines; remove any paint spatter.
- Quality check & handover (0.5 day): Punch list, final photos, signed checklist, and keys delivered.
Tip: Don’t start flooring until paint cures. We see premature install add 1–2 extra days of cleanup and touch-ups. Maintain a clean site daily—hallway protection and debris control save you from neighbor complaints in occupied buildings.
Approaches to Unit Turnover: DIY vs Trade-Managed vs GC
Owners typically choose between DIY coordination, hiring separate trades, or using a specialized GC. A single GC with a fixed checklist and standardized finishes usually delivers the shortest vacancy window and the most consistent results across portfolios.
Here’s a practical comparison you can share with stakeholders:
| Approach | Speed to Ready | Quality Consistency | Coordination Load | Best For |
|---|---|---|---|---|
| DIY Owner-Led | Slow–Medium | Variable | High (owner schedules/inspects) | Single units, small holdings |
| Trade-Managed (separate subs) | Medium | Mixed (depends on subs) | Medium–High | Owners with in-house supervisors |
| GC with Turnover Playbook | Fast | High (standard SKUs + QC) | Low (single throat to choke) | Multi-unit portfolios and timelines |
Our team at Mahal Concrete and Constructions specializes in the GC model for multi-unit construction. We keep one checklist, one materials schedule, and one QC packet. That’s how we deliver repeatable results across 500+ units while minimizing disruption for neighbors.
The Complete Full Unit Turnover Checklist for Apartment Owners
Use this owner-ready checklist to standardize turnovers across your buildings. It’s organized by safety, walls and paint, kitchen and bath, flooring, fixtures, cleaning, and documentation. Keep the order to avoid crew overlap and rework.
Safety and Entry
- Rekey or change locks; verify self-closers and latches engage smoothly.
- Test smoke/CO alarms; replace batteries and expired units.
- Inspect GFCIs; replace damaged plates and loose outlets.
- Scan for trip hazards at thresholds and transitions.
Walls, Ceilings, and Paint
- Patch holes; skim uneven areas; sand and prime repairs.
- Apply standardized interior color with documented sheen.
- Paint trims and doors; replace or repair baseboards as needed.
Kitchen
- Cabinet replacement or hinge/slide adjustments; confirm pulls are aligned.
- Countertop installation; seal penetrations; test caulk lines.
- Appliance checks: stove elements, range hood suction, fridge seals, dishwasher cycle.
- Test outlets; swap failed GFCIs; upgrade lighting to LED.
Bathroom
- Fixture upgrades: faucets, shower trim, and angle stops.
- Tiling and re-tiling; re-grout; re-caulk the tub and shower surrounds.
- Verify exhaust fan; confirm toilet stability; replace wax ring if pulled.
Flooring
- Tile wet zones; seal grout; check slope and transitions.
- Install LVP or laminate in living areas with correct expansion gaps.
- Align transition strips; install quarter round where specified.
Fixtures and Finishes
- Replace blinds or rods; verify closet tracks glide and stop correctly.
- Install doorstops and wall bumpers; check address plates.
- Swap legacy bulbs to LED; test switches and dimmers.
Cleaning and Handover
- Deep clean appliances inside/out; clean vents, windows, and blinds.
- Detail cabinets, counters, sills, and baseboards; remove paint spatter.
- Final photos, signed QC checklist, and keys delivered to leasing.
Want a template you can copy? Ask our team for the standard turnover packet—scope sheet, finish schedule, and 10-point QC. See our company page for how we structure multi-unit work with tenant-friendly scheduling.
Buying Guide: Finishes That Cut Vacancy Time
Choose finishes that install quickly, resist wear, and photograph well. Neutral paint, LVP with a 20-mil wear layer, porcelain in wet rooms, and shaker cabinets create a modern look with fewer callbacks—and help listings convert faster.
Here’s a compact matrix for standard choices during apartment renovations:
| Category | Good (Baseline) | Better (Popular) | Best (Durable) | Turnover Notes |
|---|---|---|---|---|
| Living Area Flooring | Laminate | LVP (20 mil wear) | Commercial LVP | Fast install; moisture tolerant; great in photos. |
| Wet Area Flooring | Basic ceramic | Porcelain tile | Large-format porcelain | Seal grout to reduce staining; fewer grout lines clean faster. |
| Cabinetry | RTA foil door | Shaker MDF | Shaker plywood box | Use one pull style across the portfolio to simplify stock. |
| Countertops | Laminates | Compact laminate | Quartz | Quartz is durable and helps listings stand out. |
| Interior Paint | Eggshell latex | Washable matte | Scrubbable acrylic | Lock a single neutral; archive brand and sheen. |
| Bath Fixtures | Standard chrome | Brushed nickel | Matte black accents | One collection across units reduces SKU sprawl. |
For broader timeline planning context, review this practical renovation timeline guide, and for compact spaces, this condo renovation overview offers layout tips you can adapt to kitchens and baths. For deep-clean cadence ideas, see a commercial cleaning checklist for inspiration when drafting your own.
Tools, Templates, and Compliance Resources
Centralize your scope sheets, finish schedules, and QC checklists in one shared folder. Add safety protocols and accessibility notes so every supervisor can hand off without losing context. Organized documents reduce errors and speed onboarding.
- Turnover scope template: Roles, materials, milestones, and acceptance criteria.
- 10-point QC checklist: Photos required at each stage; sign-off by supervisor.
- Finish cut-sheets: Paint color and sheen; flooring SKUs; cabinet and hardware selections.
- Safety and insurance: Keep WSIB and insurance proof handy for audits and site access.
- Photo documentation policy: Align with your privacy policy when handling tenant belongings captured during move-out.
If you operate in London or across Southwest Ontario, our WSIB-compliant contractor team can supply templates and operate within your building rules. Warranty language lives in your internal paperwork; align that with any published terms and conditions so everyone interprets responsibilities the same way.

Case Studies and Real-World Examples
Standardized finishes plus a fixed sequence reduce downtime and callbacks. These short examples show how owners in Southwest Ontario stabilized schedules and improved listing quality using a single turnover playbook.
- London, ON – Student turnover window: Paint + LVP + bath re-caulk. Handover in 10 days door-to-door. Leasing team reported first-week showings and no post-move-in tickets.
- Chatham – Aging finishes: Cabinet swap, quartz counters, and LED upgrade. Listing photos improved; the showing-to-lease ratio tightened within two weeks.
- Portfolio standardization: An owner reduced flooring SKUs from five to two (tile + LVP) and paint to one neutral. Material waste and ordering errors dropped; crews moved faster between units.
- Emergency stabilization: A leak impacted a stack of units. Make-safe + drying + targeted finishes restored all three in sequence without displacing adjacent residents.
We share periodic updates on process improvements and safety wins in our company news. The throughline is simple: clean sites, clear checklists, and photo-verified QC keep vacancy periods in check.
Best Practices and Common Mistakes
Best practices: one checklist, standard finishes, staged trades, and photo-verified QC. Common mistakes: painting over damp patches, overlapping crews, ignoring exhaust fans and GFCIs, and skipping final appliance tests. Tight coordination saves days.
Best Practices
- Single source of truth: One checklist, material schedule, and QC packet used on every unit.
- Batch buying: Order LVP, paint, and hardware for several units to avoid stockouts.
- Stagger wet work: Respect cure times between drywall mud, paint, tile, and flooring adhesives.
- Photo records: Before/during/after photos per room; store by unit and date for retrieval.
- Walkthrough cadence: Midpoint punch, pre-clean check, and final sign-off to catch issues early.
Common Mistakes
- Scope creep mid-stream: Adding an upgrade late disrupts sequencing and extends vacancy.
- Trade overlap: Flooring installed before paint cures causes unnecessary touch-ups.
- Mechanical blind spots: Skipping fan and GFCI tests invites callbacks after move-in.
- Finish inconsistency: Mixing paints or pulls between units complicates maintenance.
Need help executing at scale? Our WSIB-compliant, fully insured crews deliver standardized turnovers across London and Southwest Ontario—assessment, proposal, scheduled execution, and quality handover.
Book a unit walkthrough to align scope, finishes, and schedule.
Frequently Asked Questions
These concise answers help owners and new team members apply a full unit turnover checklist for apartment owners. Share them with vendors before work starts to align sequencing, standards, and documentation.
What should be checked first during a turnover?
Start with safety: locks, smoke/CO alarms, GFCIs, and trip hazards. Then verify plumbing leaks and make-safe items before wall repairs, paint, kitchen/bath work, flooring, deep clean, and final QC. This order reduces rework and avoids scheduling conflicts.
How do I standardize finishes across multiple properties?
Create a portfolio finish schedule with SKUs for paint, flooring, cabinets, counters, and hardware. Use the same items across buildings where feasible. Keep cut-sheets in a shared folder and require subs to confirm SKUs before ordering.
What’s the best order of work to avoid delays?
Assessment, make-safe repairs, wall patch and prime, full-unit paint, kitchen and bath upgrades, flooring, finish electrical and hardware, deep clean, then QC and handover. Keep wet work and paint separated by cure times to avoid defects.
Do I need documentation at handover?
Yes. Provide a signed checklist, before/after photos, and any applicable manuals or warranty documents. Store files by unit number and date so your team can retrieve them for audits, insurance, or maintenance planning.
Related Articles in the Apartment Operations Series
This guide is part of our Apartment operations cluster. Explore topics like renovation scopes, inspection templates, emergency stabilization, and handover quality control to run multi-unit portfolios with fewer surprises and shorter vacancies.
- How to inspect a unit before turnover (scope template)
- Bathroom and kitchen remodeling standards for rentals
- Emergency repair checklists for apartment buildings
- Quality check before unit handover (QC flow)
Conclusion and Next Steps
Standardize steps, lock finishes, and document QC to reduce vacancy days. Align crews on one checklist, separate wet trades and paint by cure times, and photo-verify each stage. When units show consistently, leasing speeds up and maintenance gets simpler.
- Key takeaways: One checklist, fixed finishes, strict sequence, and photo QC.
- Immediate actions: Centralize templates; brief vendors; pre-buy core SKUs for the next 2–3 units.
- Next step: Book a turnover walkthrough in London to set scope, schedule, and standards.
Ready to roll this out? Start with your next vacancy, apply the full unit turnover checklist for apartment owners, and measure door-to-door days. Then scale to the rest of the portfolio with the same playbook. If you want a partner built for repeatable results, we’re here to help.