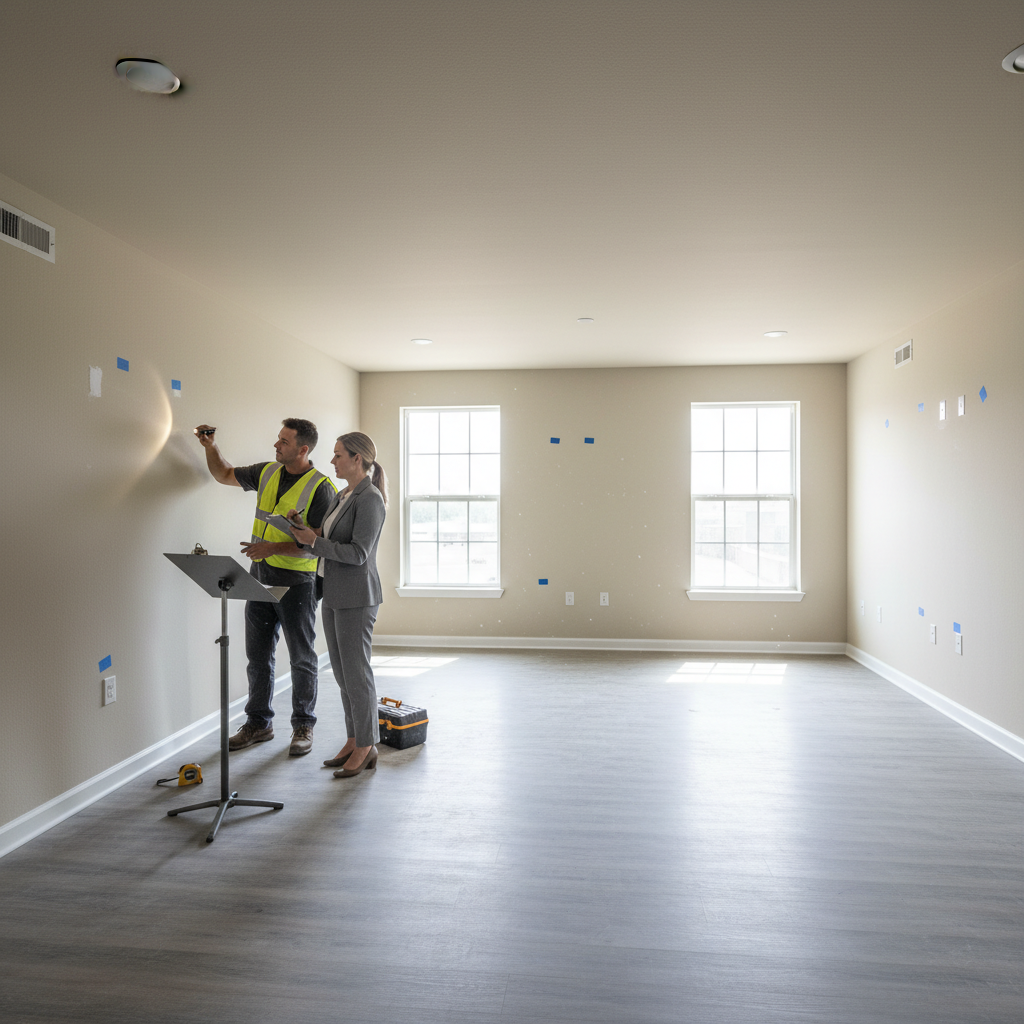
Inspecting a unit before turnover is a structured, room-by-room quality audit that verifies life-safety devices, building systems, finishes, and cleanliness meet move-in-ready standards. Done well, it reduces vacancy days and callbacks. In London, ON—near 805 Chelton Rd—Mahal Concrete and Constructions uses this process to hand over consistent, tenant-ready apartments at scale.
By Amaruppdesh Singh · Last updated: 2026-05-15
Overview
A pre-turnover inspection confirms a rental is safe, functional, and clean before new keys are issued. Check smoke/CO alarms, plumbing, electrical, HVAC, doors/windows, appliances, flooring, walls, and final clean. Document with photos and a punch list so contractors can resolve items quickly and consistently.
This how-to guide shows how to inspect a unit before turnover with a repeatable checklist. It reflects our standardized approach for multi-unit apartments across London and Southwest Ontario.
- Who it’s for: property managers, landlords, and building operators.
- What you’ll get: a step-by-step inspection workflow and a printable checklist.
- Outcome: fewer tenant complaints, shorter vacancy periods, and cleaner handovers.
Before you start (prerequisites)
Gather tools, set inspection standards, and print your checklist before you enter. Define pass/fail criteria for safety, systems, and finishes. Notify onsite staff, block 60–120 minutes per one-bedroom, and ensure access keys and codes are ready to avoid delays.
Strong preparation prevents rework. In our experience across 500+ projects, organized starts cut total site time by 15–25% and reduce missed items.
Tools and supplies you’ll need
- Flashlight and headlamp
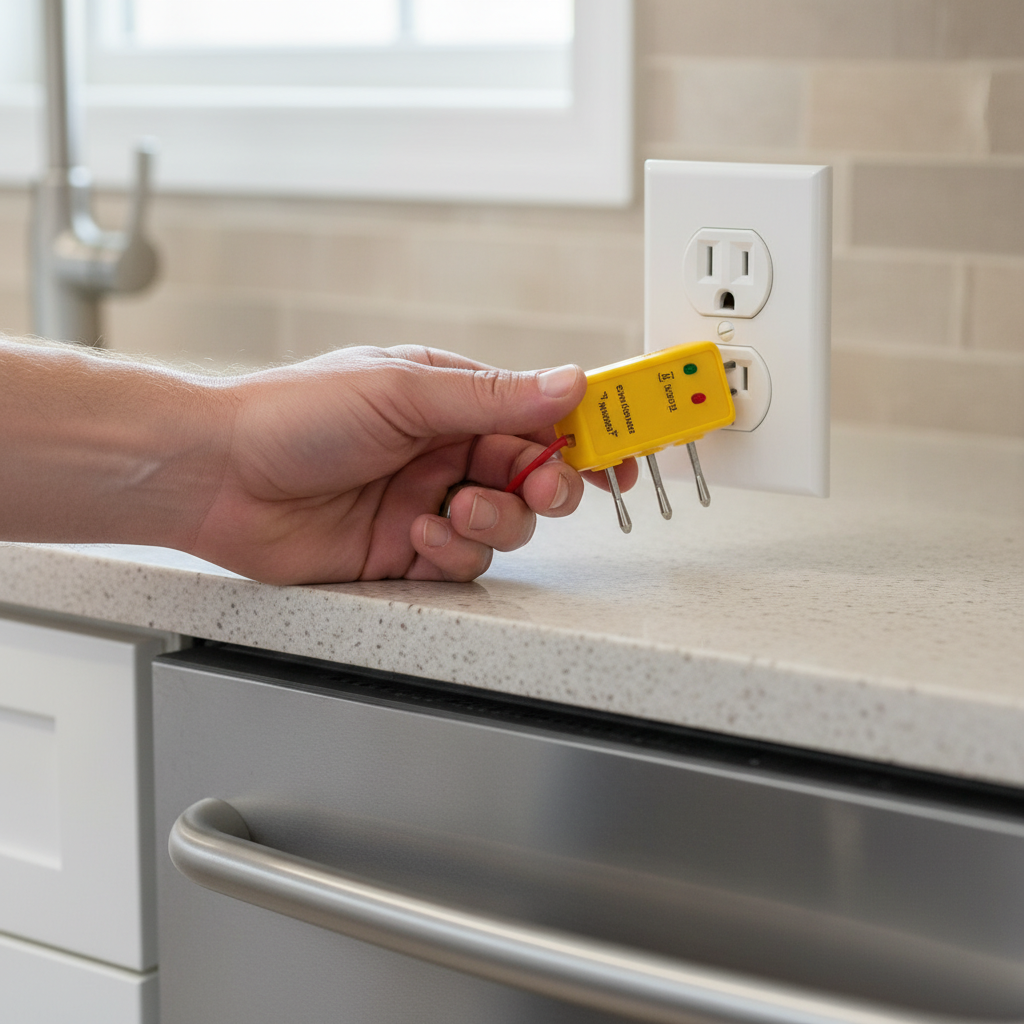
- Outlet/GFCI tester and non-contact voltage tester
- Moisture meter and infrared thermometer
- Multitool, screwdriver set, and utility knife
- Smoke/CO alarm test spray and spare batteries
- Tub stopper, colored paper towel squares (leak tracing), and plunger
- Blue painter’s tape for marking punch items
- Notepad or mobile app for punch lists; phone camera
- Replacement bulbs, HVAC filter, silicone/caulk, and plumber’s tape
Set clear pass/fail standards
- Life safety: Test every smoke and CO alarm. Ensure alarms sound and are dated within manufacturer life.
- Systems: Water runs clear, drains within 60 seconds, and traps don’t gurgle. Receptacles test correctly; GFCIs trip/reset.
- Finishes: No exposed subfloor, no loose tile, clean grout lines, even paint sheen, and tight caulk lines.
- Cleanliness: No visible dust on returns, no odors, appliances and cabinets wiped inside and out.
Local considerations for London
- Winterization timing: In London, ON, schedule heating and window-seal checks before the first deep freeze to avoid nuisance service calls.
- Turnover clustering: When several units flip at once, stagger loud work hours to respect occupied neighbors and reduce complaints.
- Moisture vigilance: Spring thaws can reveal hidden leaks. Use a moisture meter at exterior walls and bathrooms during spring turnovers.
For portfolio consistency, align standards to your finishes program and document them within your operations playbook. Our team keeps a reference gallery so supervisors can compare field outcomes against approved benchmarks.
How to inspect a unit before turnover: step-by-step
Work from the entry clockwise, top-to-bottom, room-by-room. Verify life safety first, then major systems, then finishes, then cleanliness and documentation. Mark issues with tape, log them in a punch list with photos, and re-test after fixes before final sign-off.
1) Entry and general safety sweep
- Test smoke and CO alarms using test spray or the test button. Replace batteries if needed.
- Check the breaker panel labels; look for double-tapped breakers, scorch marks, or loose covers.
- Open and close the entry door. Confirm weatherstripping seals, latch alignment, and deadbolt throw.
- Scan ceilings for water stains; note nail pops or cracks.
Tip: Photograph the thermostat setpoint and filter slot before and after you replace the filter. Clear documentation reduces move-in disputes by providing timestamps and evidence.
2) Living room and hallways
- Cycle lights and switches. Replace bulbs; verify dimmers don’t flicker.
- Test every receptacle with a plug-in tester. Mark failed GFCI/AFCI protection if indicated.
- Inspect flooring for soft spots or lifted edges. Tighten thresholds and transition strips.
- Open/close windows, test locks, and check insect screens and weep holes.
3) Kitchen systems and appliances
- Run hot and cold water 60 seconds each; check under-sink shutoffs and supply lines.
- Test disposer (if present); listen for grinding or vibration. Check splash guard.
- Appliances: Verify stove burners and oven preheat, fridge temperature stabilization, and dishwasher fill/drain cycles.
- Electrical: Test GFCI outlets near the sink; confirm proper trip/reset function.
Standardized finishes make kitchens durable. Our teams frequently pair cabinet replacement with countertop installation and tile backsplash for fast, uniform updates that stand up to high traffic.
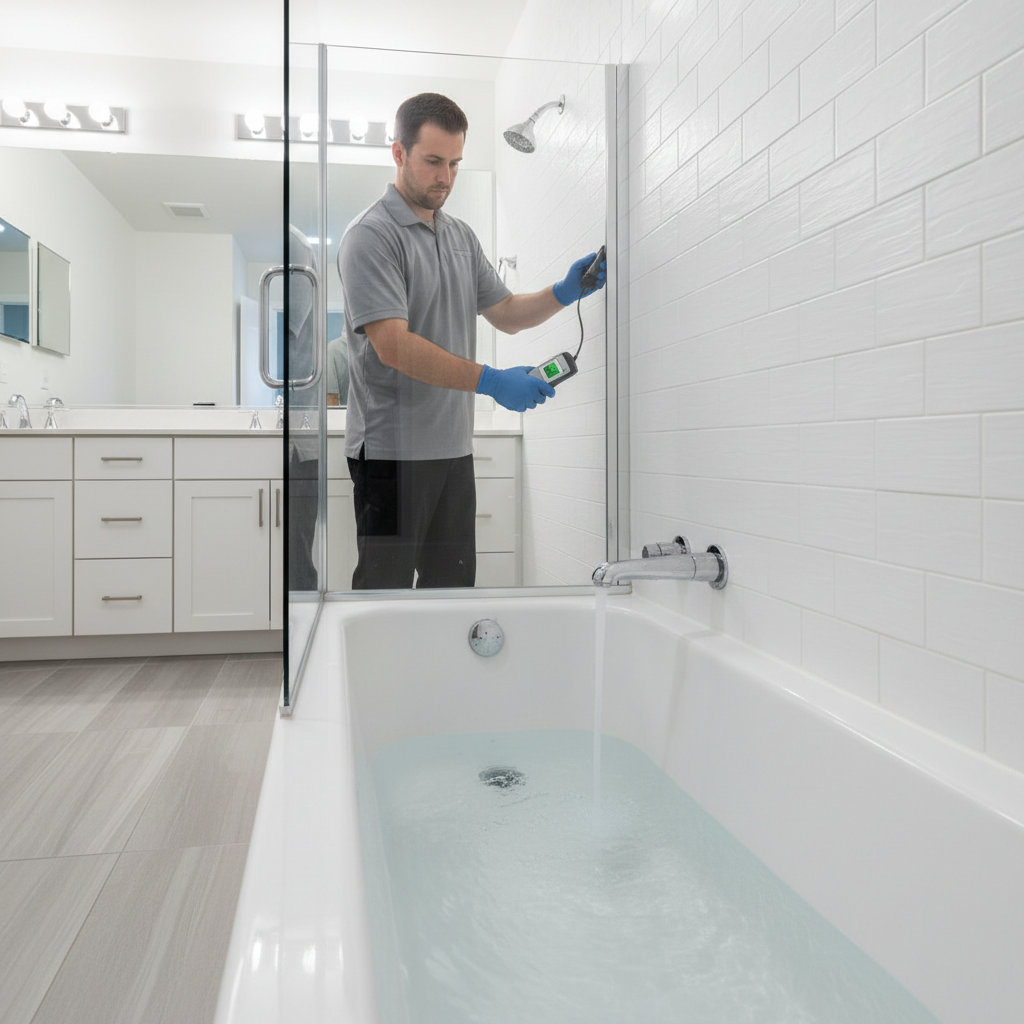
4) Bathroom waterproofing and fixtures
- Fill the tub and sink; check overflow and drain times (aim under 60 seconds for sinks).
- Run the shower; confirm stable temperature, even spray, and sealed valve trim.
- Inspect grout and caulk. Replace cracked or moldy lines; look for hollow tile sounds.
- Ventilation: Verify the fan moves air (paper test) and is quiet enough for tenant comfort.
5) Bedrooms and closets
- Test every outlet and switch; ensure closet lights have appropriate covered fixtures.
- Check window egress sizing and operation where applicable.
- Inspect doors for rubbing; adjust hinges and latches.
6) Laundry and utility areas
- Washer: Inspect supply hoses for bulges; run a short fill to confirm no leaks.
- Dryer: Check vent connection and clear lint at both ends; confirm exterior flap opens.
- HVAC: Replace the filter, verify condensation drain is clear, and listen for abnormal noise.
7) Doors, windows, and security
- Verify all keys work and are labeled. Re-key or change cylinders as policy dictates.
- Confirm window locks engage and sliders ride smoothly on tracks.
- Check peephole clarity and door viewer height.
8) Finishes: paint, flooring, and tile
- Paint: Look for lap marks, missed edges, and overspray. Touch up where needed.
- Flooring: Confirm transitions are smooth and expansion gaps are covered.
- Tile: Tap for hollow sounds; re-set loose tiles and re-grout.
9) Cleanliness and odor control
- Appliances: Wipe interior shelves, gaskets, and filters. Run a vinegar rinse if needed.
- Cabinets and drawers: Clean inside edges; remove construction dust.
- Odors: Run bathroom fans, open windows, and replace HVAC filters to refresh air.
10) Documentation and sign-off
- Create a punch list with photos. Prioritize life-safety and water intrusion first.
- Assign trades: paint and repairs, flooring and tiling, plumbing adjustments, and appliance service.
- Re-inspect resolved items and capture “after” photos. File your sign-off.
In multi-unit buildings, we recommend target cycle times by unit size (for example, 60–90 minutes for a typical one-bedroom walkthrough) and an 8–12 photo minimum per room for documentation quality.
At-a-glance process table
| Area | Inspect for | Pass standard |
|---|---|---|
| Life safety | Smoke/CO test, egress | All alarms functional; egress unobstructed |
| Plumbing | Leaks, drain time | No drips; sinks drain < 60s |
| Electrical | GFCI/AFCI, outlets | All receptacles test correct; GFCIs trip/reset |
| Finishes | Paint, flooring, tile | No loose edges; even sheen; tight caulk |
| Cleanliness | Surfaces, appliances | Dust-free; no odors; visibly clean |
Troubleshooting common findings
Prioritize safety first, water next, then power, then finishes. Stop active leaks, correct failed smoke/CO alarms, and address GFCI faults immediately. Document root causes and assign to the right trade so fixes stick and don’t reappear after move-in.
Water leaks and slow drains
- Compression fittings: Re-seat and apply plumber’s tape; replace worn supply lines.
- Traps: Remove hair/debris; flush with hot water; check venting if gurgling persists.
- Tub/shower: Re-caulk wet joints and around valve trim; repair hollow tile to stop wicking.
Electrical nuisance trips
- GFCI trips: Confirm load orientation and daisy-chain layout; replace suspect devices.
- Flicker on dimming: Pair compatible bulbs and dimmers; replace mismatches.
- Warm switches: Verify rated wattage; inspect for loose terminations.
Paint touch-ups that don’t blend
- Match sheen exactly; feather edges beyond the repair zone.
- Prime patched drywall with stain-blocker before color coats.
- Roll out small sections to avoid lap lines; use a wet edge.
Persistent problems often signal upstream issues: poor ventilation causes bathroom mildew; subfloor movement loosens tile; mis-labeled breakers create nuisance trips. Fix root causes, not just symptoms.
Advanced tips for multi-unit portfolios
Standardize finishes, schedule by trade blocks, and keep unit templates. Use a digital punch list with photos, target cycle times by unit type, and assign clear SLAs. These steps let you scale turnovers across buildings without sacrificing quality.
Standardize to move faster
- Finishes catalog: Pre-approve flooring SKUs, paint colors, caulk types, and tile patterns.
- Repeatable scopes: Bundle cabinet replacement, countertop installation, and tile installation for predictable results.
- Spare inventory: Keep a 2–4% overage of flooring and tile for quick repairs.
Digitize your punch list
- Use a shared app with room tags, photo attachments, and trade assignments.
- Require “after” photos and a checklist tick for each item before sign-off.
- Measure performance: items closed per day, average days to close, and repeat issues by category.
Staffing and sequencing
- Block noisy work mid-day to respect neighbors in occupied properties.
- Sequence wet trades before paint and flooring; schedule cleaning last.
- Set a re-inspection window 24–48 hours after fixes to catch regressions.
We specialize in occupied property construction with WSIB-compliant protocols and fully insured operations—critical when multiple trades move through common corridors and elevators.
Free unit readiness walkthrough template
Want our printable checklist and punch list template? Get in touch and we’ll share the exact format our supervisors use across London apartments.
Frequently Asked Questions
A solid pre-turnover inspection prevents safety issues and tenant complaints. Focus on alarms, plumbing leaks, GFCIs, doors/windows, and cleanliness. Document everything with photos and a punch list, fix issues by trade, then re-inspect before handover.
How long should a unit inspection take before turnover?
Plan 60–120 minutes for a typical one-bedroom. Larger or older units may take longer, especially if you uncover water damage, electrical issues, or extensive paint and repairs. Build in time for re-inspection after fixes to ensure items are truly resolved.
What should be checked first during a pre-turnover walkthrough?
Start with life safety: smoke/CO alarms and egress. Then move to water (leaks and drains), electrical (GFCI/AFCI and outlets), then finishes and cleanliness. This order prevents damage during work and keeps the focus on tenant safety.
How do I document a turnover inspection properly?
Use a room-by-room checklist with photos. Mark issues with painter’s tape, add short notes, and assign each item to a trade. Keep “before” and “after” photos and confirm completion with a re-inspection before handover.
Do I need specialized tools to test outlets and moisture?
Basic tools go a long way: an outlet/GFCI tester, non-contact voltage tester, and a moisture meter. These inexpensive tools help you verify safety and catch small issues before they become big problems.
Additional resources
Checklists and safety frameworks help you standardize inspections. Review sample checklists and fire safety tips to sharpen your own turnover playbook. Adapt formats to apartment contexts and keep them updated each season.
For checklist inspiration and safety pointers, see this pre-construction condo checklist and these kitchen fire safety inspection tips. For broader formats, review a commercial safety inspection checklist and adapt the structure to residential units.
Conclusion
A disciplined, step-by-step inspection—safety, systems, finishes, clean, document—turns vacant apartments into move-in-ready homes faster. Standardize what “pass” means, capture proof photos, and re-inspect after fixes. That’s how you prevent complaints and protect timelines.
- Define pass/fail standards and gather tools up front.
- Follow a consistent room order and test every outlet, valve, and device.
- Address safety and water first; schedule trades efficiently.
- Use photo-backed punch lists and re-inspect before keys.
Ready to scale turnovers across your portfolio? Our team at Mahal Concrete and Constructions delivers standardized finishes and predictable schedules across London and Southwest Ontario—so your units hit the market faster.
Key takeaways
- How to inspect a unit before turnover: verify safety, systems, finishes, and cleanliness.
- Document everything, fix by trade, and re-test—no exceptions.
- Standardization and scheduling are the levers that reduce vacancies.