
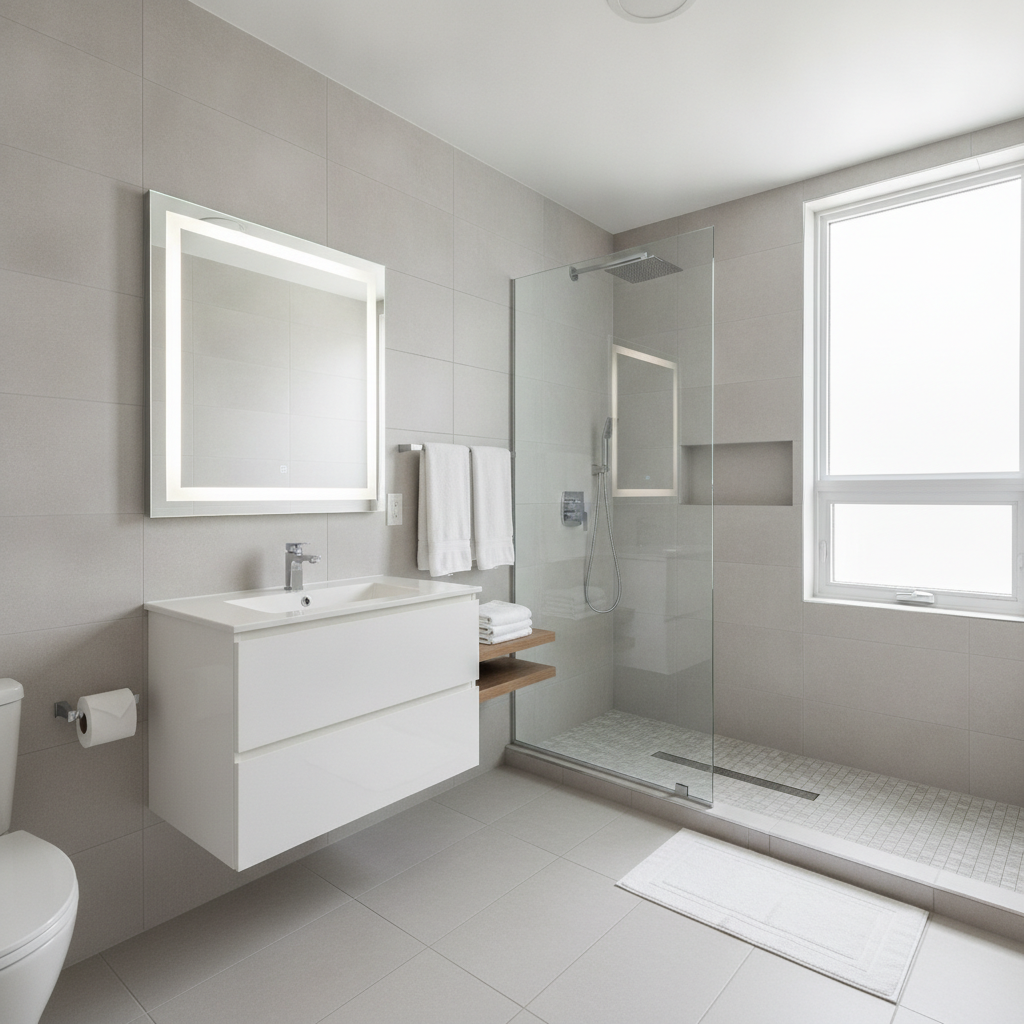
Bathroom upgrade priorities for rentals are the ordered steps that protect against moisture, restore function, and refresh finishes so units show well and lease faster. In London rentals, the best sequence is: waterproofing, ventilation, fixture reliability, surface refresh, and safety/accessibility. Follow this playbook to reduce vacancy days and standardize outcomes across buildings.
By Mahal Concrete and Constructions • Last updated: 2026-06-23
Above the Fold: Hook + Table of Contents
Use this guide to rank rental bathroom upgrades by impact on leasing speed, durability, and compliance. We outline a proven order of operations, give spec-level details for multi-unit buildings, and include checklists you can hand to your site teams to cut vacancy and callbacks.
You manage multi-unit apartments and need predictable results. This guide shows the exact order that minimizes downtime while raising tenant appeal, including fast checks you can standardize portfolio-wide.
- What “bathroom upgrade priorities for rentals” really means
- Why the right sequence shortens vacancy periods
- How to triage, schedule, and hand over cleanly
- Upgrade tiers: one-day refresh to full remodel
- Specs, materials, and safety must-haves
- Real examples from London multi-unit buildings
Quick Summary
Tackle bathrooms in this order: stop leaks, improve ventilation, ensure electrical and GFCI safety, replace failing fixtures, refresh tile/paint/lighting, then add accessibility features. Document with photos and a sign-off checklist. This sequence reduces rework and accelerates marketing photos.
Here’s the big picture. Moisture control first; it protects the shell and prevents mold. Next, verify ventilation and electrical protection. Then swap any failing, high-touch fixtures. Finally, refresh the look with durable surfaces and good lighting. Wrap with standardized documentation to support leasing.
What Is “Bathroom Upgrade Priorities for Rentals”?
Bathroom upgrade priorities for rentals is a ranked sequence of repair and refresh tasks that maximizes habitability, safety, and renter appeal with minimal downtime. The core idea: control water and air first, then restore function, then upgrade the look—while documenting each step for turnover.
In our experience delivering full unit turnovers across London’s apartment buildings, the winning sequence is consistent. Address moisture pathways and ventilation before cosmetic work. Fix the items tenants touch daily (faucets, valves, toilet, shower trim). Then refresh surfaces and lighting for photos and showings. Finish with accessibility and safety enhancements.
Core objectives (why it matters)
- Protect the building envelope: Waterproofing and venting prevent hidden damage.
- Speed the lease: Fresh, bright bathrooms move listings faster.
- Standardize at scale: One playbook for dozens of units reduces decisions.
- Cut callbacks: Fix failure points early; don’t repaint twice.
- Document compliance: Safety checks and photos support due diligence.
When working with property managers in London, we see the same constraints: occupied neighbors, tight dates, and strict standards. That’s why priorities—and the order—matter more than any single material choice.
Why Prioritization Matters in Multi-Unit Environments
Prioritization prevents rework, shortens vacancy days, and simplifies scheduling across stacked trades. Sequencing waterproofing, ventilation, electrical safety, fixture reliability, and finishes ensures inspections pass the first time and marketing photos are ready on schedule.
Bathrooms drive renter perception. A clean, bright bath can lift the whole listing. But sequence is everything. If you paint before solving fan airflow, condensation returns—and you repaint. If you set tile before fixing a slow leak, grout stains and you re-tile. Teams lose days.
- Less downtime: Units return to market faster when dependencies are honored.
- Fewer conflicts: Clear order avoids plumber–tiler–painter clashes.
- Portfolio efficiency: Repeating the same steps across many units compacts schedules.
- Leasing momentum: Ready-on-time baths keep photo days and showings aligned.
For a deeper checklist-driven approach, see our full unit turnover guide and align bathroom work with your broader sequence.
How the Prioritization Process Works (Triage to Handover)
Run a repeatable process: assess moisture and safety, fix leaks and ventilation, replace failing fixtures, refresh surfaces and lighting, then perform a rigorous quality check. Document each step with photos and a sign-off so leasing can list the unit immediately.
We use a structured, end-to-end method tailored for multi-unit properties. It centers on five checkpoints that map to field crews and inspections. The Steps table below doubles as a handoff checklist you can adapt for your portfolio.
| Step | Objective | Who Leads | Typical Downtime | Notes |
|---|---|---|---|---|
| 1) Site assessment | Detect leaks, failing caulk, fan issues, GFCI status | Supervisor | Same day | Document with photos; prioritize water risks first |
| 2) Waterproof + vent | Stop active moisture; verify exhaust airflow | Plumber/GC + Electrician | 1–2 days | Use mold-resistant products; vent outdoors |
| 3) Safety checks | GFCI, bonding, lighting, fan controls | Electrician | Same day | Test reset; label panel updates when needed |
| 4) Fixture reliability | Replace failing valves, cartridges, toilets | Plumber/GC | 1 day | Standardize SKUs across properties |
| 5) Surface refresh | Tile repair, surround, paint, lighting | Tiler/Painter | 1–3 days | Choose durable, easy-clean materials |
| 6) QC + turnover | Full function test, clean, photo set | Supervisor | Same day | Sign-off checklist for leasing handover |
Scheduling tip: Coordinate this flow with your make-ready plan. Our apartment renovation scheduling tips show how to stack trades without tripping over each other.
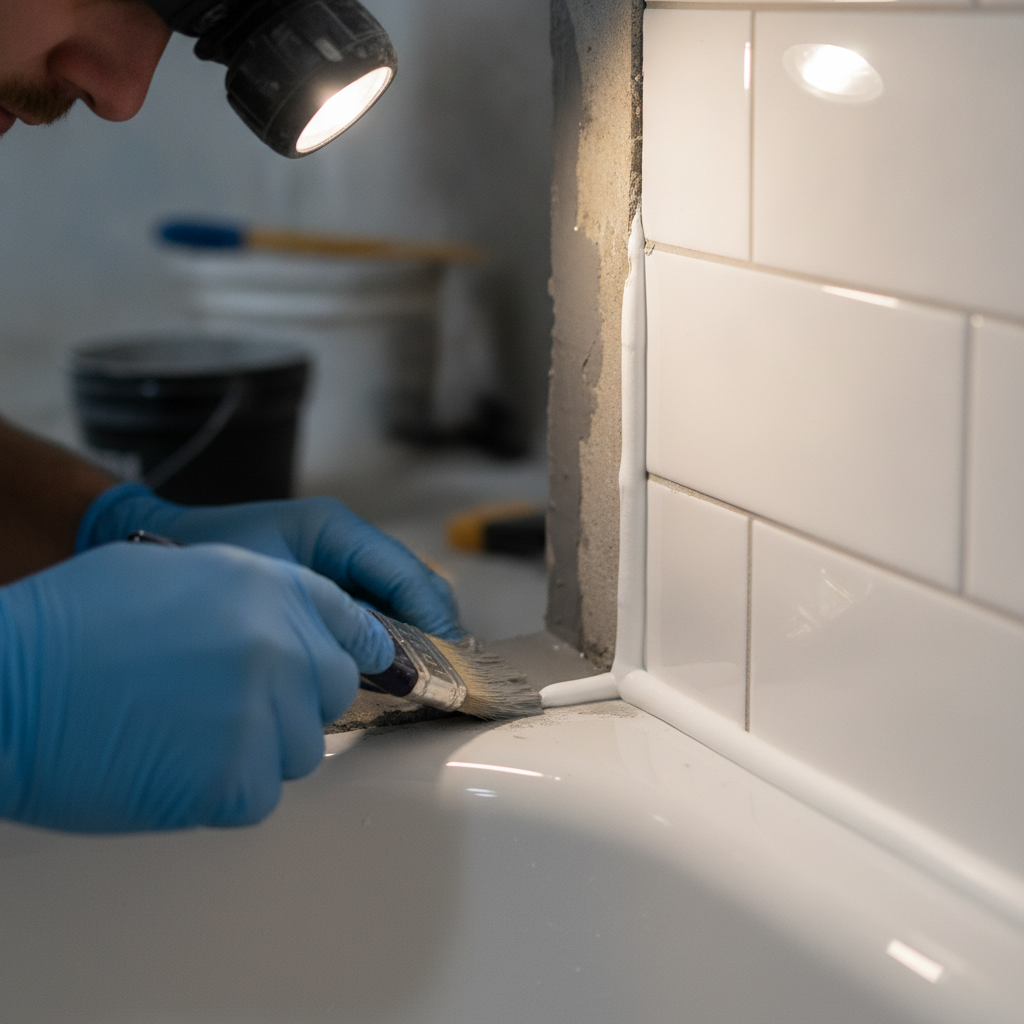
Quality-control checklist (ready-to-use)
- Run shower 2 minutes; check for leaks at valve, head, and tub spout.
- Confirm fan exhaust outdoors; feel steady airflow at the exterior hood.
- Test GFCI “test/reset” and verify lighting covers are secure.
- Flush toilet 3 times; confirm refill and no floor seepage at the base.
- Inspect caulk lines: continuous bead, no voids, smooth transitions.
- Wipe walls with a white cloth after paint cure; verify no residue.
- Shoot 6–8 photos: vanity, tub/shower, floor, ceiling/fan, and entries.
Types of Upgrades: Quick Wins, Mid-Scope, and Full Remodels
Group upgrades by speed and impact. Quick wins (hours) include re-caulking, trim kits, and fan swaps. Mid-scope (1–3 days) adds tile repair and new vanities. Full remodels (multi-day) tackle layout, plumbing rough-ins, and accessibility—timed with turnovers.
Different buildings need different approaches. High-occupancy properties often benefit from repeatable quick wins to keep units showing. Larger capital cycles fit well with mid-scope refreshes or planned remodels. The table below helps you choose the right tier for each unit’s condition.
| Tier | Typical Tasks | Best For | Downtime | Notes |
|---|---|---|---|---|
| Quick wins | Re-caulk, swap trim kits, new fan, LED mirror | Units close to market-ready | Hours–1 day | High ROI on photos; minimal tenant impact |
| Mid-scope refresh | Tile repair, vanity/toilet replacement, repaint | Worn finishes, dated fixtures | 1–3 days | Standardize SKUs to simplify inventory |
| Full remodel | Layout fixes, new surround, plumbing rough-in changes | Chronic moisture or functional issues | Multi-day | Plan around unit turnover windows |
For tile choices and techniques suited to apartments, see our guidance on tile installation for apartment bathrooms and align it with your building’s noise and access constraints.
Best Practices and Spec Guidance for Durable, Code-Friendly Results
Favor durable, easy-clean materials and standardized SKUs. Aim for strong ventilation, slip-resistant floors, sealed wet zones, and lighting that brightens small spaces. Build a spec sheet once, then reuse it across properties to streamline approvals and stock.
Specs that work in rentals share traits: they survive heavy use, tolerate routine cleaning, and look good in photos. Here’s a field-tested list we use when refreshing multi-unit bathrooms.
Moisture, surfaces, and ventilation
- Waterproofing: Use sheet or liquid membranes in wet zones; seal all penetrations.
- Tile and surrounds: Porcelain tile and solid-surface surrounds resist staining and clean fast.
- Paint: Moisture-resistant paint with a washable finish simplifies turnover cleaning.
- Ventilation: Choose quiet fans and vent outdoors to reduce condensation and odors.
Fixtures and lighting
- Faucets and valves: Metal-body fixtures with serviceable cartridges reduce service calls.
- Toilets: Reliable, standardized models simplify parts stocking and maintenance.
- Lighting: Bright, neutral LEDs and a clean mirror elevate photos and first impressions.
For a room-by-room control list, use our bathroom remodeling checklist tailored to rental units.
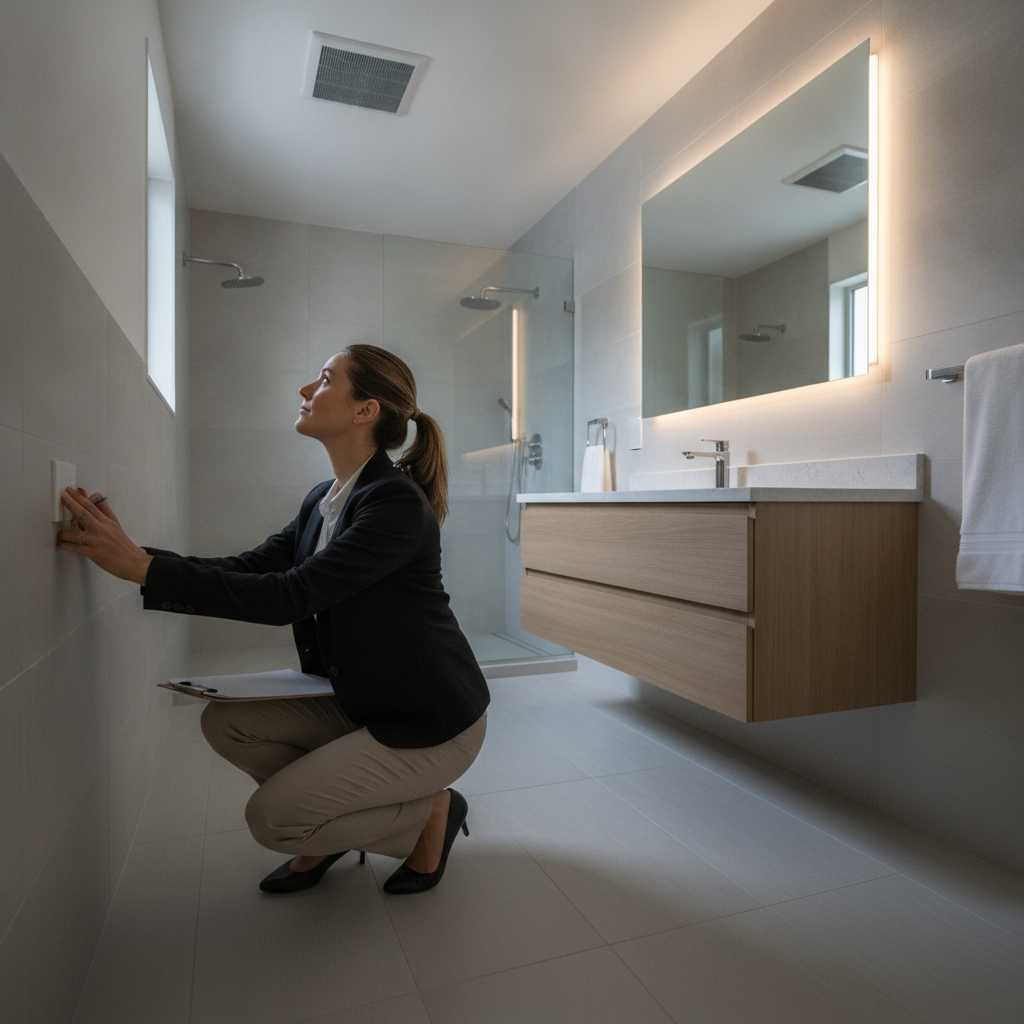
Safety and accessibility essentials
- Electrical protection: GFCI outlets near wet areas enhance safety for residents and staff.
- Slip resistance: Specify textured floor tile or mats to reduce fall risk in wet conditions.
- Grab bars: Add backing where possible; install bars at comfortable heights during refreshes.
- Clearances: Maintain comfortable space around toilets and vanities for everyday use.
Local considerations for London
- Plan fan and vent work around seasonal humidity; prioritize strong ventilation during damp months.
- Schedule quiet hours thoughtfully in occupied buildings; coordinate noisy tasks during mid-day windows.
- Use standardized finishes across sister properties in London to simplify stocking and speed approvals.
Tools and Resources for Property Managers
Build a single playbook per property class: a turnover checklist, approved SKUs, a color and finish board, and a photo standard. Store it centrally so supervisors and trades work from the same, current set every time.
Documentation is your time-saver. We provide turnover checklists and spec boards for clients so each unit refresh doesn’t restart decisions. For example, pairing a pre-approved vanity, faucet set, and LED mirror speeds procurement and keeps looks consistent across buildings.
Manager’s toolkit (repeatable assets)
- Unit assessment form with moisture, vent, and GFCI checks
- Approved fixture list (toilet, faucet, shower trim, fan)
- Finish board (tile, paint, mirror, lighting)
- Photo checklist for “move-in ready” standards
- QC sign-off and leasing handover template
To align bathroom scopes with the broader make-ready plan, reference our apartment repair and upgrade priorities guide, which sequences repairs before finishes building-wide.
Case Studies and Real-World Examples
Standardizing the upgrade sequence—moisture, ventilation, safety, fixtures, finishes—consistently trims days off turnovers. In London apartments, we’ve seen fewer callbacks, faster photos, and better showing feedback when teams follow one repeatable playbook.
24-unit mid-rise refresh: After a leak-first triage approach, callbacks dropped and finish crews stopped repainting ceilings. Marketing photos were shot the same week turnovers closed, improving listing cadence.
Occupied unit tune-ups: With tenant-friendly scheduling, dust control, and daily cleanups, we refreshed bathrooms in a week without disturbing neighbors—a model we now roll out building-wide. For more on occupied work, see our occupied buildings bathroom guide.
Portfolio standardization: Rolling out the same vanities, mirrors, and fans across 60+ units simplified stocking and sped maintenance. Showings benefited from consistent, bright looks that photographed well across listings.
Frequently Asked Questions
Focus first on moisture, ventilation, and safety; replace failing fixtures; then refresh surfaces. Use a standard checklist, document with photos, and hand over cleanly. These steps cut downtime and raise tenant appeal across your portfolio.
What should be first on my rental bathroom upgrade list?
Tackle moisture and ventilation first. Stop active leaks, seal wet zones, and verify the exhaust fan vents outdoors. Then address electrical safety and replace any failing, high-touch fixtures. Finish by refreshing tile, paint, and lighting for showings.
How do I handle bathroom upgrades in occupied units?
Use tenant-friendly scheduling, contain dust, and clean daily. Group noisy tasks into short windows, and communicate water shutoffs in advance. Finish each day with a usable, safe space. This approach maintains goodwill and keeps the schedule intact.
Which finishes hold up best in rentals?
Porcelain floor tile, solid-surface surrounds, and metal-body faucets offer durability and easy cleaning. Pair bright, neutral LED lighting with a clean mirror to improve listing photos and first impressions during tours.
When should I add accessibility features?
Add grab bars, slip-resistant floors, and comfortable clearances whenever you’re already opening walls or refreshing finishes. Pre-installing backing for future bars is a smart step during any mid-scope or full remodel.
Conclusion and Next Steps
Follow one sequence every time: moisture, ventilation, safety, fixtures, finishes, and documentation. Standardize SKUs and checklists across properties to reduce decisions, keep crews aligned, and move units to market faster with fewer callbacks.
Here’s what to do now:
- Adopt the six-step process and make it your turnover default.
- Build or update your approved SKUs and finish board.
- Train supervisors on the QC checklist and photo standards.
- Schedule bathroom refreshes alongside your unit make-ready plan.
Soft CTA: If you manage apartments in London and want a ready-to-deploy playbook, our team standardizes bathrooms as part of full unit turnovers. We operate with predictable timelines, tenant-friendly scheduling, and consistent finishes.
Key Takeaways
Prioritize moisture and ventilation, then fixture reliability, then surfaces and lighting. Use standardized SKUs, a QC checklist, and photo-ready standards. This disciplined order cuts downtime and raises tenant appeal across multi-unit portfolios.
- Sequence matters more than any single finish choice.
- Standardization across buildings speeds decisions and stocking.
- QC and documentation keep leasing on schedule.
- Plan around occupied-neighbor constraints to avoid delays.
Additional Reading and Sources
Explore broader perspectives on bathroom remodeling benefits and planning. These resources discuss motivations to renovate, common plumbing considerations, and general advantages that can inform portfolio-level decisions for rental properties.
For general benefits of bathroom renovations, see this overview of renovation advantages. For planning plumbing during remodels, review this remodel plumbing guide. For motivations behind upgrades, here’s a discussion of why people renovate bathrooms.