

Wall repairs before apartment repainting are the targeted fixes and surface preparation steps that create a smooth, durable base for new paint. They include patching dents and holes, fixing seams, sanding, priming, and stain blocking. In London multi-unit turnovers, doing repairs first prevents telegraphing flaws, improves adhesion, and speeds move-in readiness.
By Mahal Concrete and Constructions • Last updated: 2026-06-27
Overview and table of contents
Repair first, paint second. A clean, primed, and defect-free surface is the single biggest factor behind professional-looking apartment paint jobs. This guide explains what to fix, how to stage multi-unit schedules, and the exact steps our London team follows to cut vacancy days.
Here’s how this complete guide helps property managers and apartment owners:
- Define what “wall repairs before apartment repainting” actually include
- Show why repairs matter for speed, durability, and tenant appeal
- Map a simple, repeatable process for multi-unit turnovers
- Break down repair types, best practices, and tools
- Share London-focused scheduling and coordination tips
- Offer checklists, a process table, and real mini case studies
What are “wall repairs before apartment repainting”?
Pre-paint wall repair is the systematic correction of surface defects—dents, nail pops, holes, seams, stains, textures—followed by sanding and primer. The goal is a uniform, sealed surface so the topcoat lays flat, bonds well, and hides past wear. Skipping repairs makes flaws visible through fresh paint.
In our multi-unit work across London, “repairs” go beyond quick patches. We treat them as a scoped phase in the turnover plan, with defined start/finish, quality checks, and handoff into painting. That structure keeps crews in rhythm and reduces backtracking.
Common elements included
- Inspection and marking: Blue-tape defects, moisture checks, identify past leaks or smoke stains.
- Drywall fixes: Fill dents, re-seat or replace fasteners, mesh and patch holes.
- Skim coating areas: Feather uneven textures, blend previous patches.
- Joint treatment: Re-tape cracks at seams/corners; allow proper dry time.
- Surface prep: Sand smooth, vacuum dust, clean with mild detergent if greasy.
- Priming and sealing: Bonding primer on repairs; stain blocker where needed.
Because this guide supports apartment turnovers, we also connect wall work with adjacent scopes. See our paint and repairs playbook and this full unit turnover checklist for the bigger picture of schedule-driven handovers.
Why wall repairs matter for turnovers
Fixing walls before paint protects schedules, quality, and tenant appeal. Repairs stop shadows, flashing, and texture telegraphing, reduce callbacks, and let painters move in a single pass. For London portfolios, it’s one of the fastest ways to reduce vacancy time and boost listing photos.
Small surface defects create outsized problems when paint hits. A shallow dent or missed nail pop becomes a visible “pock” under rental-grade sheens. That slows leasing momentum and invites avoidable touch-ups. In occupied properties, tidy, dust-controlled repair also reduces disruption for neighbors.
- Fewer return trips: Correct repairs mean painters don’t stop to patch mid-coat.
- Better adhesion: Dust-free sanding and proper primer prevent peeling and flashing.
- Consistent texture: Skim blending avoids “patch outlines” in oblique light.
- Leasing advantage: Smooth walls photograph better and signal a well-kept building.
- Portfolio repeatability: Standard steps make multi-building work scalable.
We’ve found that clear handoffs—repair to prime to paint—keep unit clocks predictable. When each phase is closed out with a mini punch, the next crew starts faster and the risk of rework drops.
Local considerations for London
- Plan drying windows around seasonal humidity. In damp spells, allow extra curing before primer and topcoat so sheen stays uniform.
- Coordinate quiet hours in multi-unit buildings. Light sanding and vacuum-attached tools keep neighbors comfortable during turnovers.
- Stage material deliveries to reduce elevator or hallway congestion, especially when multiple units flip the same week.
If you’re sequencing several units, align repairs with other prep scopes. Our apartment repair priorities guide and pre-handover inspection checklist show how to keep momentum without sacrificing finish quality.
How wall repair works in a multi-unit turnover
The process runs in five passes: assess and mark, patch and tape, sand and clean, prime and spot-seal, then paint. Each pass closes with a quick QC check. In portfolios, we batch units so teams move floor-to-floor with minimal downtime and consistent outcomes.
Here’s the standard sequence our WSIB-compliant team uses on London apartment projects. It’s built for pace, dust control, and clean handoffs to paint.
| Phase | Main actions | QC closeout | Notes |
|---|---|---|---|
| 1) Assess & mark | Blue-tape defects; moisture meter at suspicious spots; photo log | All rooms taped; issues categorized (dent, hole, crack, stain) | Flag leaks/odors for plumbing or odor mitigation |
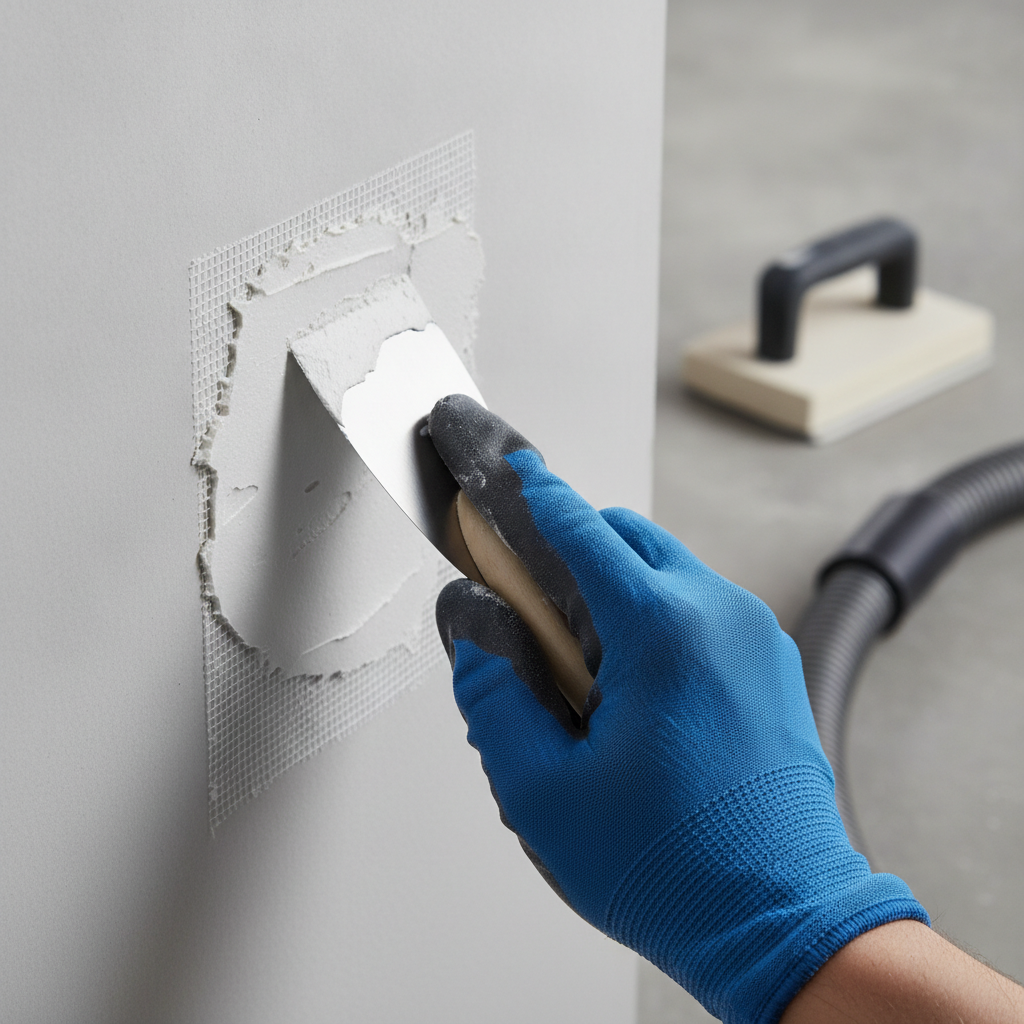
| 2) Patch & tape | Fill dents; mesh + compound for holes; re-seat fasteners | No proud patches; edges feathered | Let compound dry fully; multiple thin coats beat one thick coat |
| 3) Sand & clean | Sand flush; vacuum with HEPA; damp wipe as needed | Hand “feel test” passes; no dust films | Protect adjacent finished floors and fixtures |
| 4) Prime & seal | Bonding primer on repairs; stain blocker on water/smoke marks | No flash-through; uniform sealed look | Tint primer if covering strong colors |
| 5) Paint handoff | Repair QC signed; painter walks unit | Zero visible patch telegraphing in raking light | Ready for two-coat system |
Detail matters at each handoff. We encourage a 60-second “raking light test” in every room—stand at the wall, shine a bright, angled light, and scan surfaces. If you see patch edges or sanding swirls, fix them now, not after the first coat.
Need the bigger turnover context? Our wall repairs and patchwork explainer pairs with this pre-move-in paint workflow so your painters keep rolling.
Types of wall issues and the right fixes
Match the fix to the flaw. Dents need spackle; popped fasteners get re-seated and covered; small holes take mesh patches; large holes need backer boards; water stains require stain blocker after the source is corrected. Correct pairing stops repeat failures and visible outlines.
Everyday defects you’ll meet
- Dents and dings: Lightweight spackle or joint compound; sand flush.
- Nail pops / screw pops: Drive fastener below surface; add a nearby screw; skim over.
- Hairline cracks at seams: Cut a shallow V, embed tape, two thin coats of compound.
- Small holes (thumb-size): Self-adhesive mesh + two to three coats of compound.
- Larger openings: Backer board or preformed patch; tape and mud like a new seam.
- Water or smoke stains: Blocker primer; repaint only after the source is fixed.
- Texture mismatches: Skim coat localized areas; feather to disappear under raking light.
When to escalate beyond paint prep
- Active moisture: Dark, damp patches or musty odor call for plumbing or building envelope diagnostics before any paint.
- Structural movement: Diagonal cracks across openings or repeated seam splits may signal framing or substrate issues.
- Recurring stains: If staining reappears, repainting without remediation wastes time and materials.
Quick reference: problem-to-fix map
| Problem | Best repair approach | Primer needed? | Repaint tip |
|---|---|---|---|
| Minor dent | Spackle, sand smooth | Bonding primer spot | Check in raking light |
| Nail/screw pop | Re-seat, add screw, skim | Yes, spot prime | Feather wide to hide |
| Small hole | Mesh patch, two coats | Yes | Sand between coats |
| Large hole | Backer + patch panel | Full area prime | Skim wider blend |
| Water stain | Fix leak; stain blocker | Stain-block primer | Confirm dry first |
If multiple rooms show similar issues, standardize the fix across units. Consistency beats one-off solutions in portfolio work. Our team documents what worked in the first unit and repeats it next door—same patch types, same primer, same sanding grits—for predictable results.
Best practices for apartment repainting prep
Use thin coats, wide feathering, dust control, and the right primer. Validate with raking light before handoff to paint. Coordinate with flooring, kitchen, and bath work so repaired surfaces don’t get re-dented mid-turnover.
- Thin, even compound coats: Two to three passes dry truer than one heavy fill.
- Feather wider than you think: Especially on semi-gloss doors/trim adjacent to walls.
- Sand smart: Start with medium grit, finish with fine; hand “feel test” has the last word.
- Control dust: HEPA vacuums and pole sanders keep adjacent units comfortable.
- Prime the repair, not the whole room: But do full-prime if color change or heavy stains demand it.
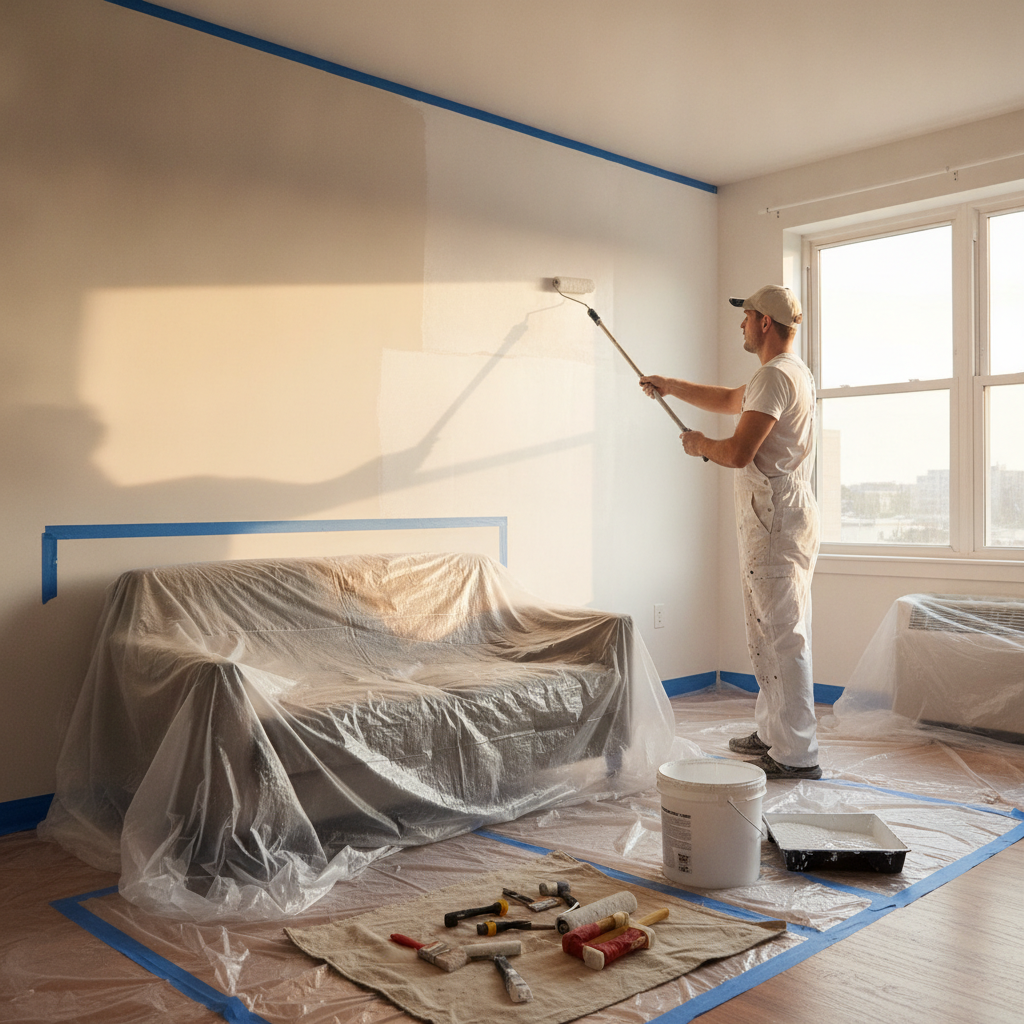
- Protect floors and fixtures: Drop cloths and taped plastic prevent rework from drips and dust.
- Sequence with other trades: Finish heavy carpentry before final skim and prime.
Looking to formalize your prep standards? Our wall patchwork guide and paint and repair strategy show how to bundle these best practices into repeatable, portfolio-wide SOPs.
Need a fast, low-disruption turnover? Book a brief call with our London team for a unit-ready assessment covering walls, paint, flooring, and final handover. We’ll outline a clear, schedule-first plan.
Tools and resources that speed smooth results
The right kit shortens dry times, improves dust control, and delivers flatter blends. Use quality compounds, mesh patches, sanding poles with vacuums, and dedicated stain-block primers. Keep a standard cart so crews roll efficiently from unit to unit.
Essential repair and prep kit
- Compounds: Lightweight for dents; setting-type for deeper fills and faster turnover.
- Mesh and backer solutions: Self-adhesive mesh for small holes; backer boards for larger repairs.
- Sanding gear: Pole sander or drywall sander with HEPA extraction for dust control.
- Primers: Bonding primer for patched areas; dedicated stain blocker for smoke/water marks.
- Lighting: Handheld raking light to reveal edges before paint.
- Protection: Canvas drop cloths, plastic sheeting, and painter’s tape.
For a broader orientation on finish sequencing, see this accessible interior painting guide and a complementary house painting overview. While focused on homes, the prep logic mirrors apartment turnovers.
Managing multiple scopes at once? Tie wall work into our full unit turnover guide and coordinate with bathroom upgrade priorities so wet trades don’t impact freshly repaired walls.
Mini case studies: London apartments
In our experience, standardizing wall repairs across similar buildings cuts rework and tightens handoffs. These quick snapshots show how targeted prep improved paint outcomes and shortened vacancy windows in London apartments.
Portfolio flip: four identical one-bedrooms
- Challenge: Repeated nail pops and hairline seams across four adjacent units.
- Action: Re-seated fasteners, added screws, taped seams, two-coat compound, raking-light QC.
- Result: Painters completed two full-coat passes without mid-job patching; finishes looked uniform in afternoon light.
Moisture surprise: corner suite
- Challenge: Discoloration near a baseboard; musty smell.
- Action: Paused paint; coordinated plumbing adjustment; applied stain-block primer after verified dry.
- Result: Stain did not return; repaint held even sheen.
Texture mismatch: historic conversion
- Challenge: Legacy patches flashing under angled hallway lighting.
- Action: Localized skim coat, wider feather, full-area prime.
- Result: Patch outlines disappeared; listing photos read as newly finished space.
These examples reflect how we sequence work inside occupied properties with tenant-friendly scheduling and clean worksites—key pillars of our London apartment contractor approach.
FAQ: wall repairs before apartment repainting
Here are direct answers to the questions property managers ask most about pre-paint repairs in apartments. Use them to set expectations with owners and schedule crews with confidence.
Do I always need to repair walls before repainting an apartment?
Yes. Even minor dents and hairline seams will telegraph through new paint. Quick patching, sanding, and spot priming create a uniform surface so the finish looks professional and lasts longer.
How do I know if a stain needs blocker primer or full remediation?
If the area feels damp, smells musty, or keeps returning, fix the source first (plumbing or envelope) before painting. Once dry, use a dedicated stain-blocking primer. Painting without remediation risks a quick reappearance.
What order should trades follow during a turnover?
Do demolition and heavy carpentry first, then wall repairs, priming, and paint. Follow with flooring, cabinets, and fixtures. Finish with a final touch-up pass and cleaning before your handover inspection.
Can I paint over hairline cracks without taping?
It’s risky. Hairline cracks often reopen. Cut a shallow V, embed tape, and apply two thin coats of compound instead. After sanding and spot priming, the finish is far more likely to hold.
Conclusion and next steps
Repairing walls before painting is the fastest, most reliable way to deliver rental-ready finishes. Standardize the steps—inspect, patch, sand, prime, paint—so crews move consistently across units and vacancy days shrink.
Key takeaways
- Fix first, then paint—repairs stop telegraphing and callbacks.
- Raking light and the “feel test” are your best free QA tools.
- Dust control keeps neighbors happy in occupied buildings.
- Document what works and repeat across similar units.
Ready to integrate wall repair standards across your London portfolio? Explore our turnover checklist and lean on our emergency stabilization checklist when surprises appear mid-project.
For more background on prep fundamentals, this concise wall prep checklist complements apartment repainting logic, especially when transitioning from wallcoverings to paint.